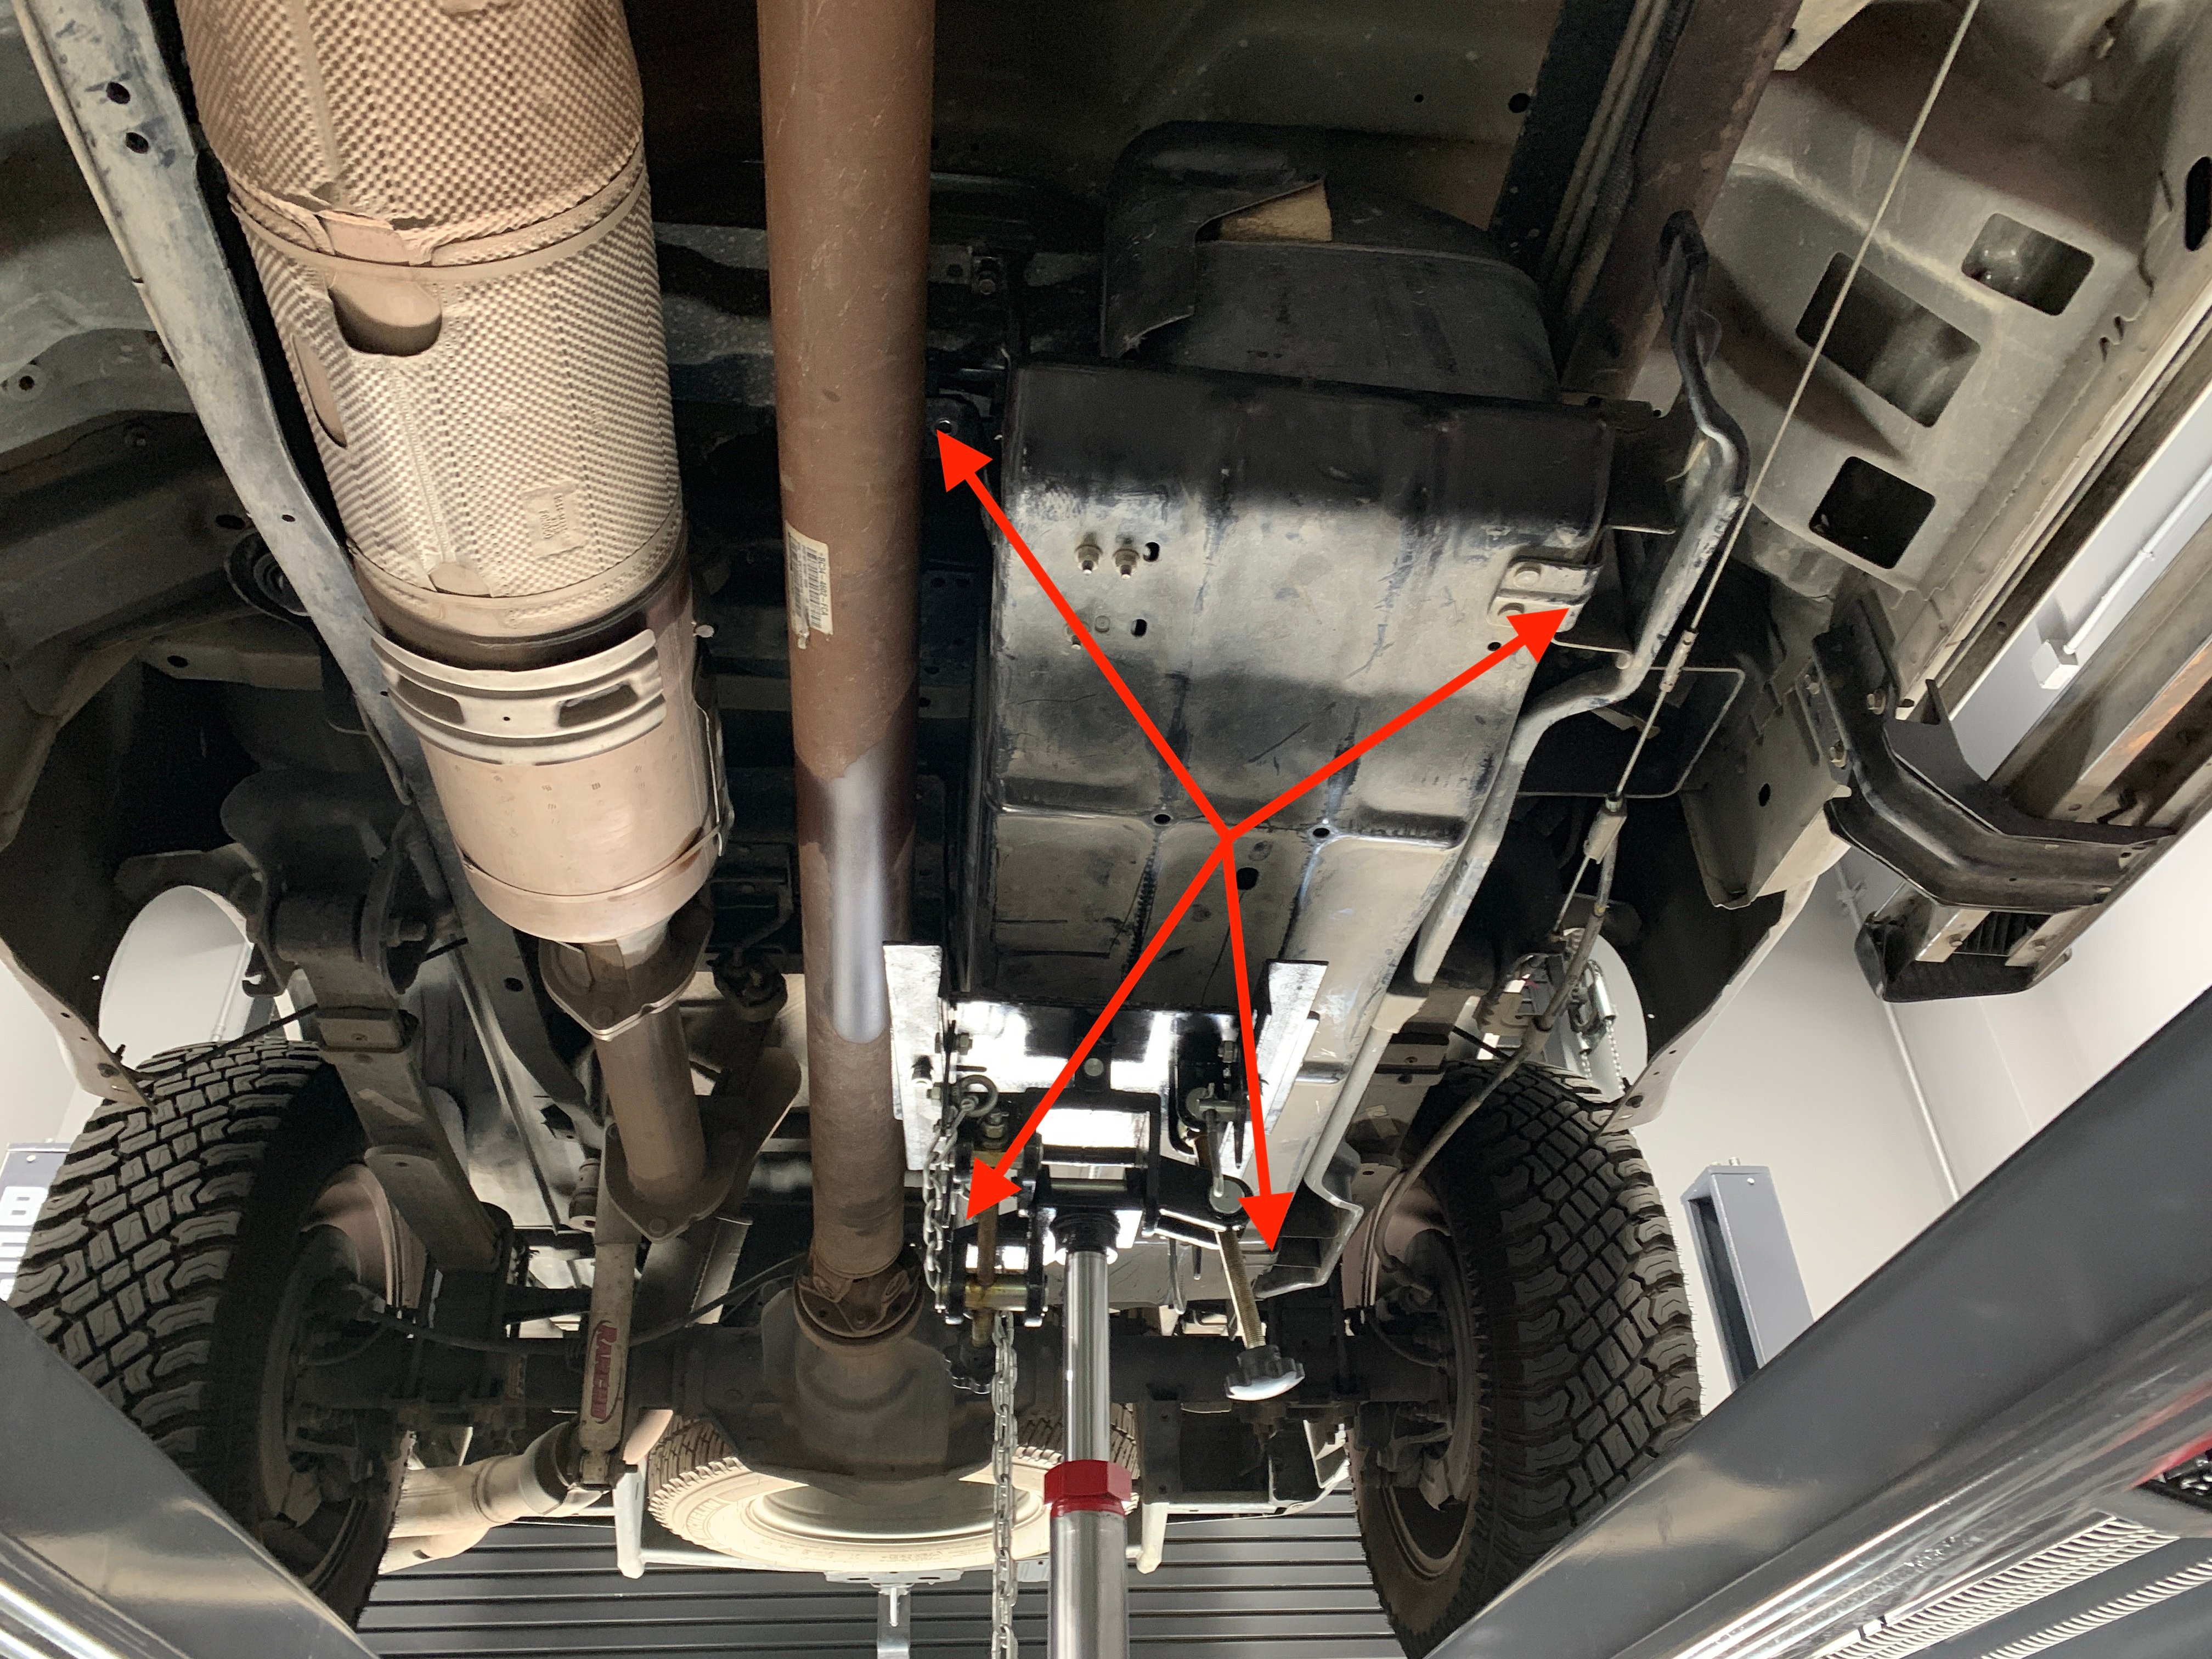
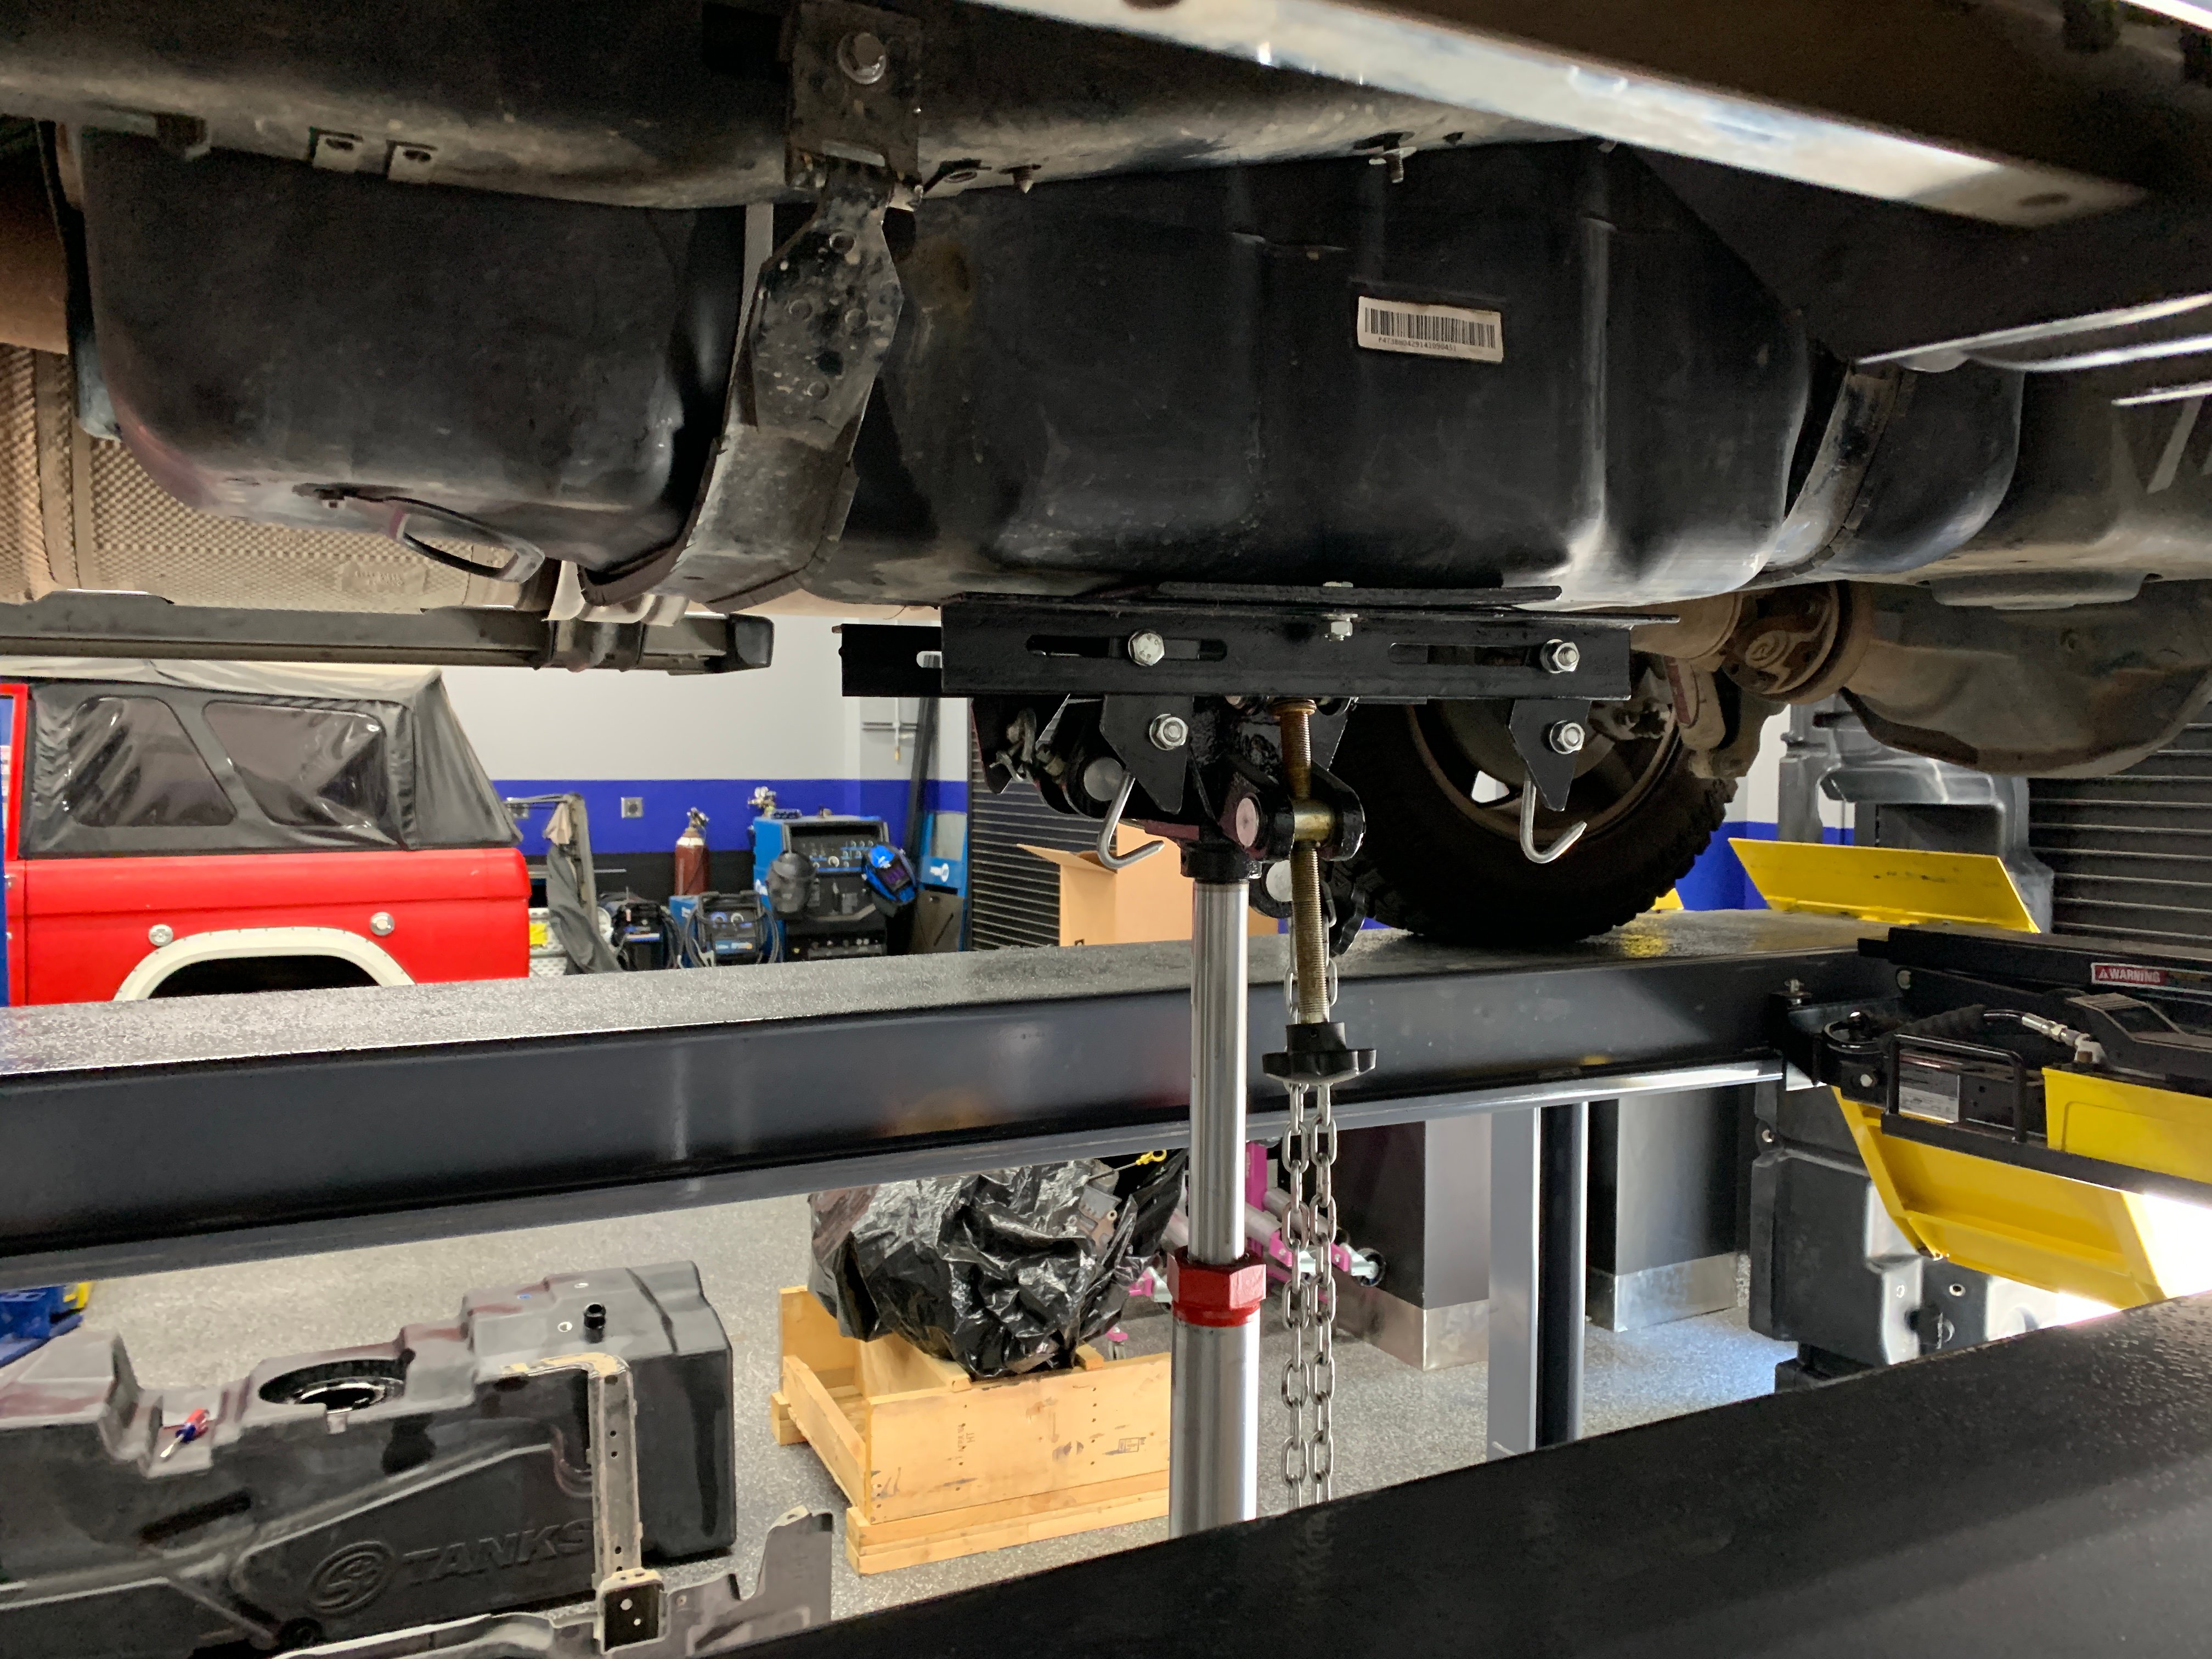
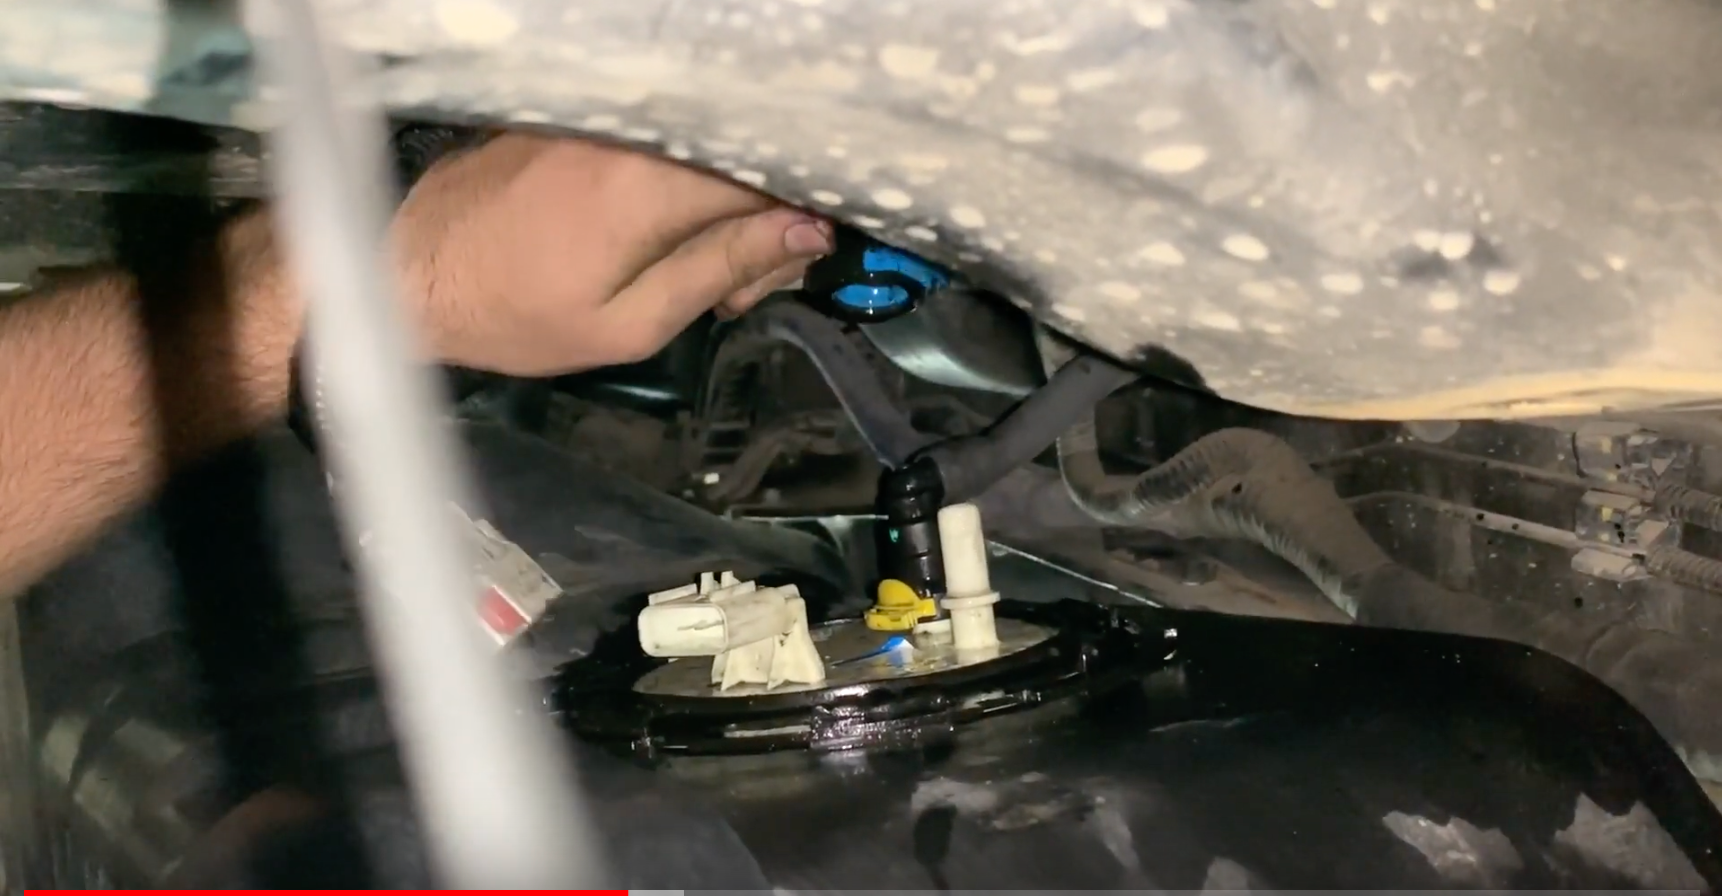
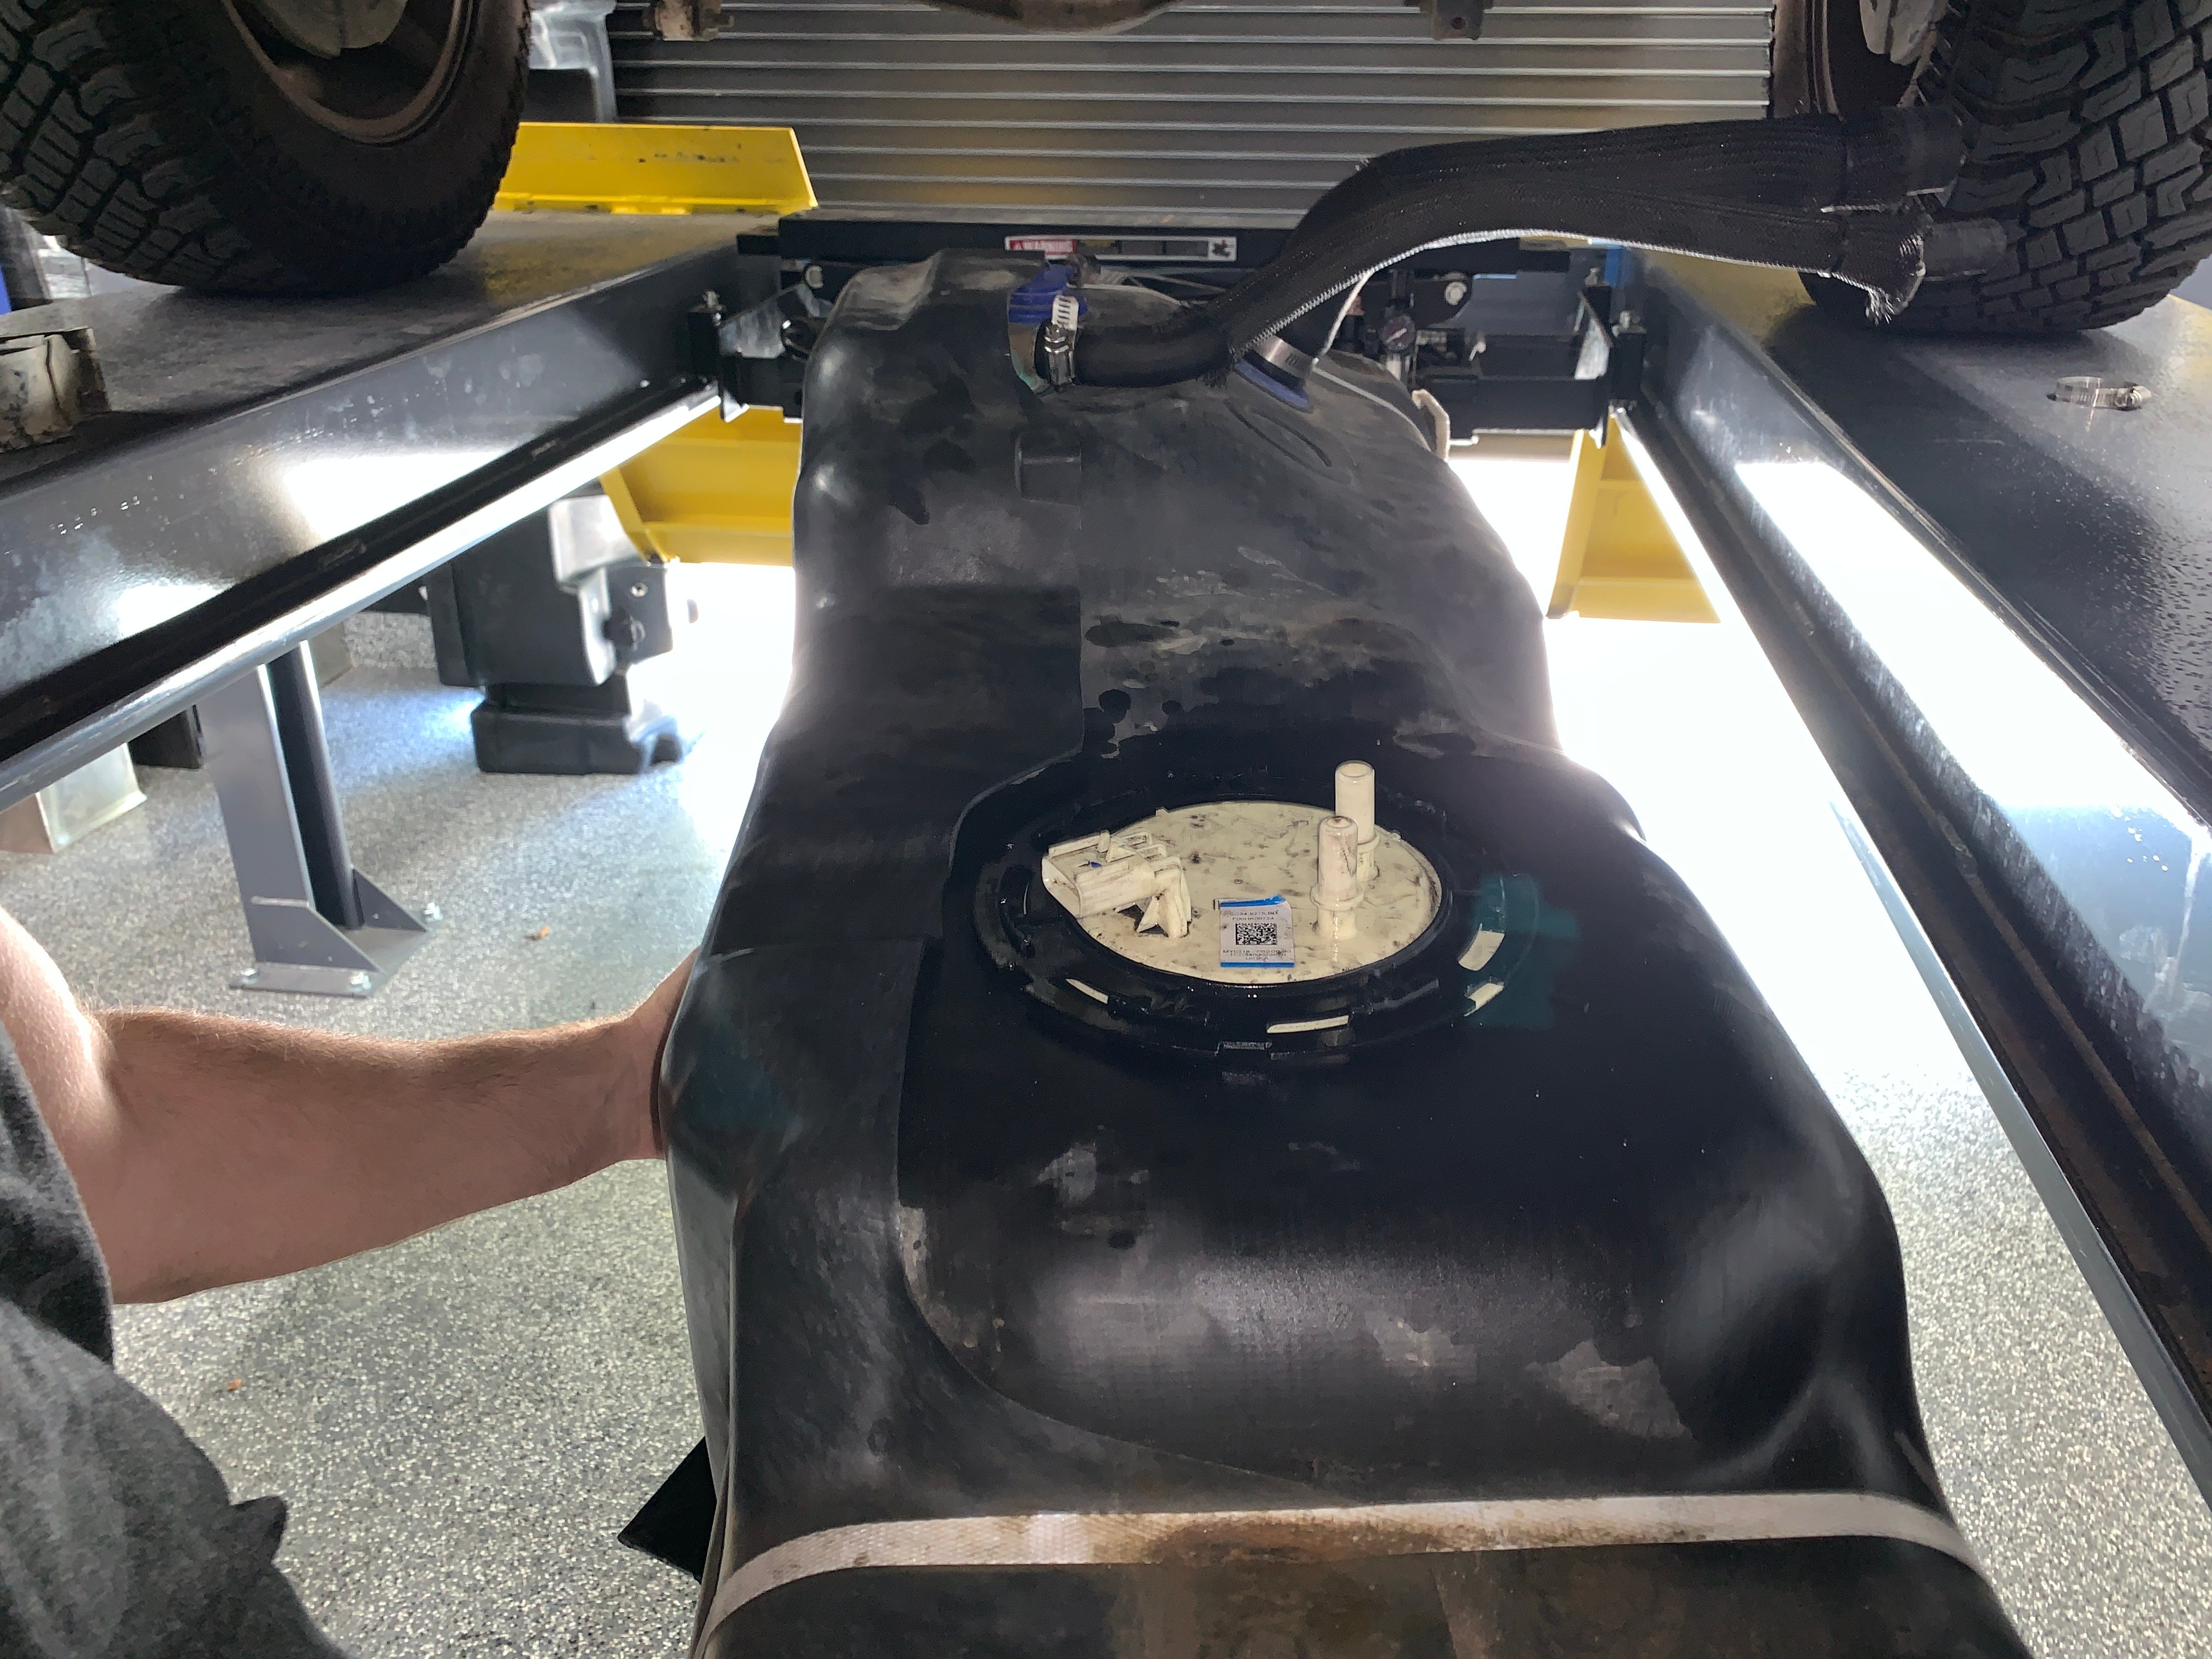
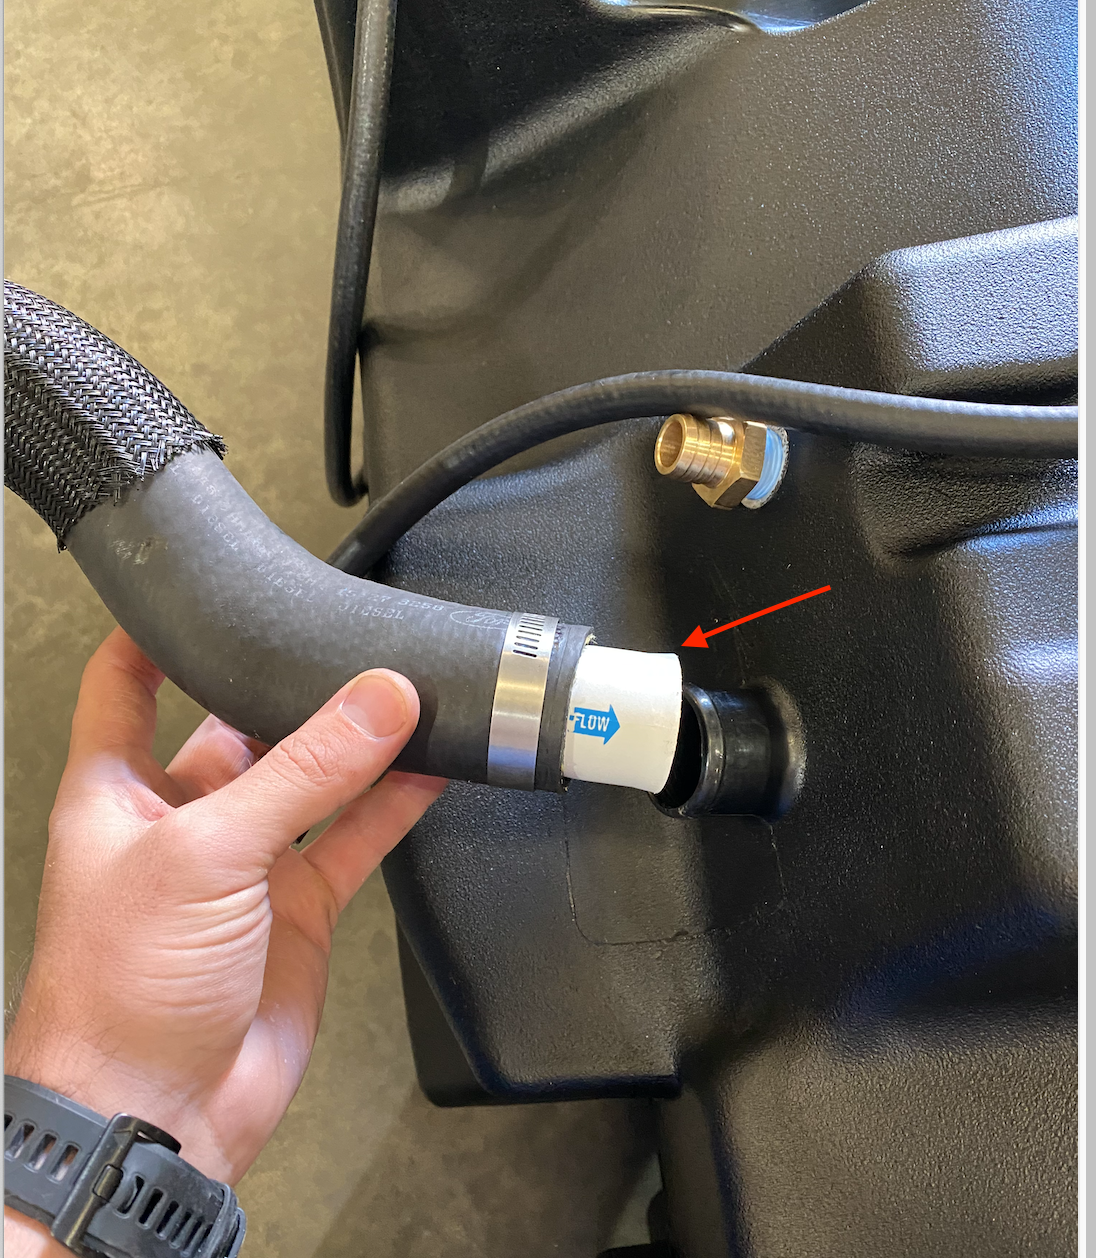
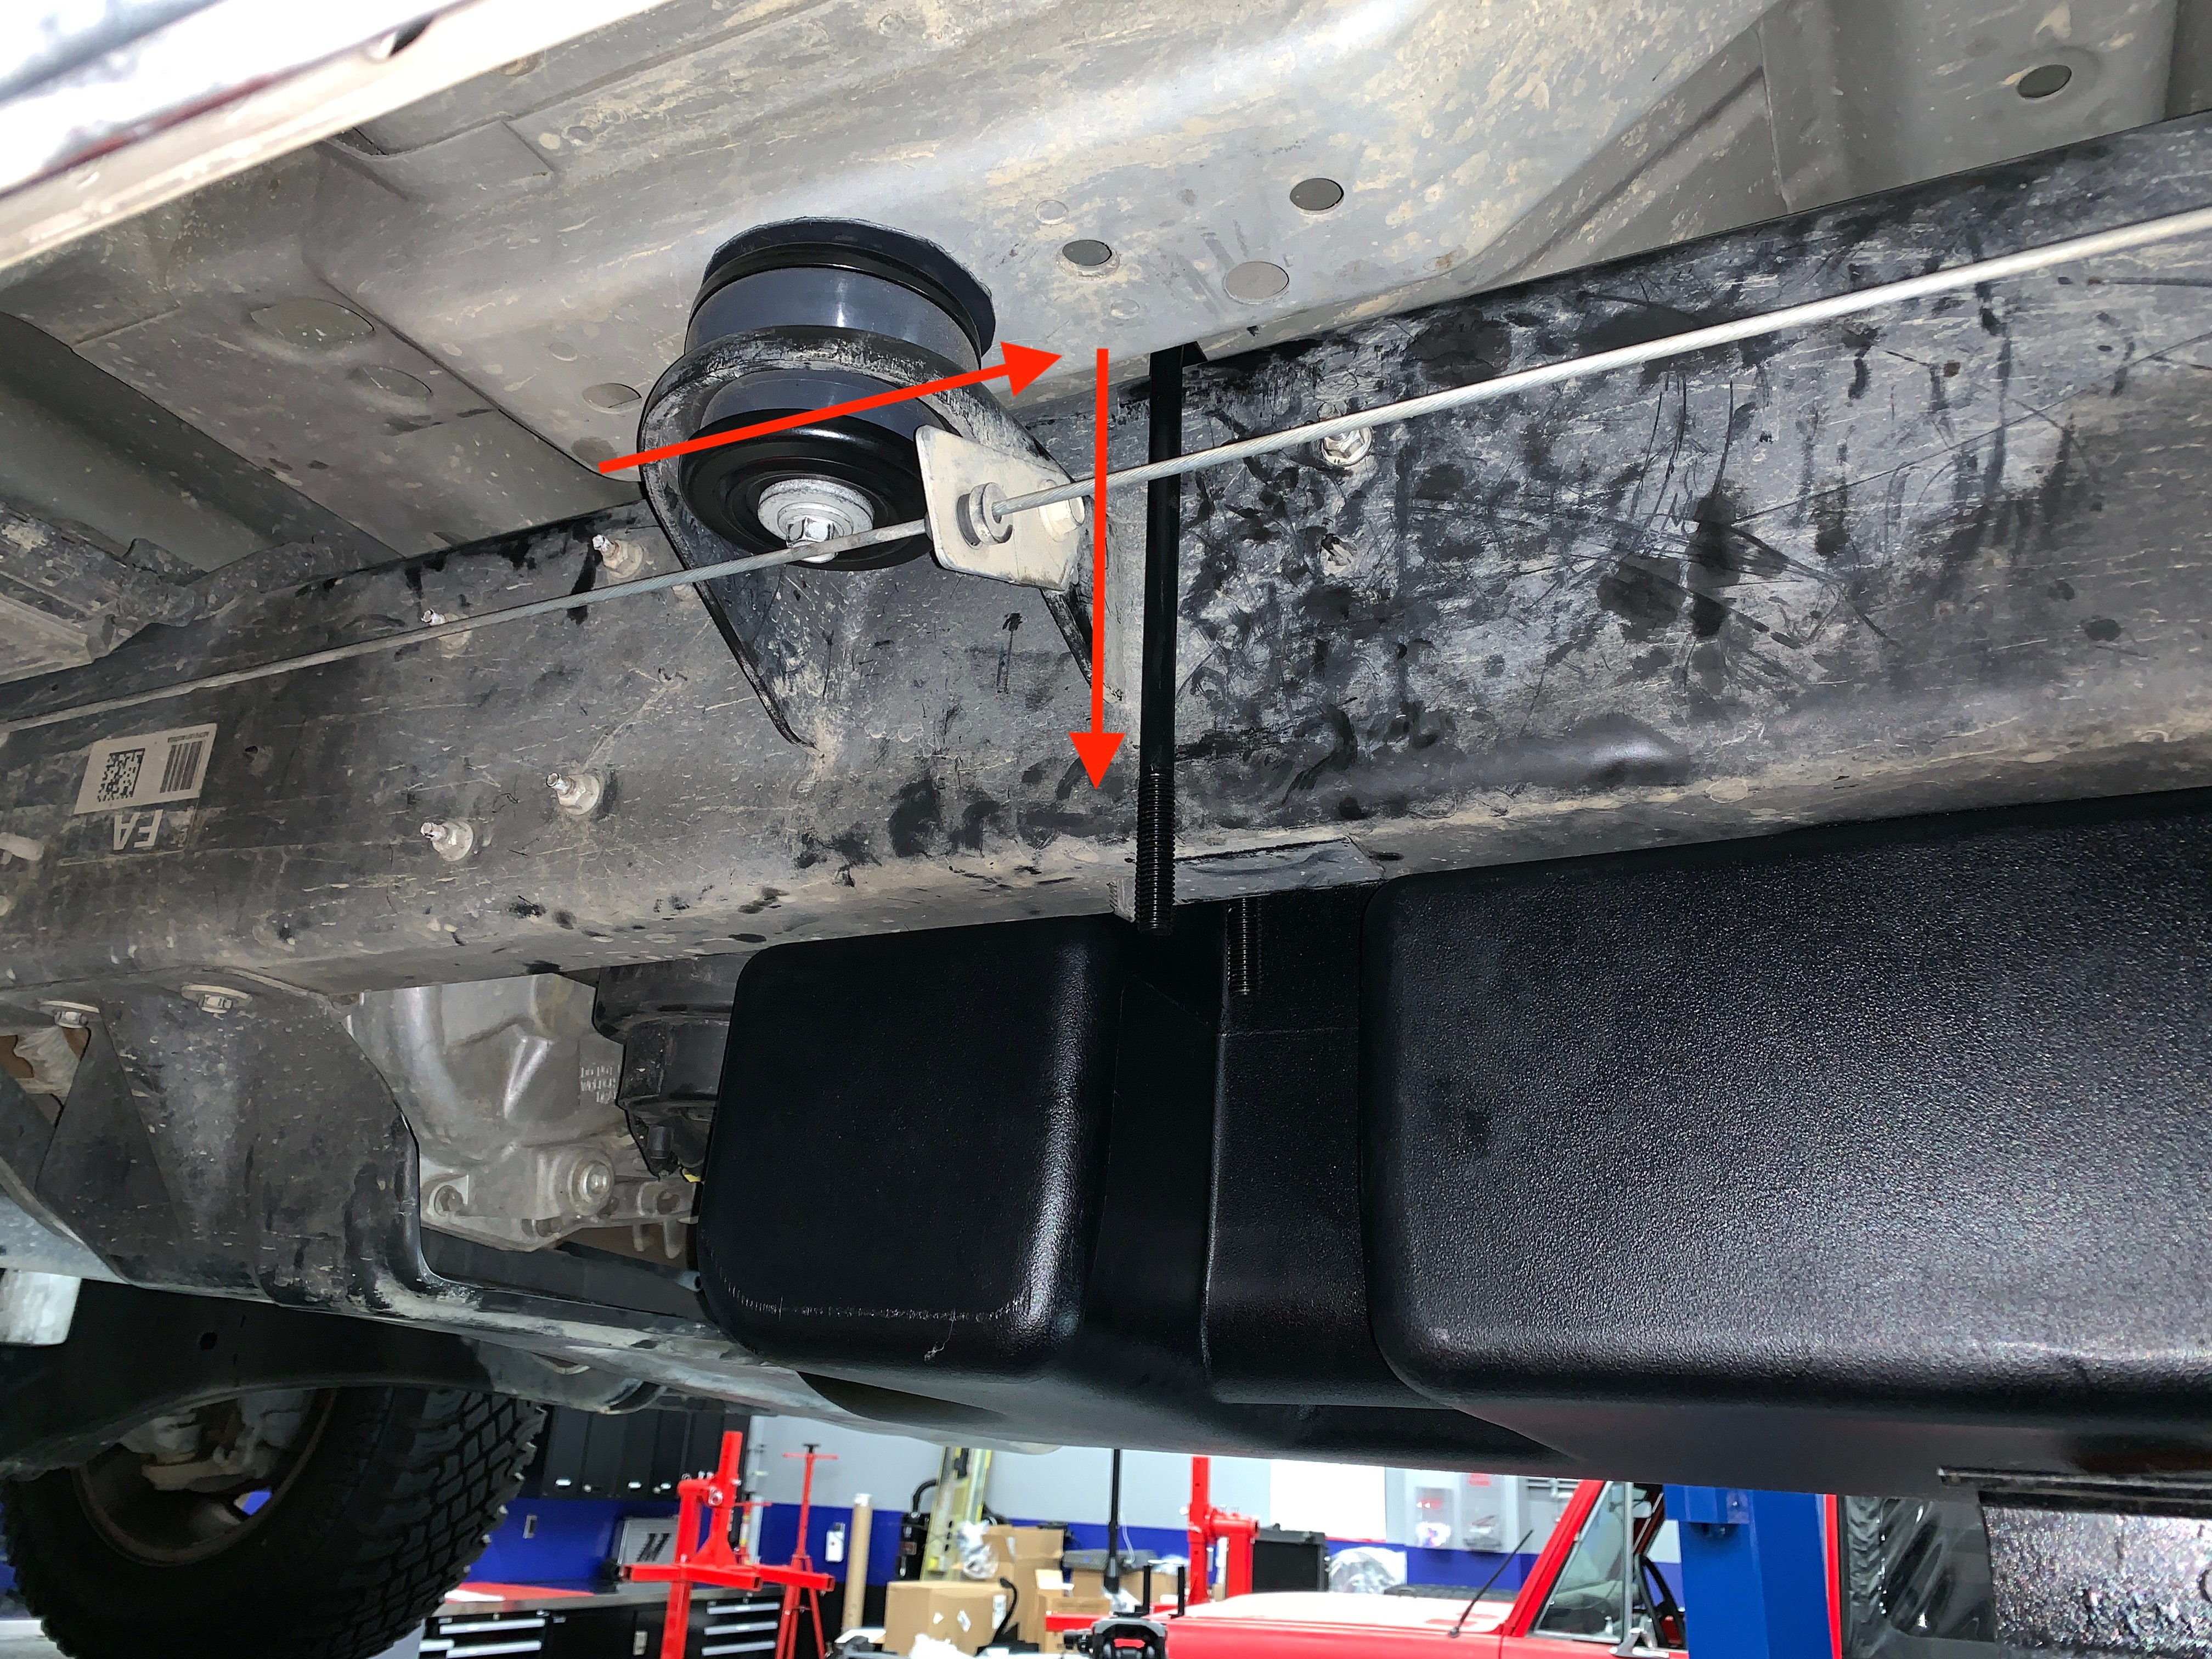
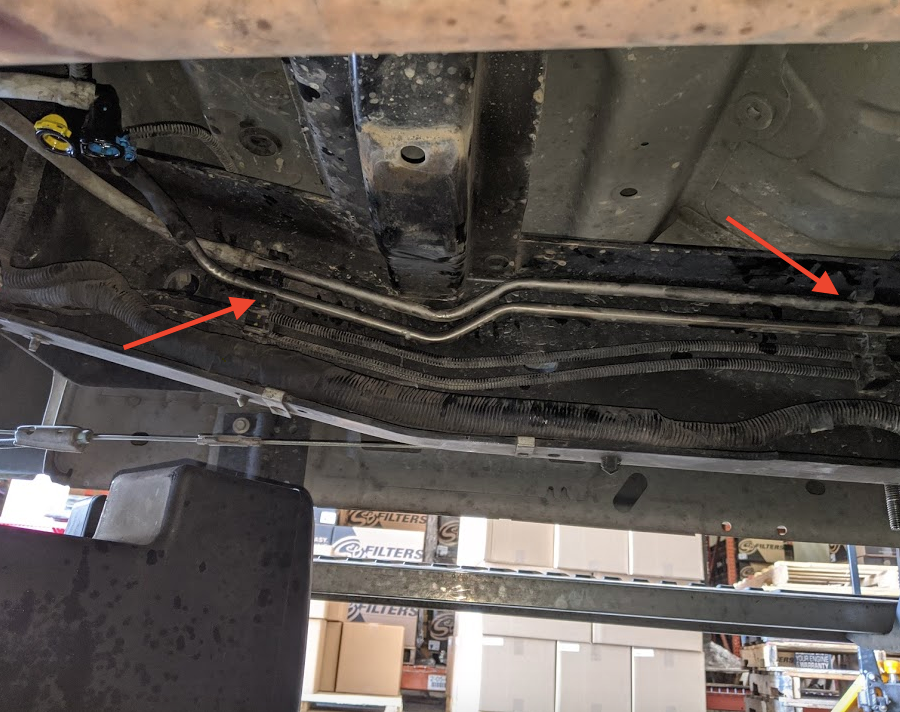
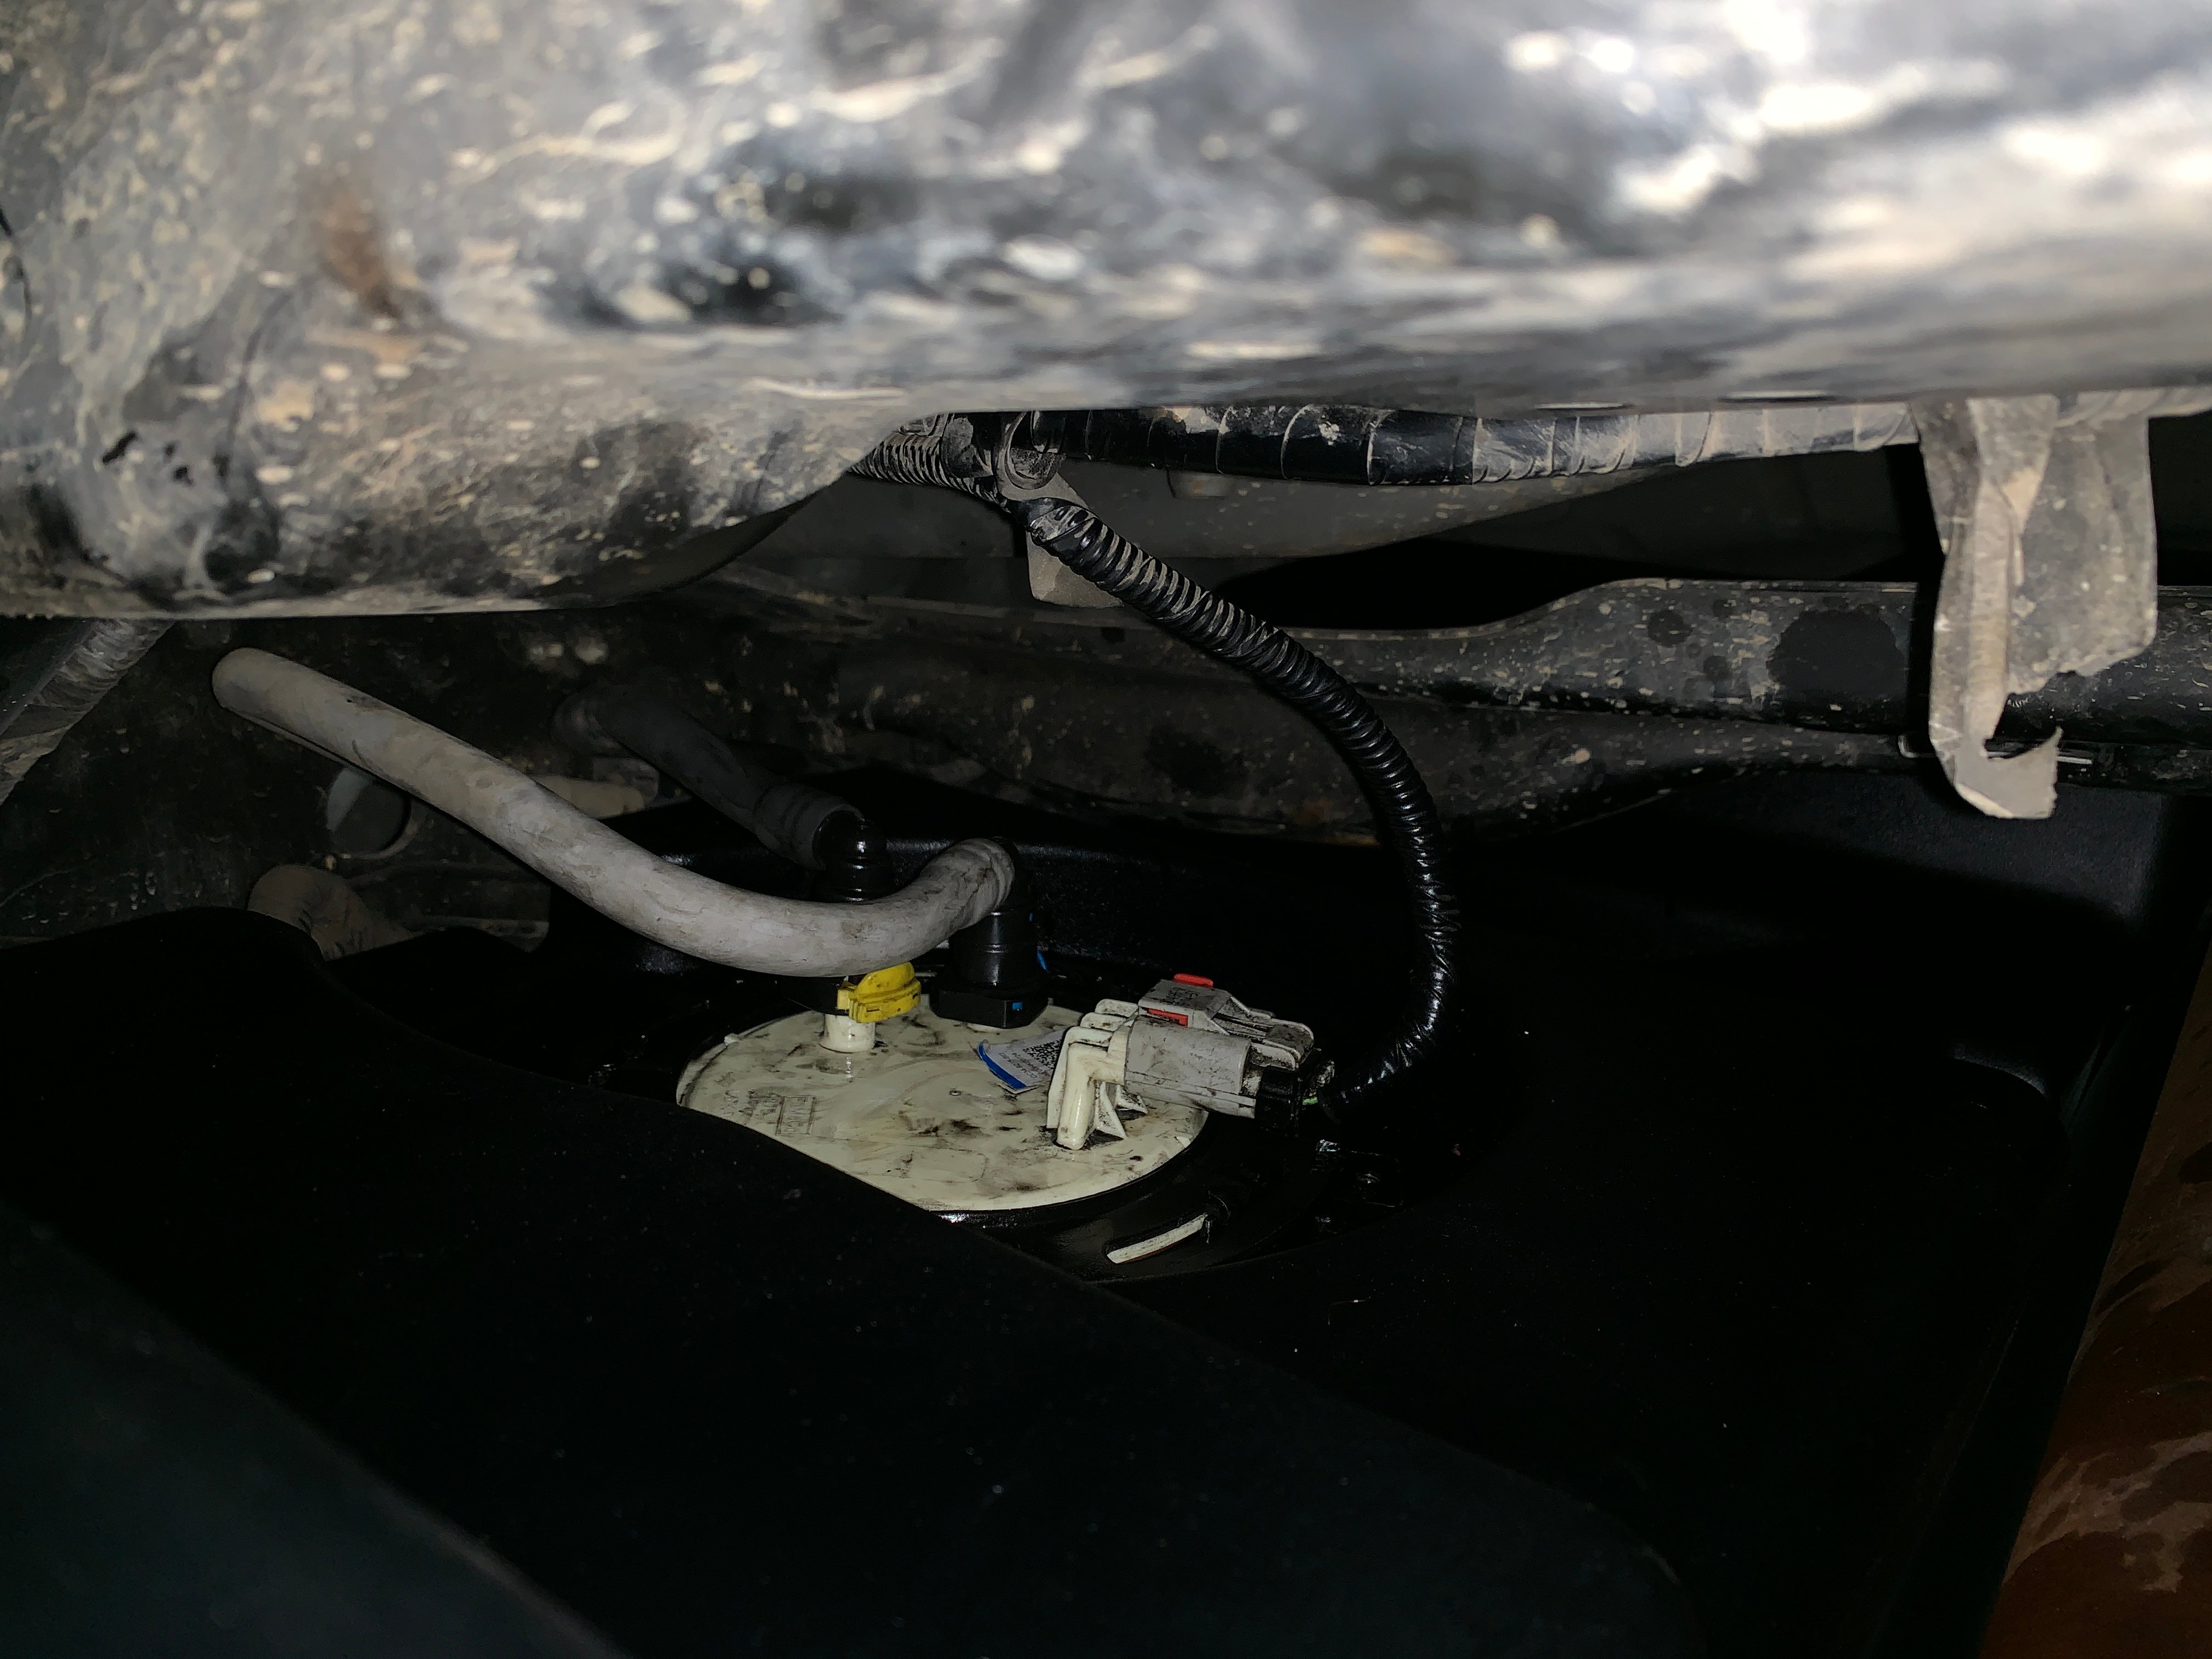
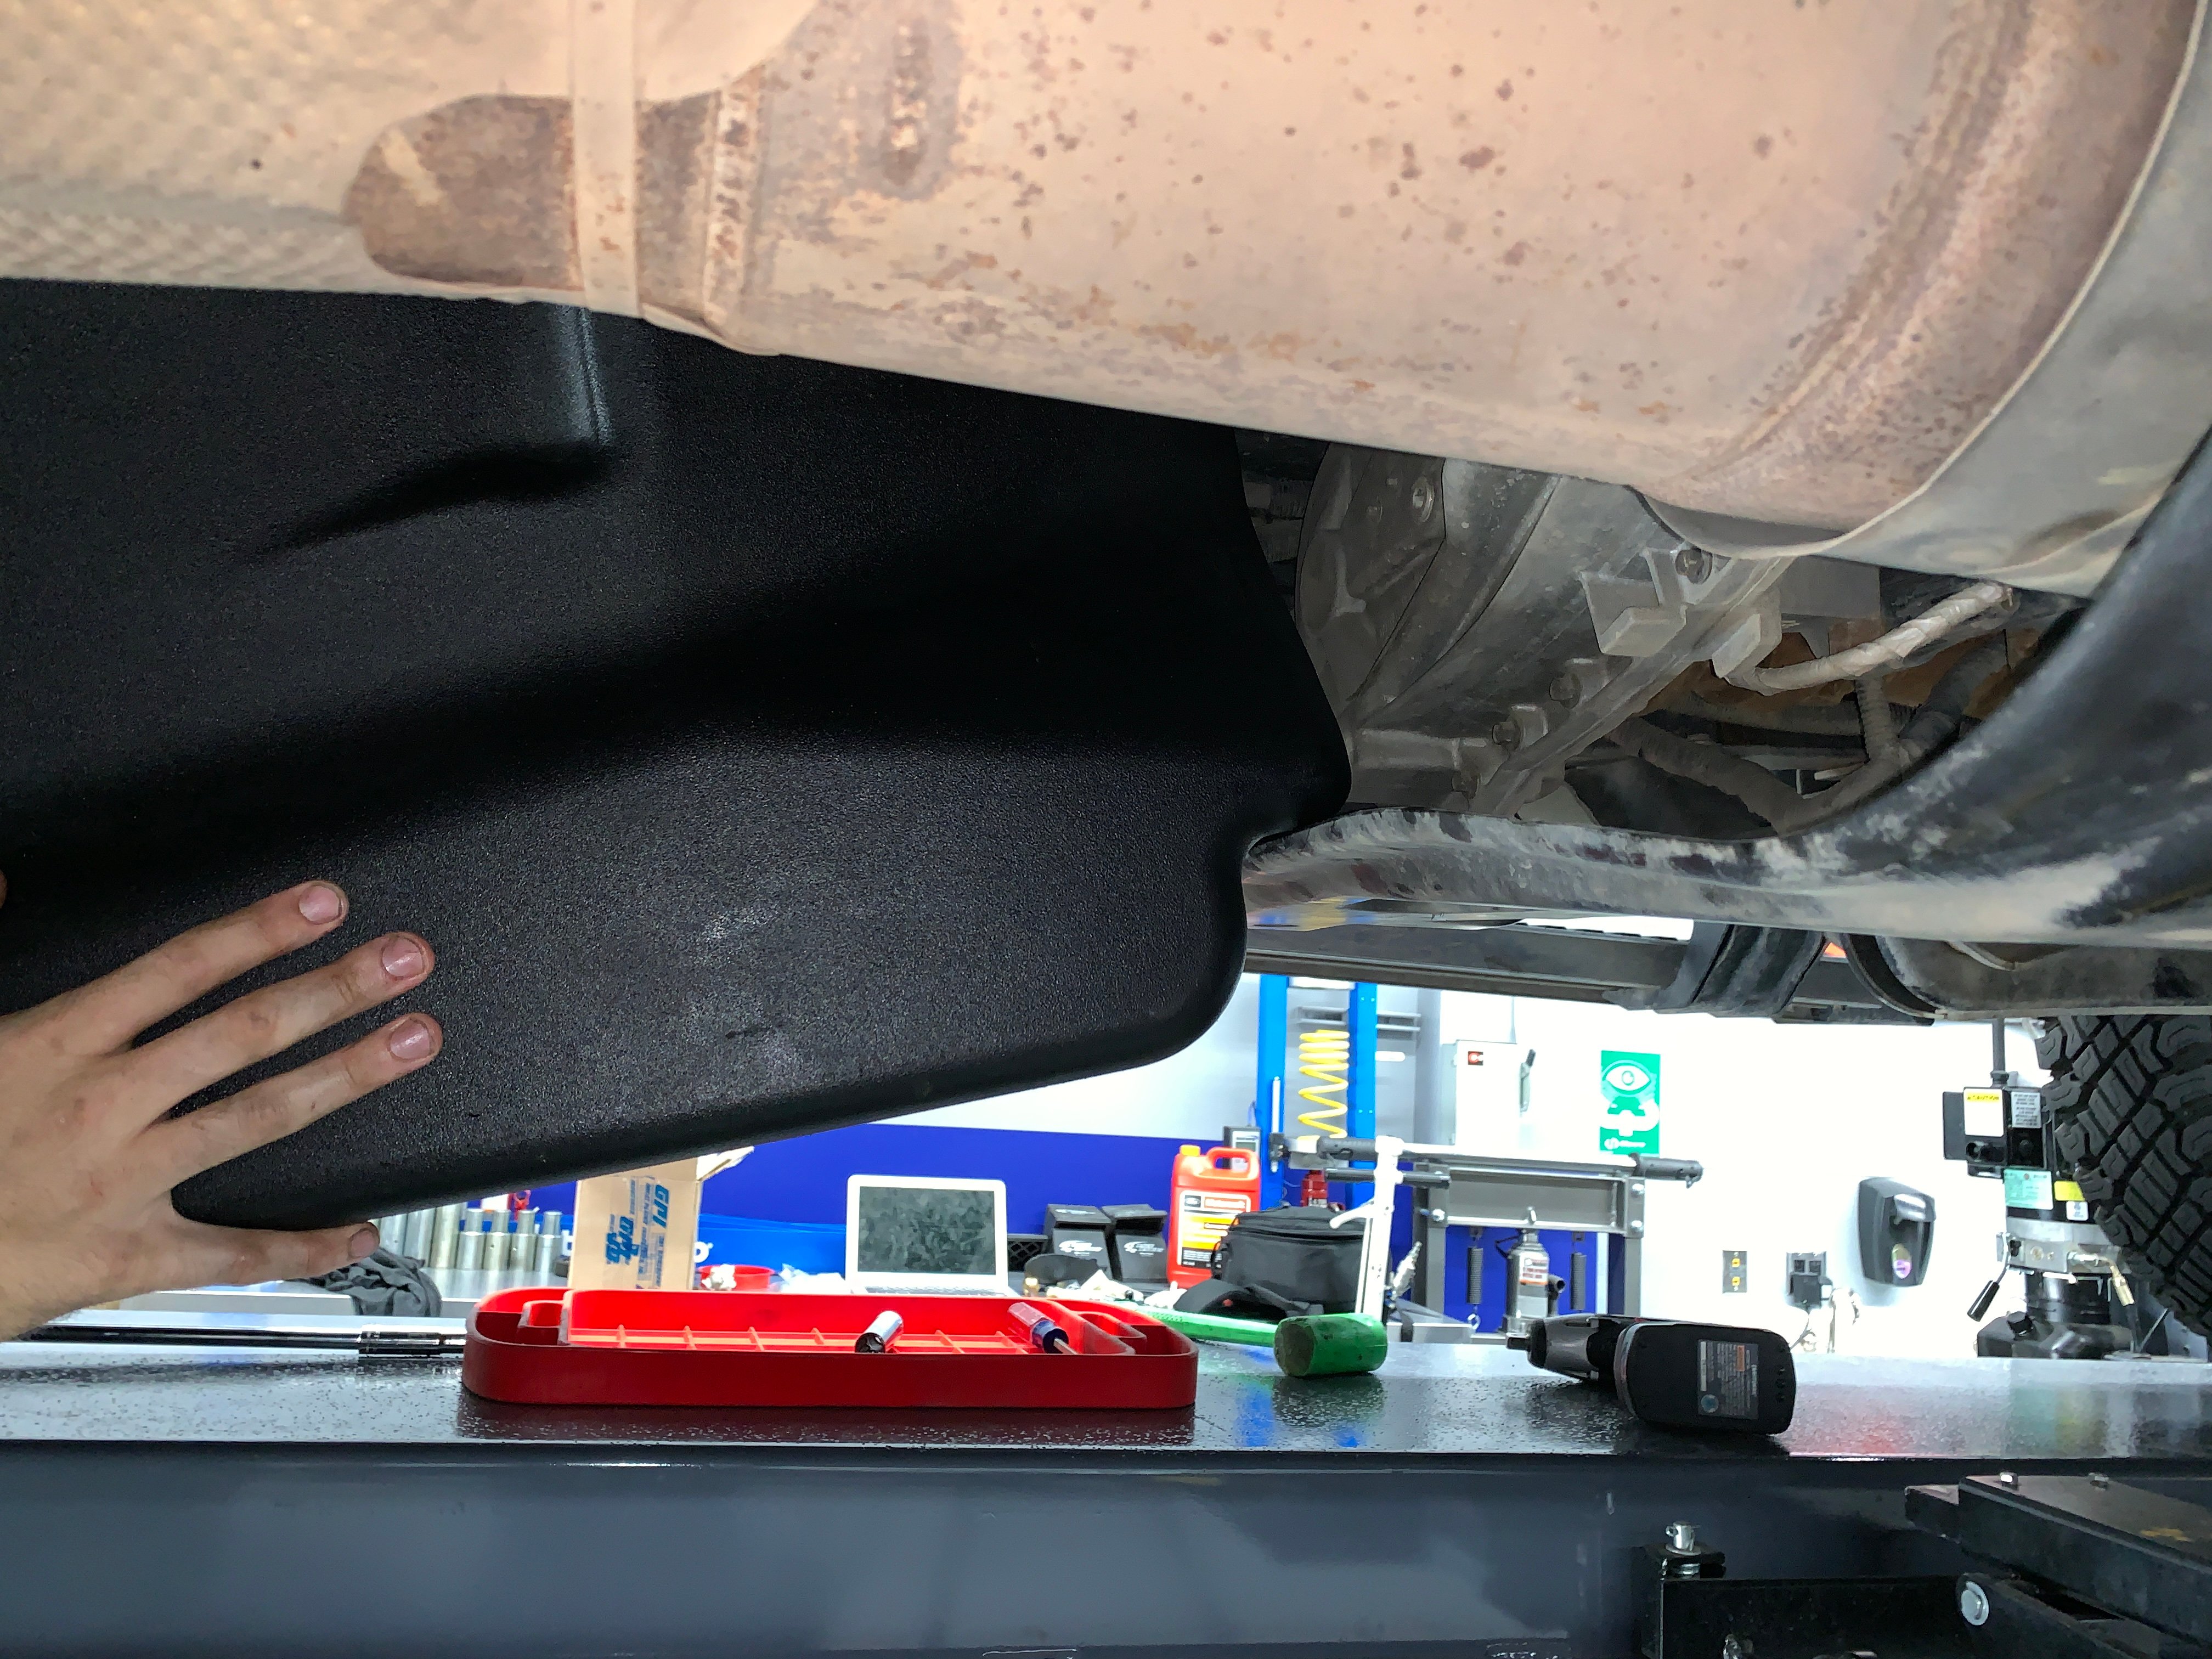
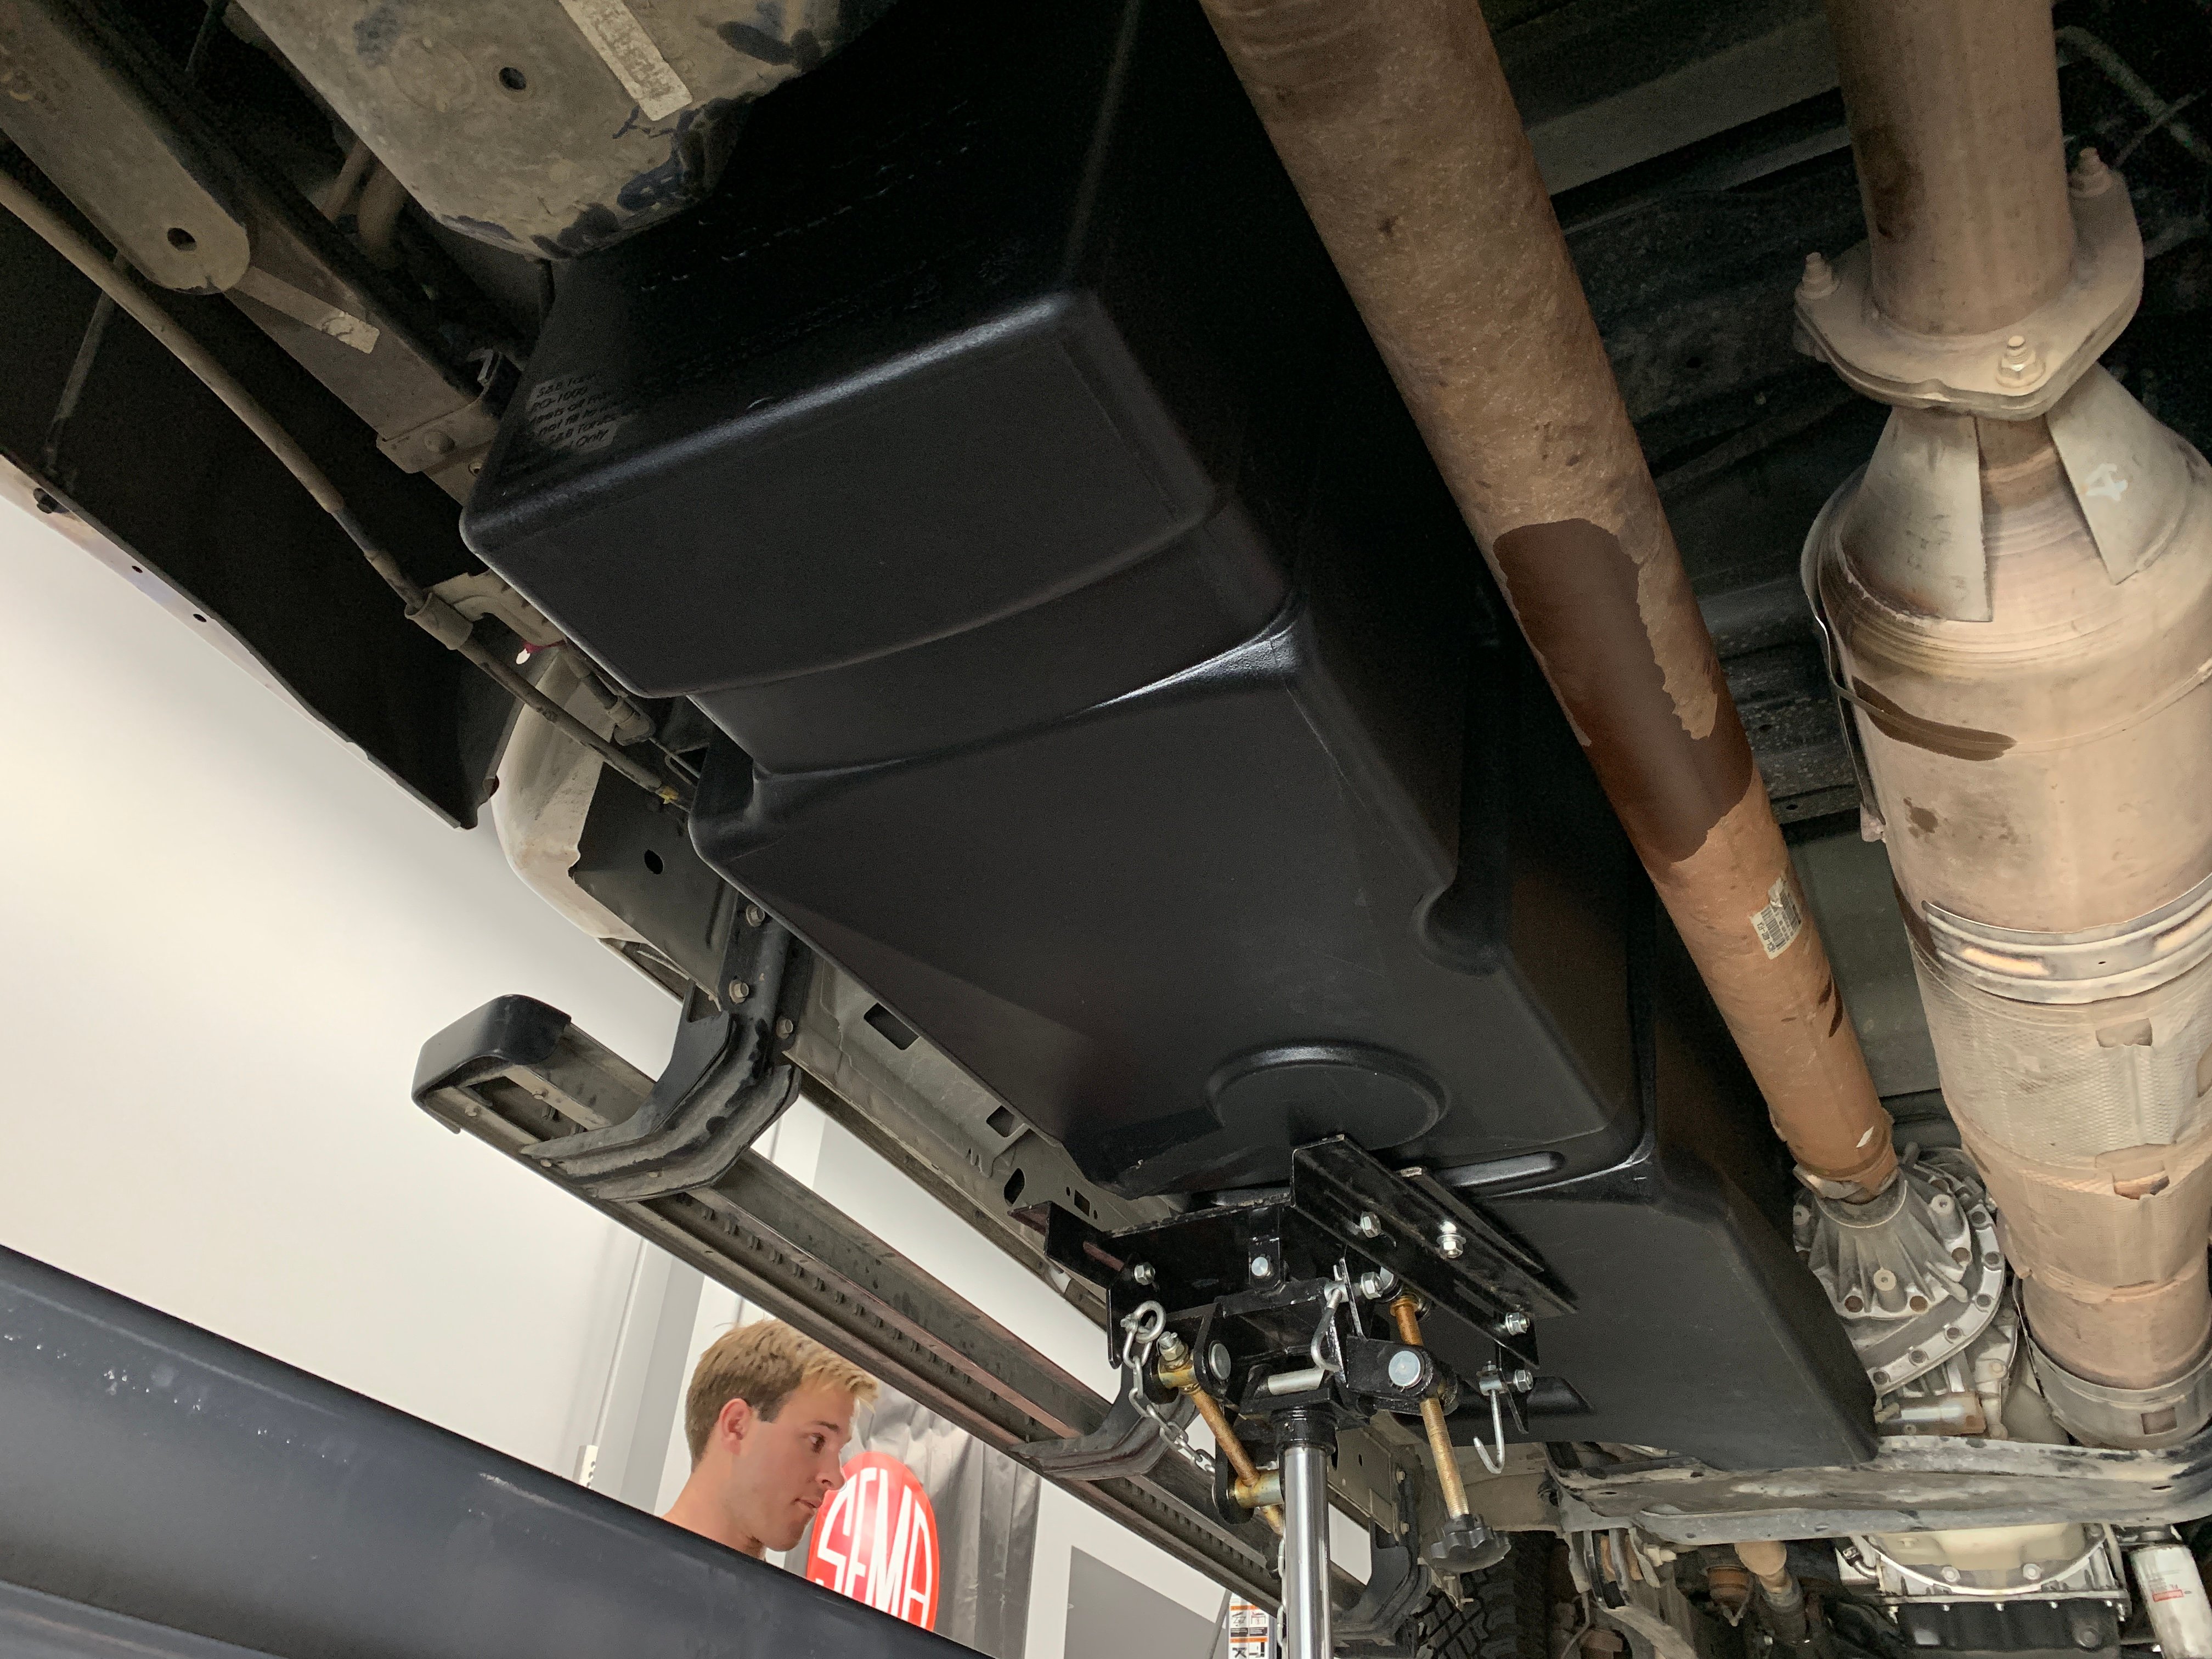
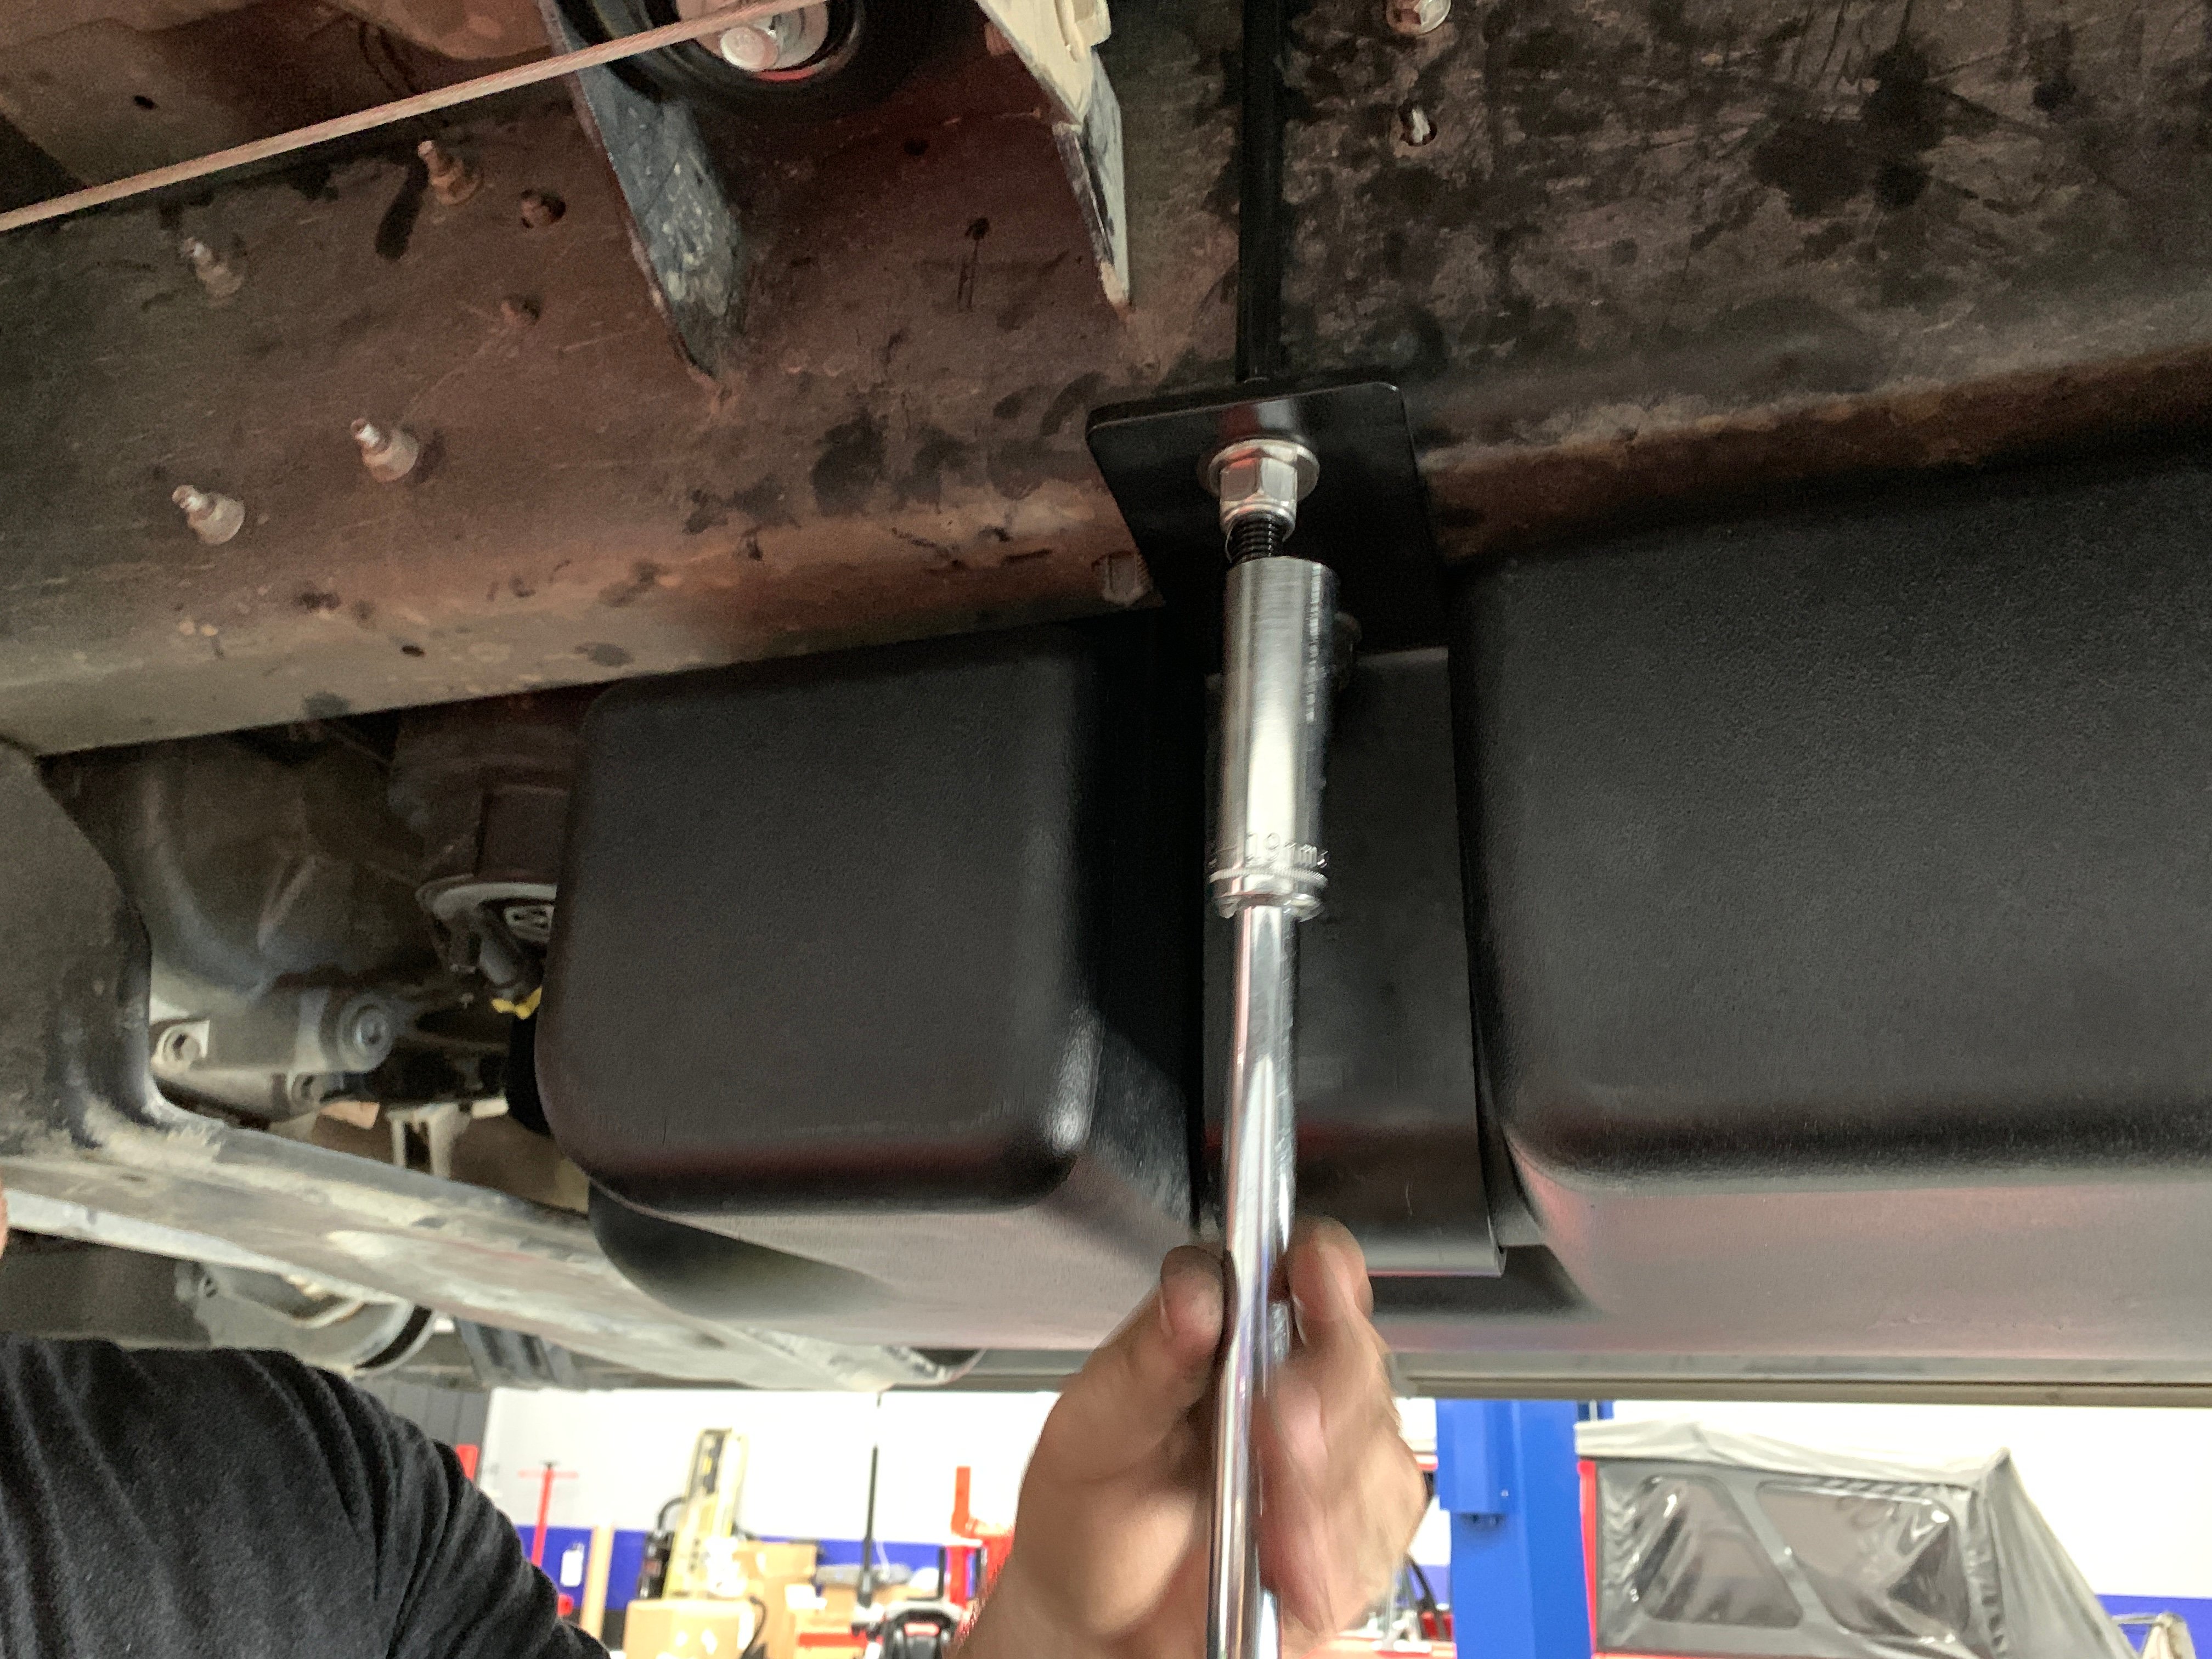
Install Instructions for 10-1000

Before You Start

Please read the entire product guide before proceeding

Ensure all parts are present.

If you are missing any parts, please call or text us at (909)-675-1313

Do not work on your vehicle while the underbody components are hot.

Make sure the vehicle is in park or the parking brake is set if you plan on working on the ground. If working on a lift, make sure the vehicle is lifted safely and securely.

Required Tools

  • Flathead Screwdriver
  • Mallet/Hammer
  • 13mm Socket
  • 19mm Deep Socket
  • Ratchet
  • 12" Driver Extension

STEP 1

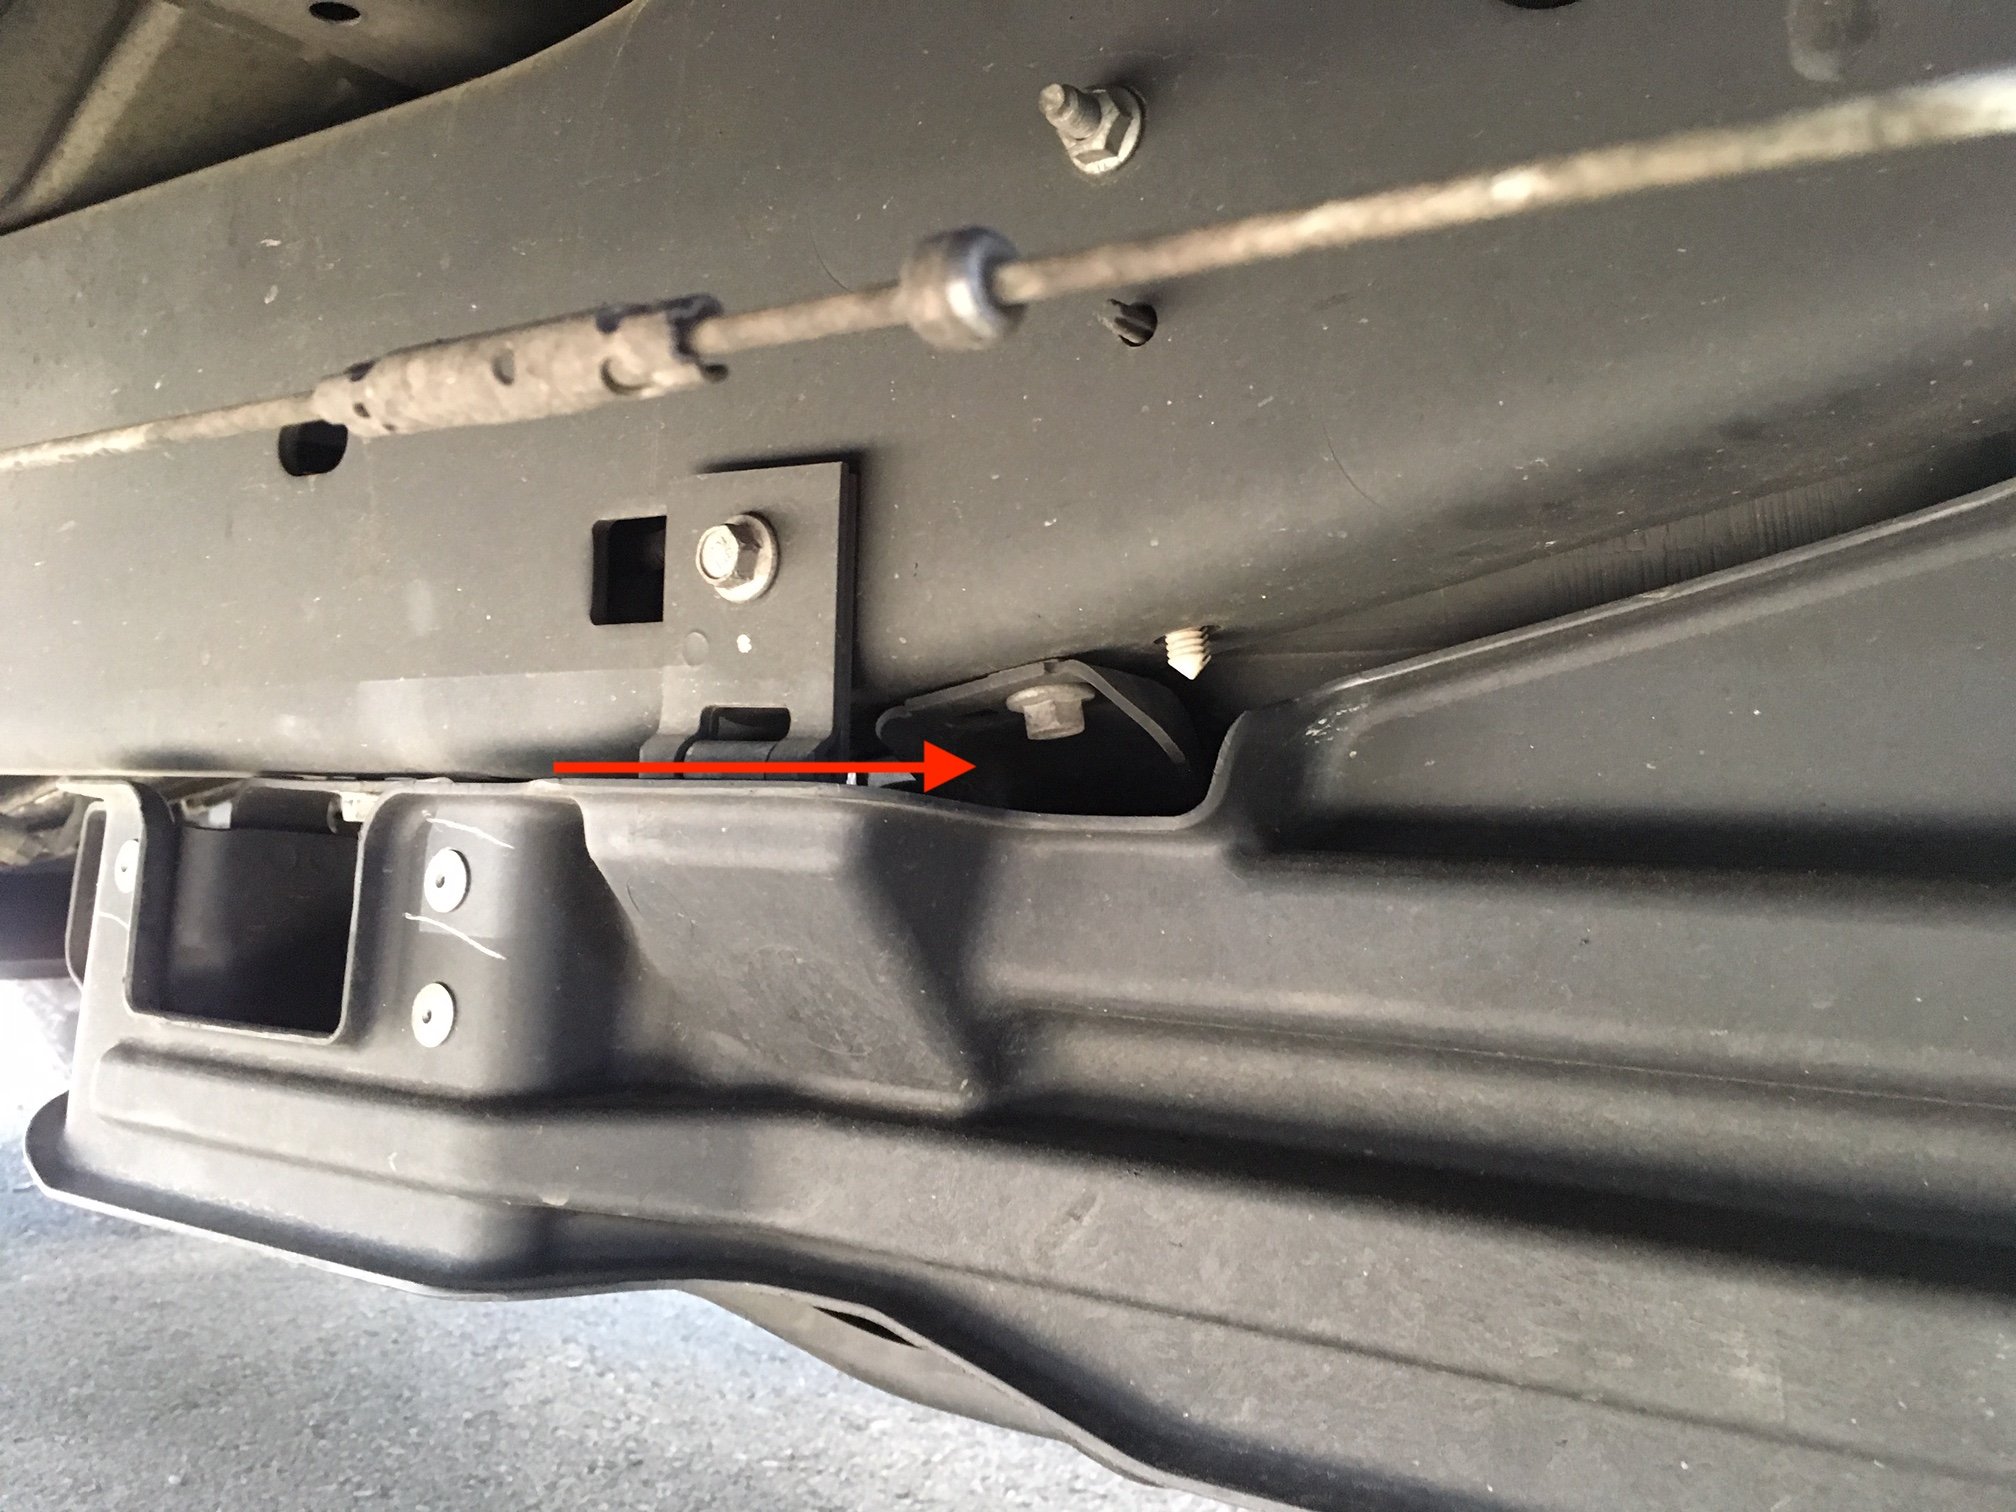
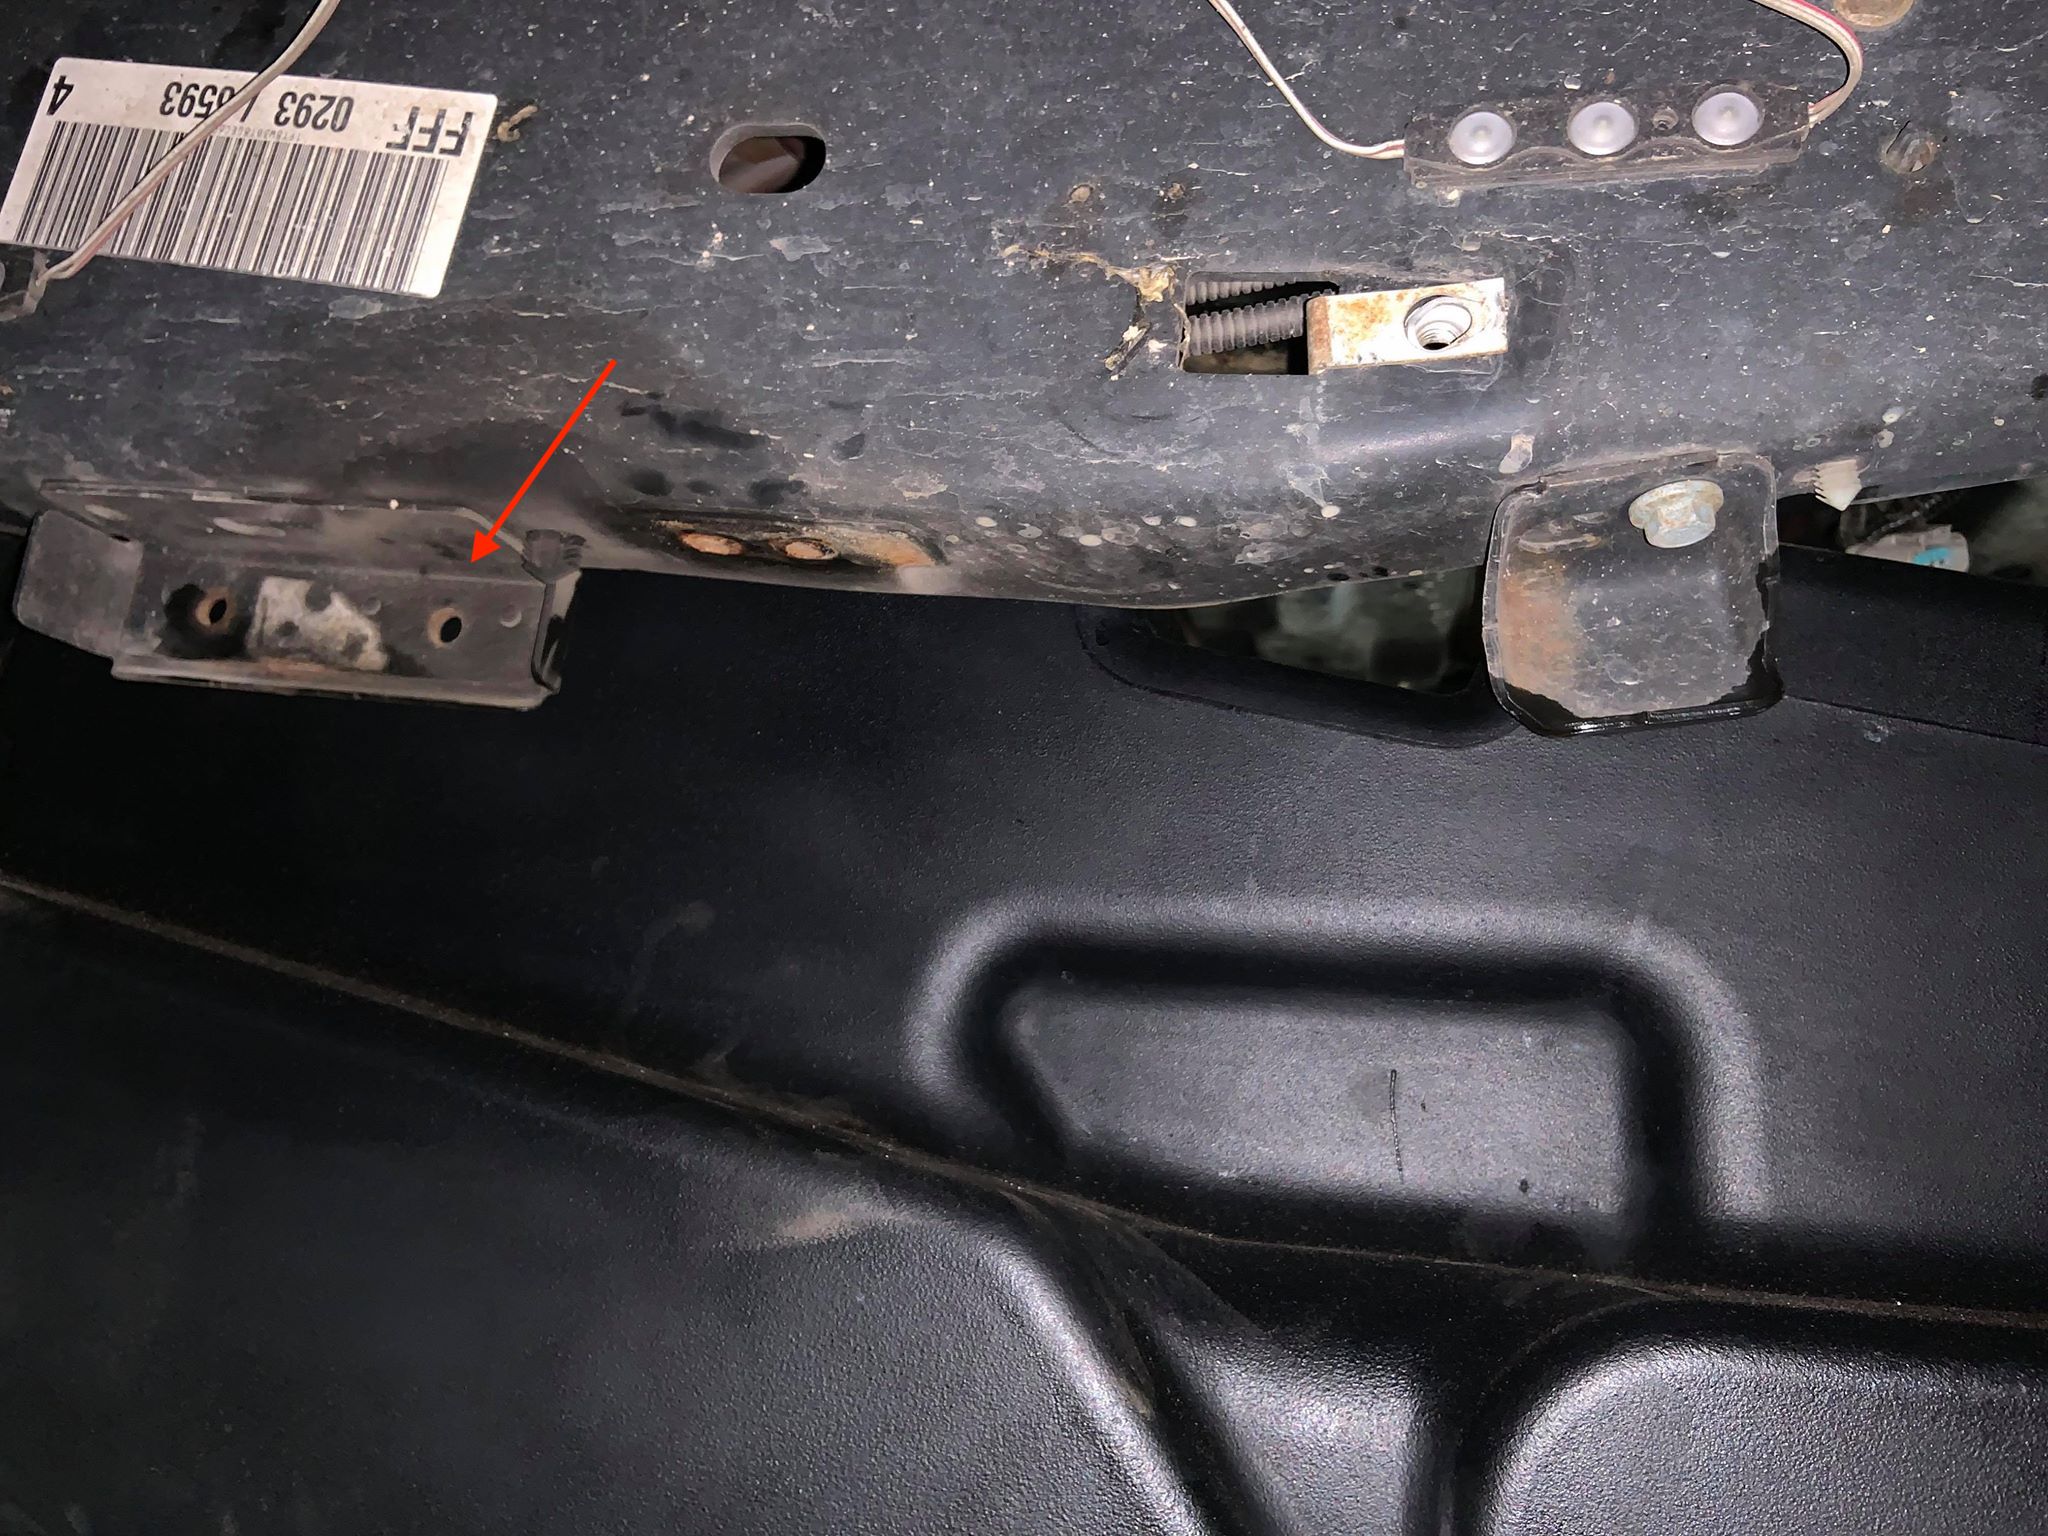
Raise the vehicle up on a lift to working height. The rear of the driver's side frame rail needs to be unobstructed as the S&B Tank will protrude under the frame rail. Installation can be completed without a lift. Make sure the vehicle is safely parked with the parking brake set. If your truck is lowered or has running boards you may have to use a jack to get the S&B Tank in position.


STEP 2

Disconnect the vent and fill hose from the filler/vent neck assembly.


STEP 3

Remove the OEM skid plate if equipped. This will not be used again.


STEP 4

Remove the OEM bumper bracket. This will not be used again.


STEP 4B

Remove this additional bumper bracket found on some 2016 year trucks.


STEP 5

Center the hydraulic jack underneath the fuel tank and raise until the jack contacts the tank. Caution: Support the tank properly as remaining fuel can slosh and cause the tank to shift.


STEP 6

Remove the 4 bolts that secure the fuel tank straps.


STEP 7

Lower the tank approximately 6" or until you can reach the electrical connector, feed line, and return line on the fuel sending unit.


STEP 8

Disconnect the electrical connector. Slide out the red tab with a pick or flathead screwdriver. Depress the tab on the electrical connector and pull out.


STEP 9

Disconnect the fuel feed & return lines. The base of each connector has a lock. Pull the lock away from the center of the connector, depress the yellow or blue tab, press down and then pull up on the connector. Be patient with this step as these connectors are fragile and can break.


STEP 10

Be sure the fill and vent hoses are detached and lower the tank down and out of the from the vehicle.


STEP 11

Carefully check the inside of your S&B Tank to make sure there is no foreign debris.


STEP 12

Remove the OEM sending unit from the OEM tank. Position the flathead screwdriver in a tab of the locking room and hammer counter clockwise. Remove the locking ring, pull the sending unit out, and pour the fuel from the sending unit bowl into the OEM tank.


STEP 13

Place the included O-ring into the O-ring groove on the S&B Tank.


STEP 13A

Insert the OEM sending unit into the S&B Tank, leaving the OEM float attached. Align the tab on the sending unit with the arrow next to the opening on the tank. Now proceed to Step 15. Again, this applies to tanks that came equipped with (2) rollover valve hoses.


STEP 14

Insert the OEM sending unit with the S&B float attached into the S&B Tank. Align the tab on the sending unit with the arrow next to the opening on the tank.


STEP 15

Put the OEM sending unit into the S&B Tank with the sending unit tab facing the arrow on the tank. With the OEM locking ring, lock down the OEM sending unit into the S&B Tank by hitting it clockwise.


STEP 15 B

Ensure the locking ring is fully rotated until the rib on the OEM locking ring is PAST the indentation on the S&B receiving ring.


STEP 16

Transfer the OEM vent and fill hose to the S&B Tank and install them in the same orientation as they were installed on the OEM tank. If your S&B Tank is equipped with a long hose on the roll over vent, use the attached zip ties to attach the hose to the fill neck line. If not, don't worry about it.


STEP 16B

Before installing the filler hose onto the S&B Tank. Place the white check valve into the bottom of the filler hose with the blue arrow pointing into the tank.


STEP 17

Prior to installing the S&B Tank, fish the U Bolt over the frame frail. Start with the u bolt in front of the body mount and positioned horizontally. Slide it backwards and rotate it 90 degrees downwards.


STEP 17B

Swap the positions of the yellow and blue fuel lines. These fuel lines run all the way to the lift pump, remove the lines from the 2 brackets and reinstall with the yellow line below the blue line.


STEP 18

Center the S&B Tank on the jack and raise it until it is 6" from being in place. Reconnect the fuel sending unit electrical connector, blue return line fitting, and yellow feed line fitting. Make sure to push the locking tabs inwards on fuel line connectors.


STEP 18 PART B

Make sure the fuel line connectors are pushed all the way down. Sometimes the connector will click before it is fully seated. In this picture the blue connector is fully seated while the yellow is not. If your truck has a consistent long crank after installing your fuel tank, the yellow connector probably isn't fully seated.


STEP 19

Make sure the fill and vent hose are over the frame and raise the tank into place. The easiest way to do this is lifting the front portion of the tank first. Use the transfer case cross member to support the front lip of the tank.


STEP 20

Using the OEM fuel tank strap bolts, start installing the straps(30 lb-ft). The S&B straps line up with the OEM straps and utilize the same cage nuts.


STEP 21

After you have installed the straps, install the front support bracket into the indentation on the tank. Place the washers over the threads and start the nylon lock nuts by hand. Tighten them evenly with a socket.


STEP 22

Reconnect the fuel fill and vent hoses. Slide hoses back onto metal tubes and tighten hose clamps. Use zip ties to secure the rollover valve hoses to the fill hose so that they are elevated above the top of the S&B Tank.


STEP 23

Check to make sure the tank is not interfering with anything on the truck, all connectors are properly locked down, and bolts and nuts are properly tightened. Enjoy your S&B Tank. If you have any questions call us (909)-675-1313.