TIP 1
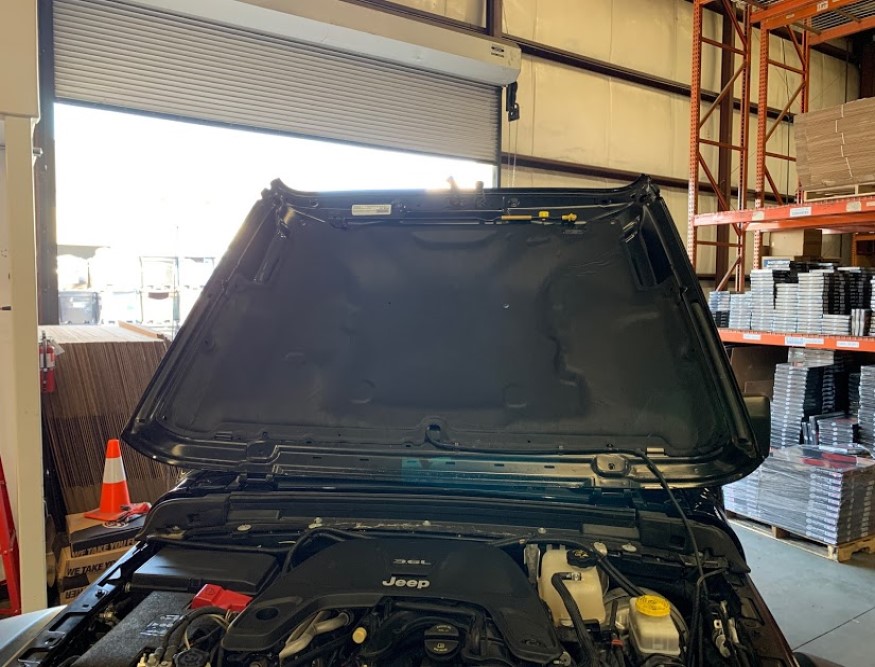
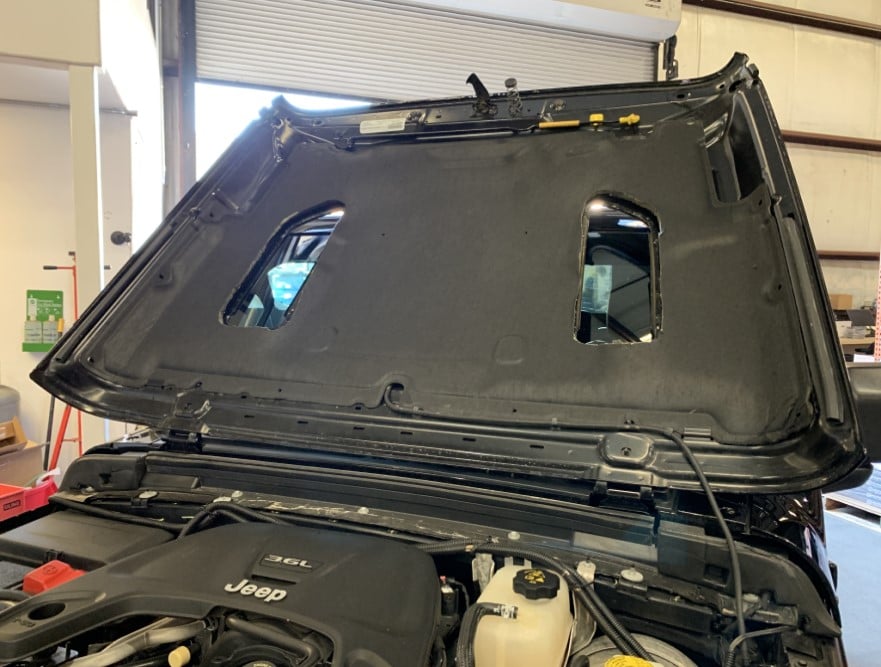
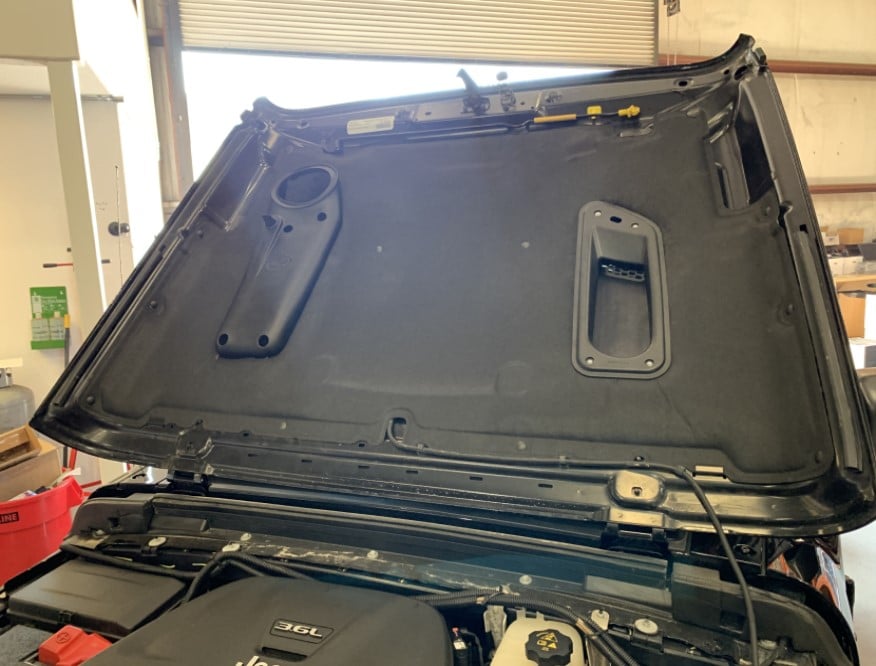
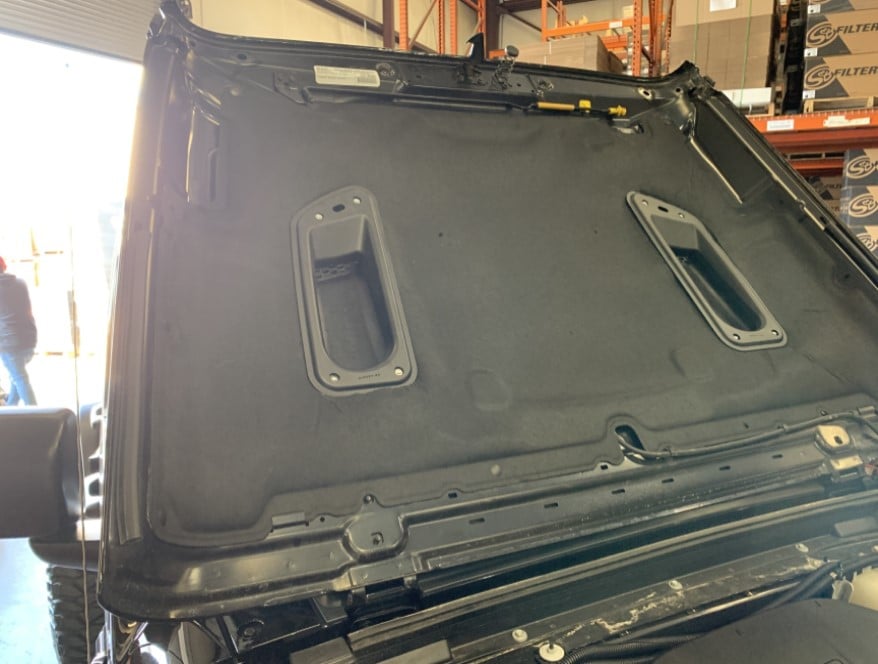
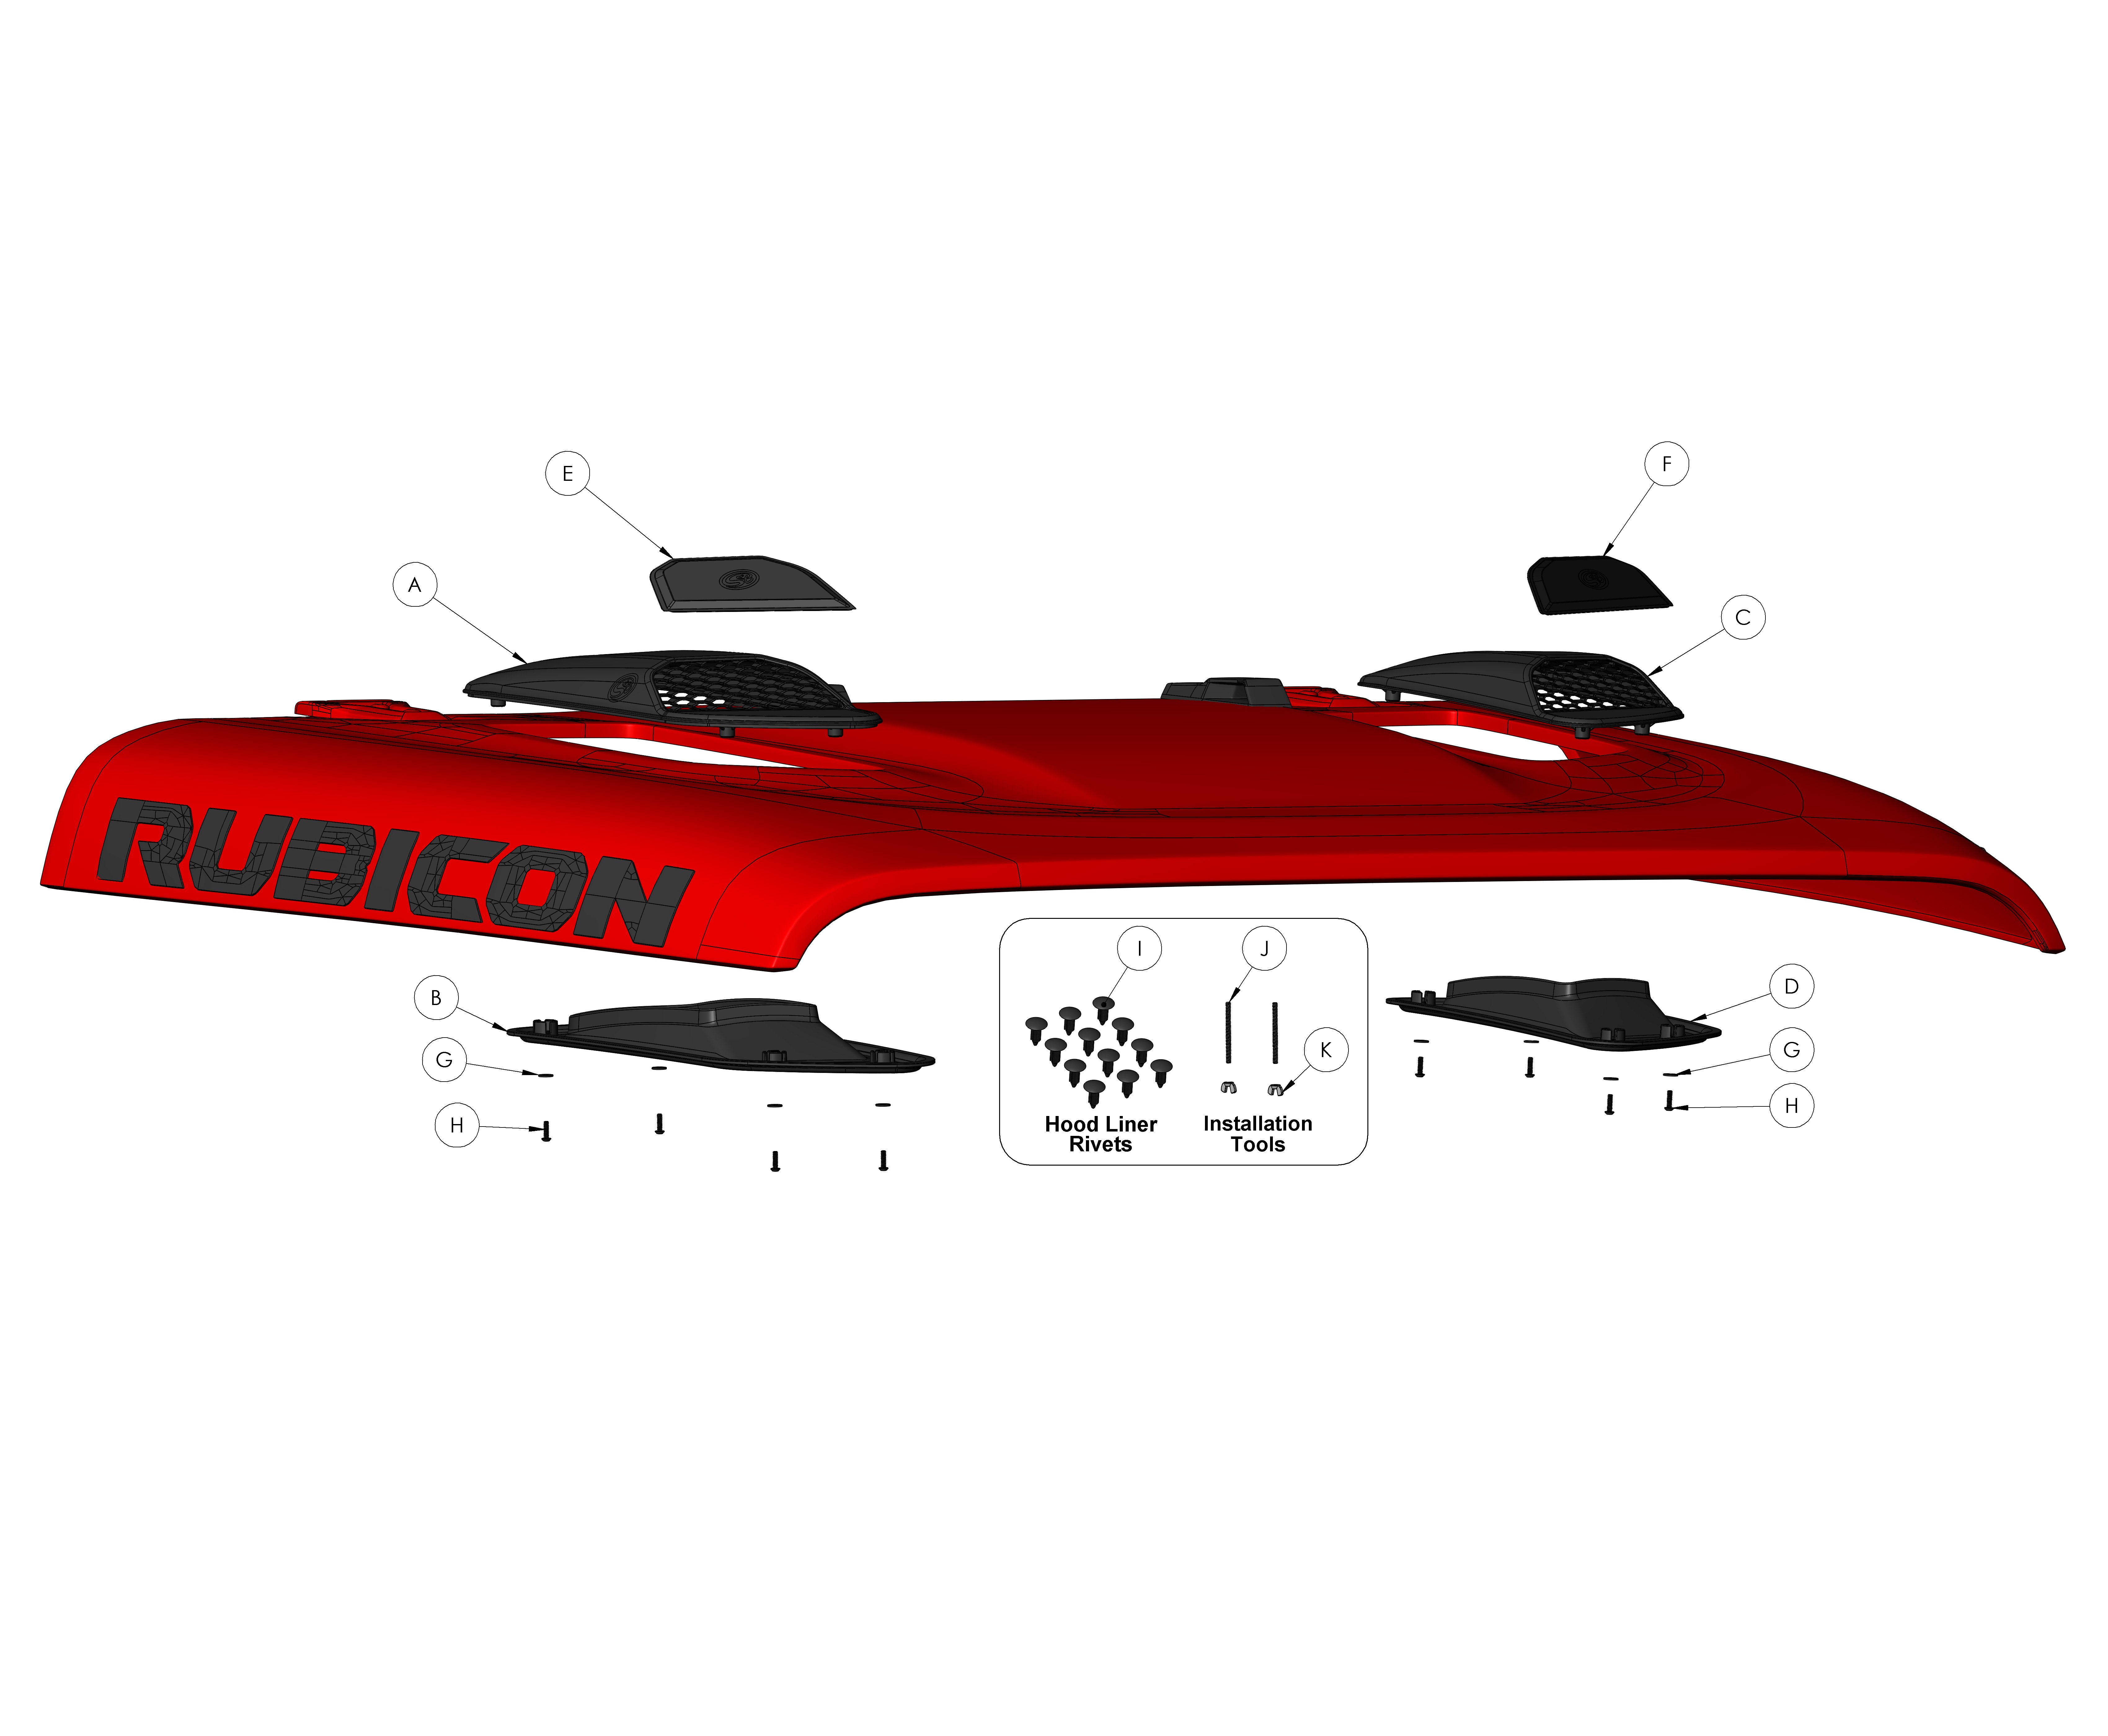
If at any point in the instructions it is difficult to access the scoops or hood liner. Open the hood completely until the hood rests on the cabin (place a blanket or towel in between to avoid damage). Use a step stool or ladder to reach. Also, it is optional to remove the hood by removing the 4 hood bolts. See the manufacturer’s instructions for removing the hood. These instructions will guide you to install the S&B Hood Scoops without needing to remove the hood.