STEP 1
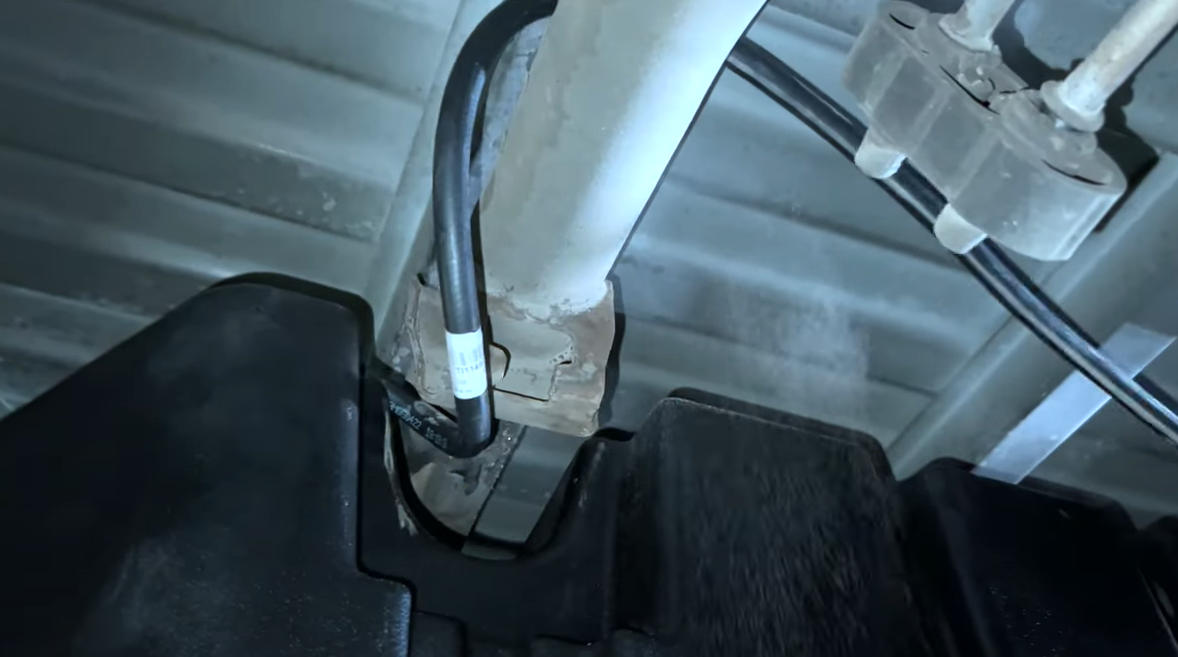
Remove the filler hose from the tank or at the hose clamp connecting the hose to the metal filler neck
- Disconnect and isolate both of the negative battery cables
- Before installing S&B Tank, conduct pressure test to ensure o'ring is properly seated.
- In-bed Auxiliary Fuel Tanks will void the Lifetime Warranty.
- Nozzle at high flow fuel station may continue to "click off". Tank is designed to work at regular fuel stations.
Remove the filler hose from the tank or at the hose clamp connecting the hose to the metal filler neck
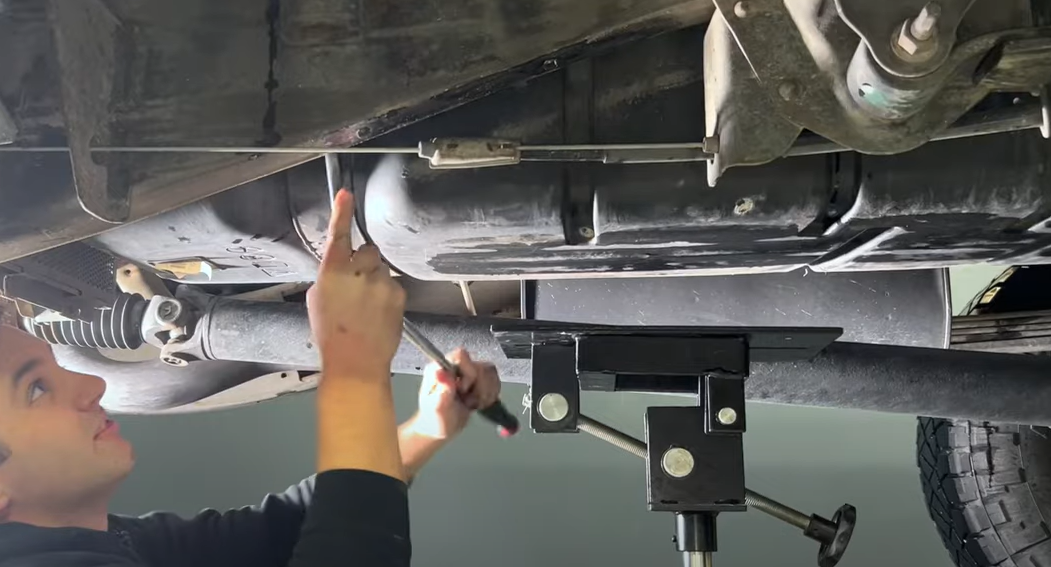
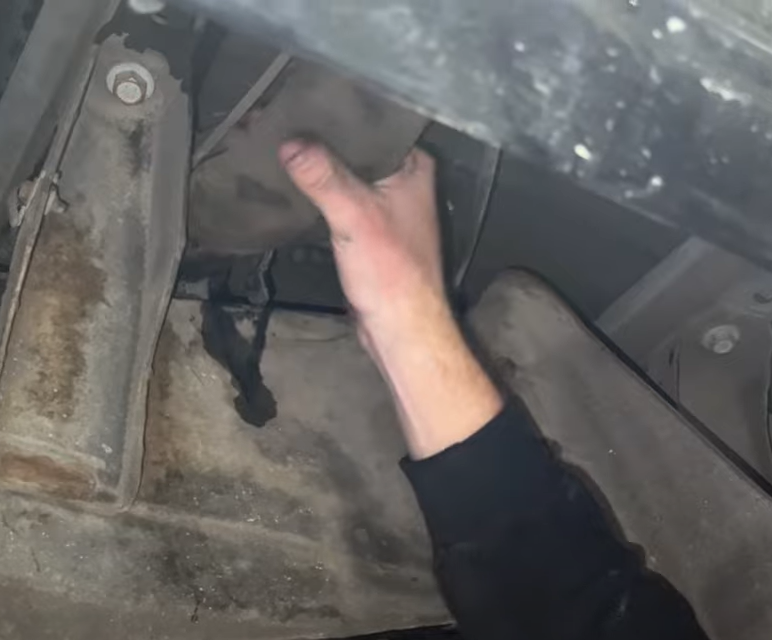
If you truck came equipped with a skid plate, remove it with a 13mm socket.
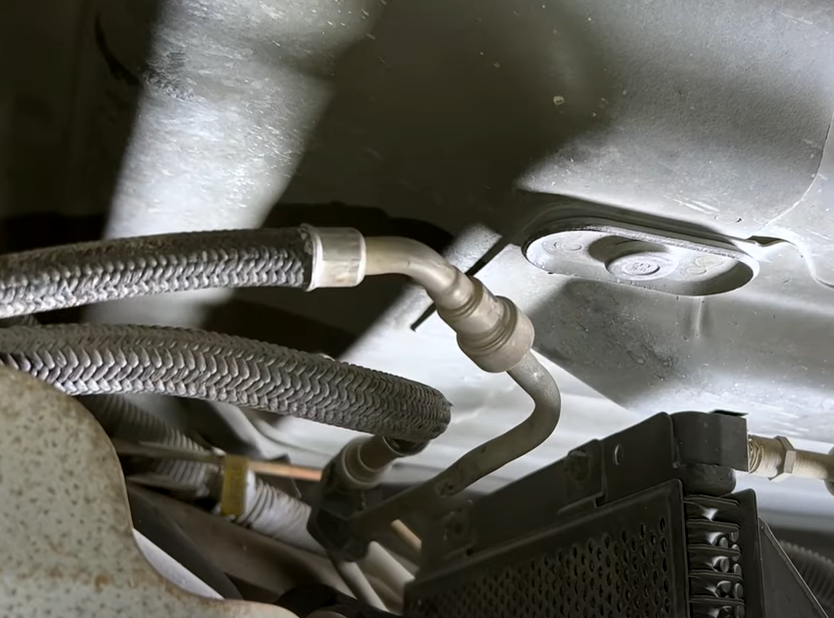
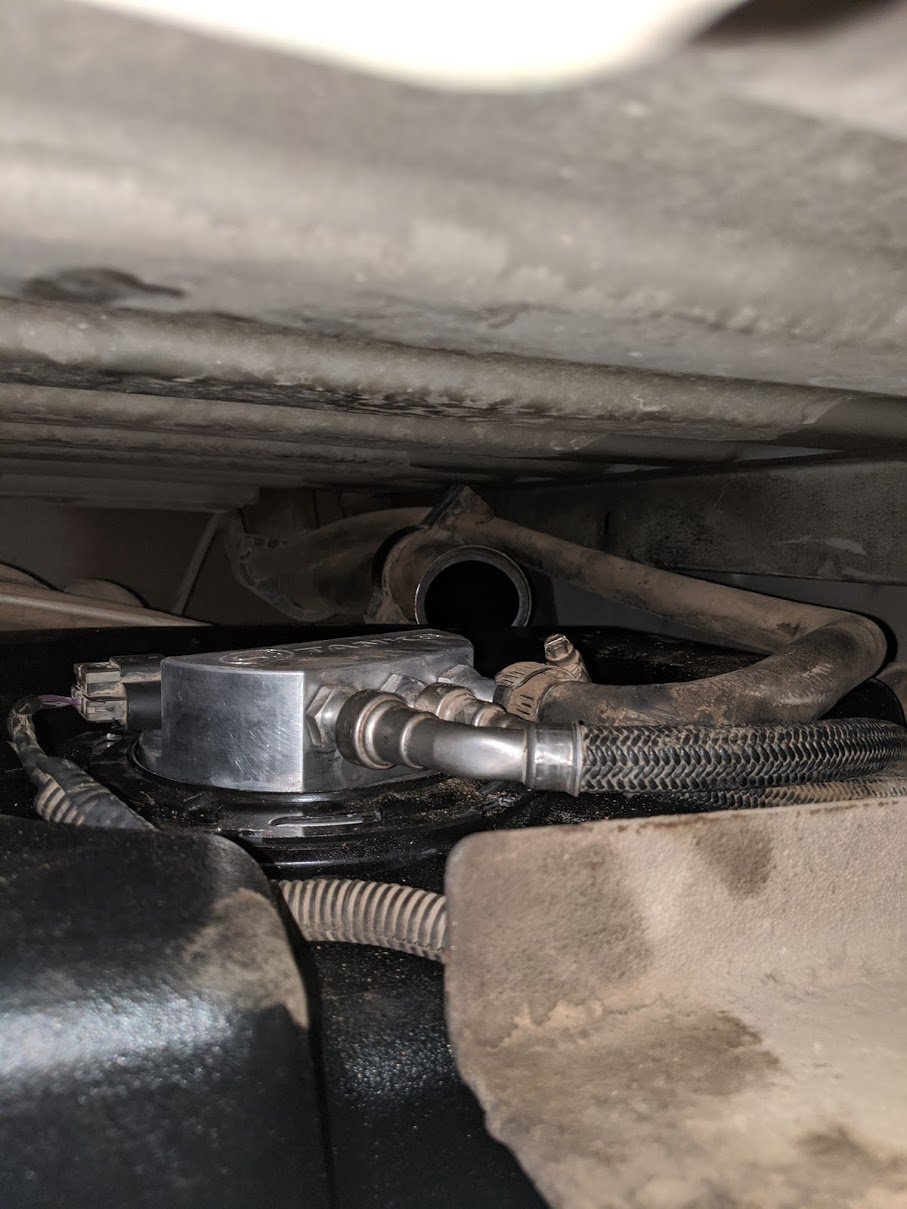
With fuel line disconnect tools, disconnect the fuel feed and return lines above the fuel cooler.
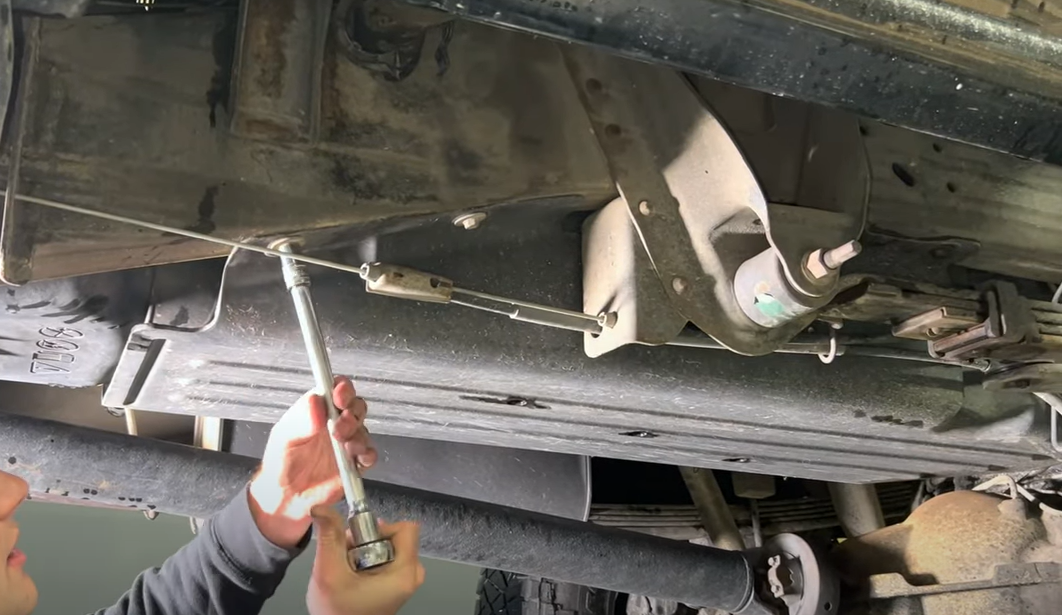
With a jack supporting the bottom of the tank. Use a 15mm socket to remove the front and rear straps.
Remove the electrical connector by sliding out the grey tab and depressing the top bottom.
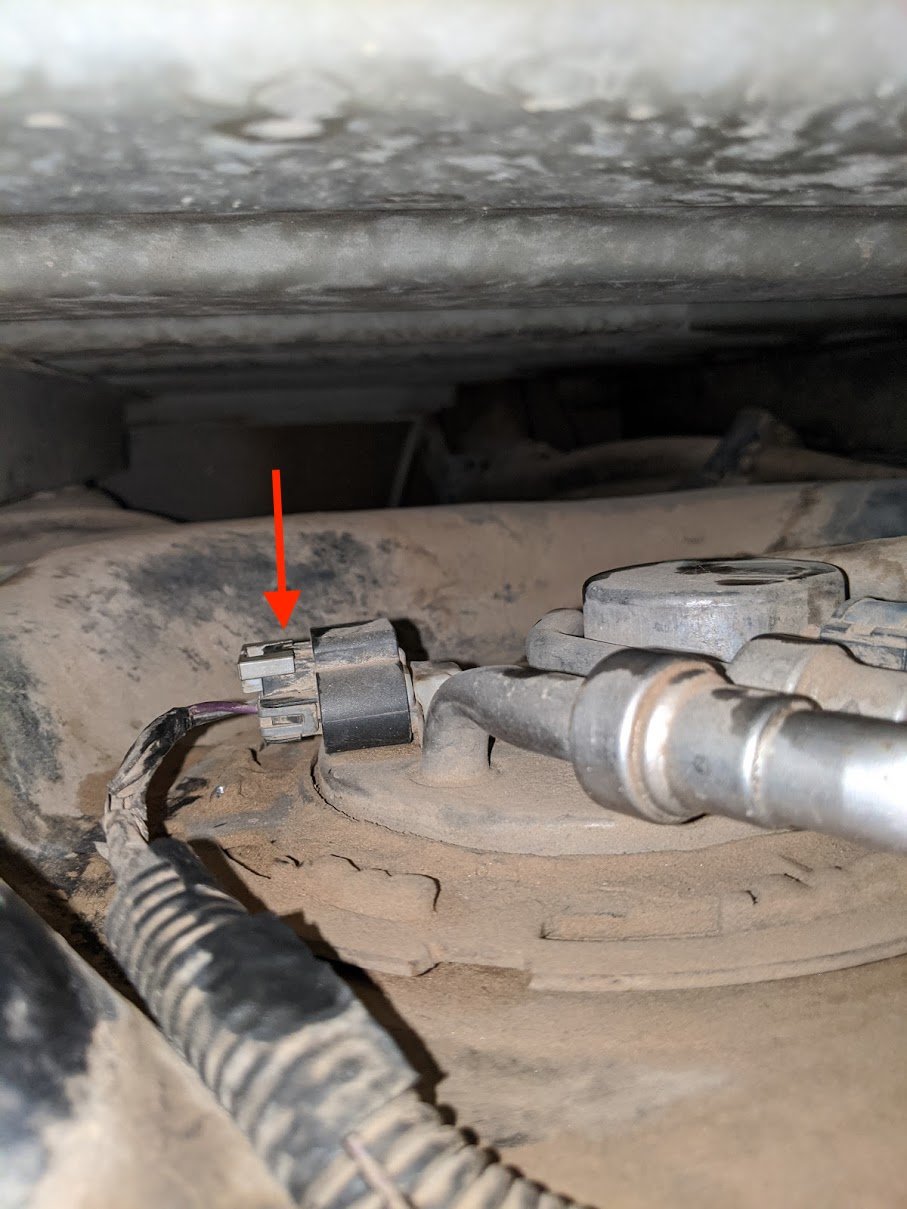
Remove the electrical connector by releasing the tab on the side and pulling out on the connector.

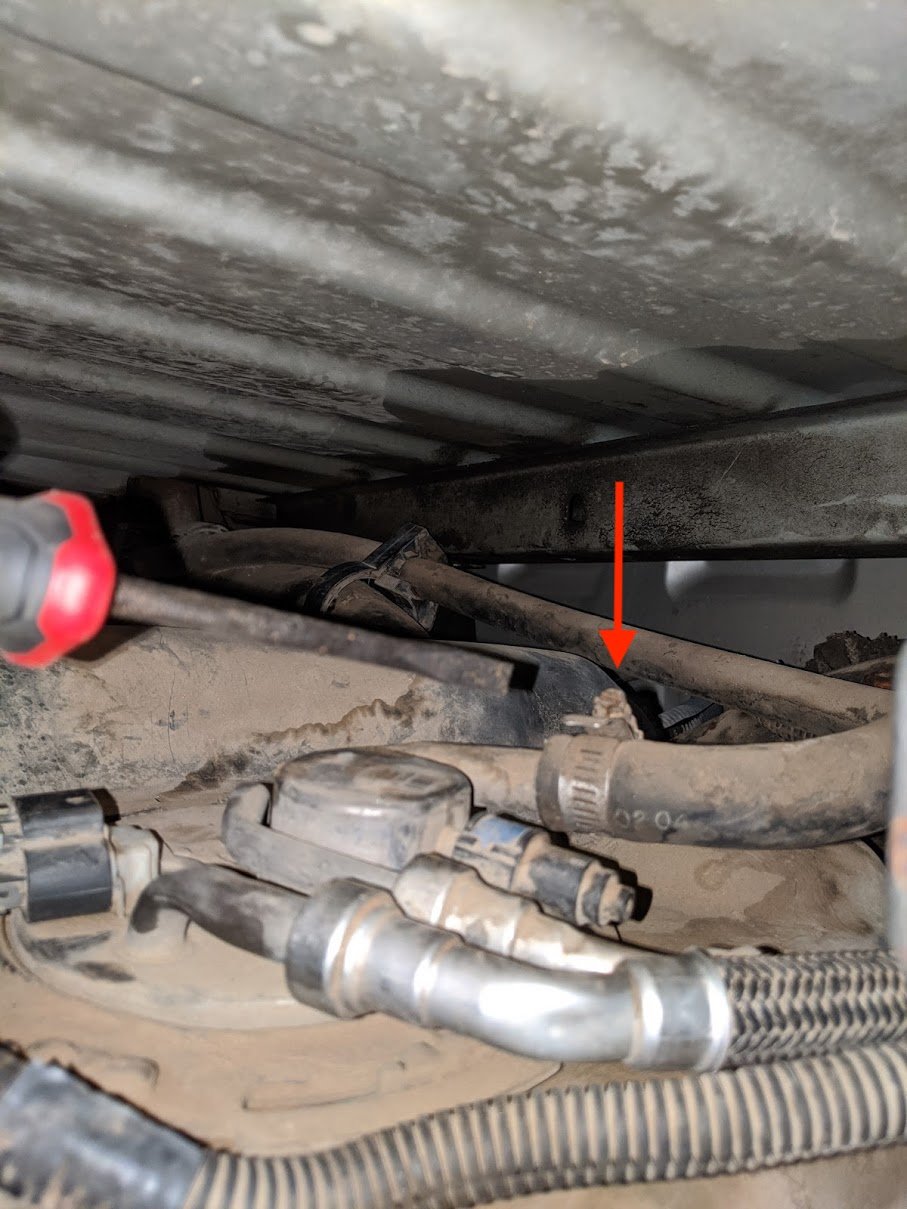
Remove the hose clamp securing the fuel vent hose to the sending unit barb.
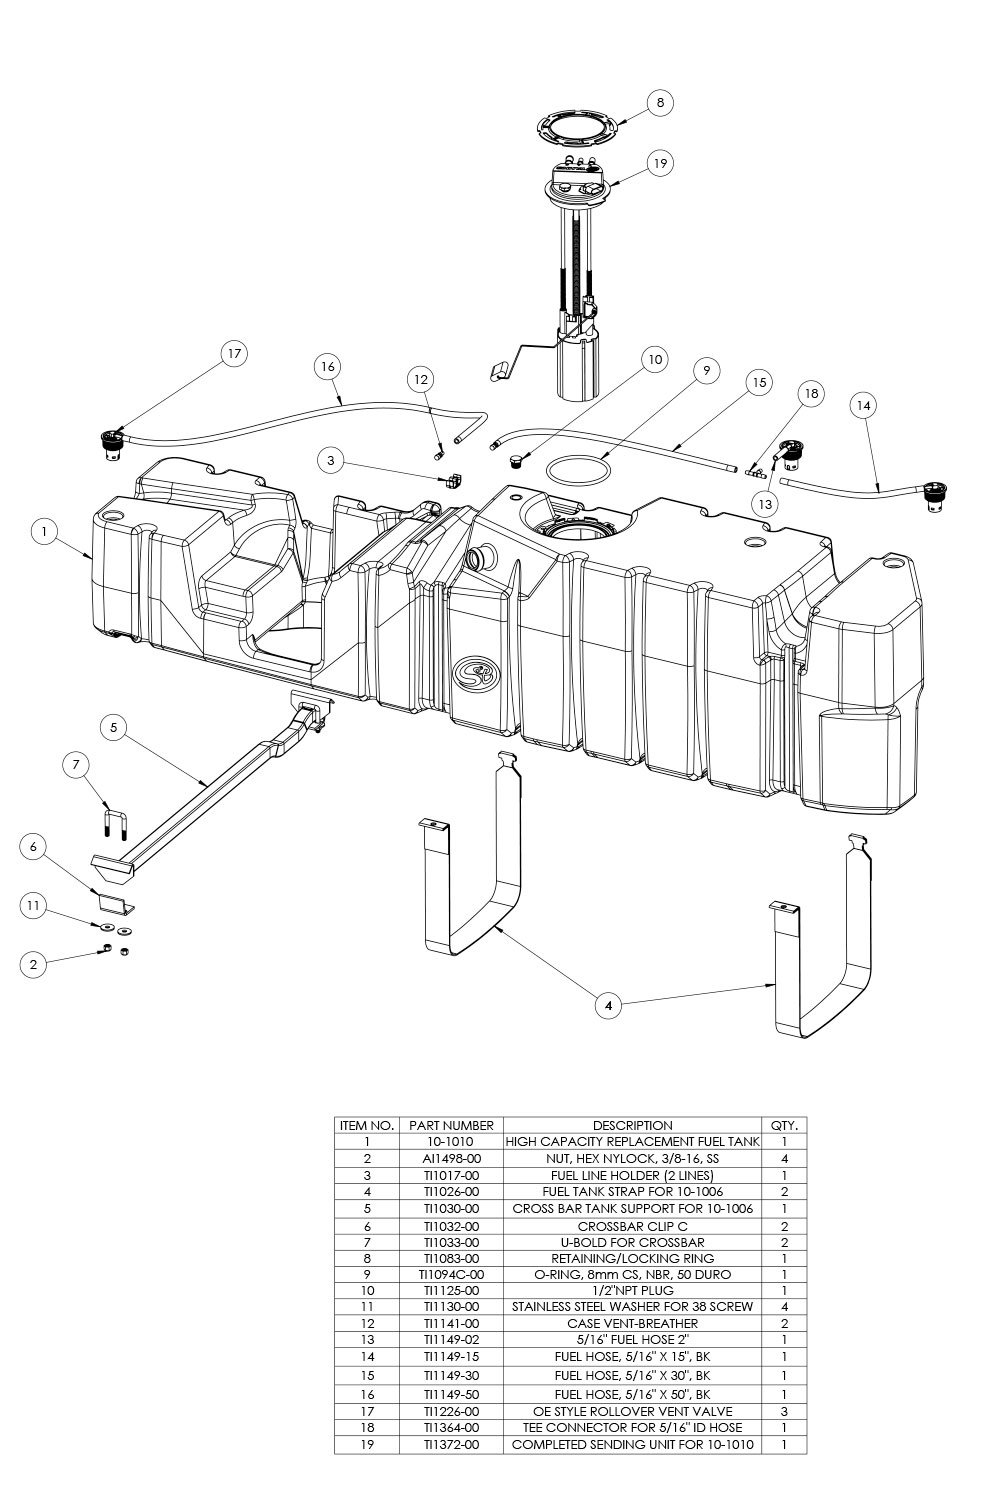
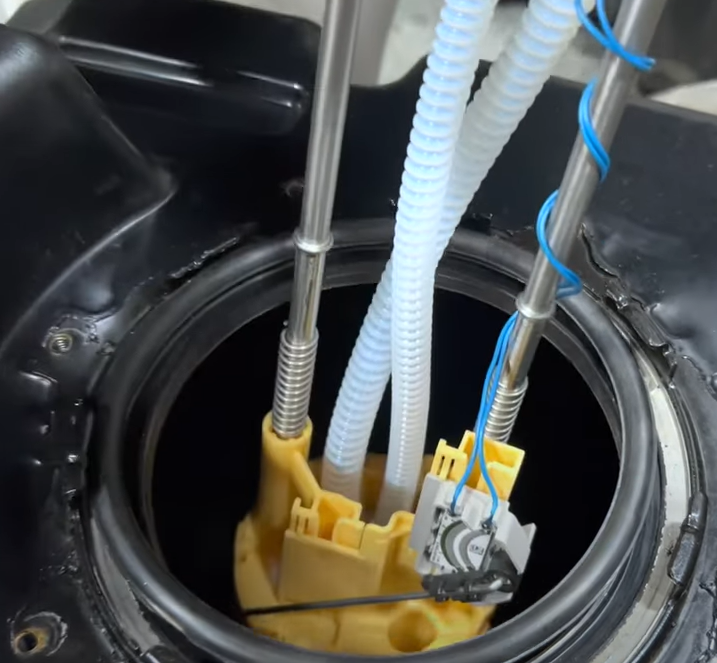
Remove the OEM fuel tank. Place the included S&B o'ring into the o'ring groove and install the float onto the sending unit once the bucket is through the opening in the S&B Tank.
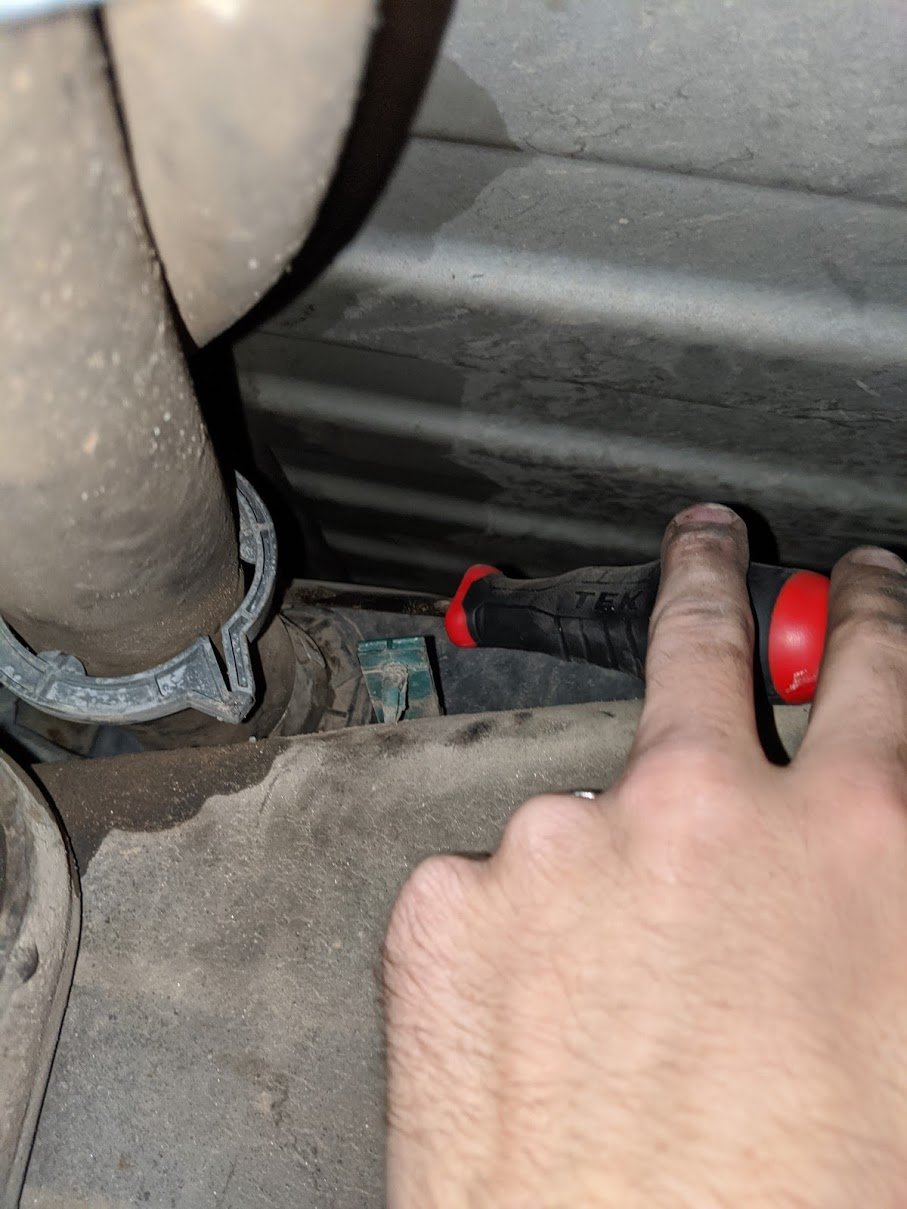
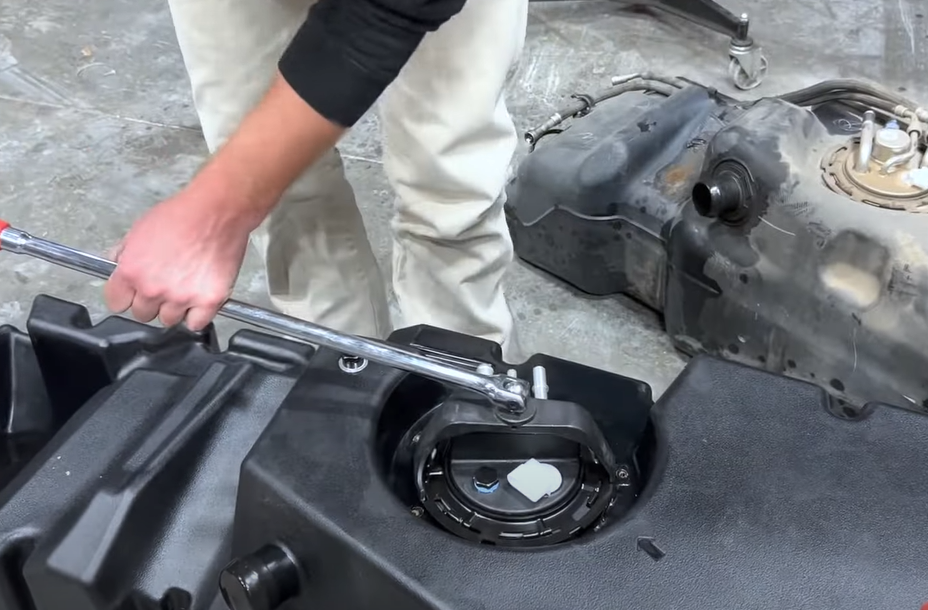
With the tab on the sending unit facing the arrow on the S&B Tank, install the included o'ring over the sending unit flange. Either use a dead blow/pry bar or fuel locking ring tool to hit the ring clockwise until it passes under the indention in the ring on the S&B Tank.
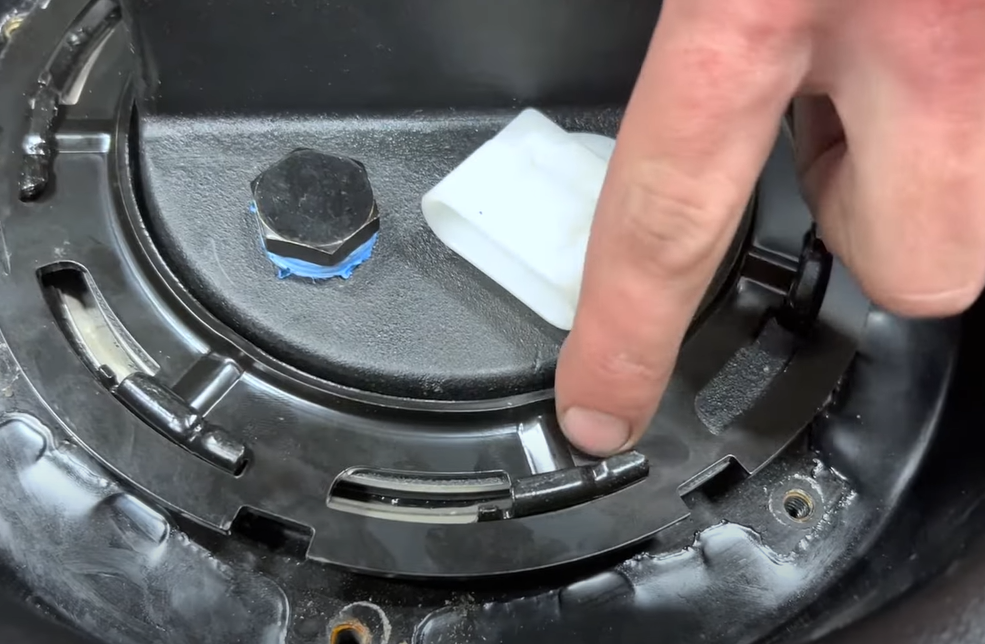
This is what the ring looks like in the locked position.
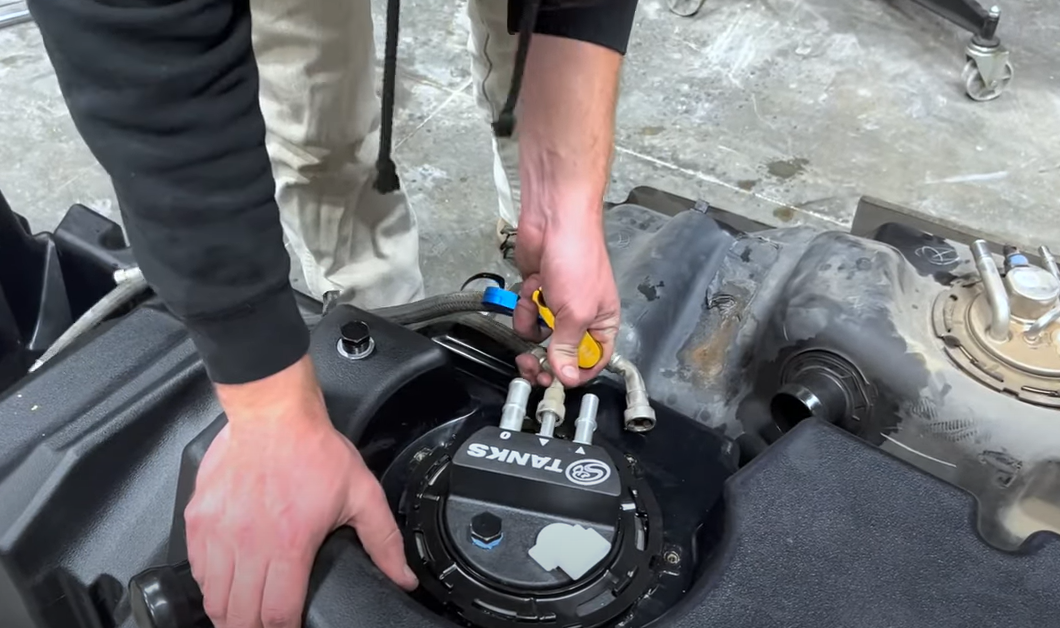
Transfer the feed and return line from the OEM tank to the S&B Tank
Lift the tank into place. Throw the 5/16" ROV hoses over the frame rail to prevent them from getting pinched in between a crossmember when installing the tank. Reconnect the electrical connector and vent hose to the sending unit.
Route the hoses over the crossmembers and to the filler hose
Reconnect the filler
Install the 2 S&B fuel tank straps.
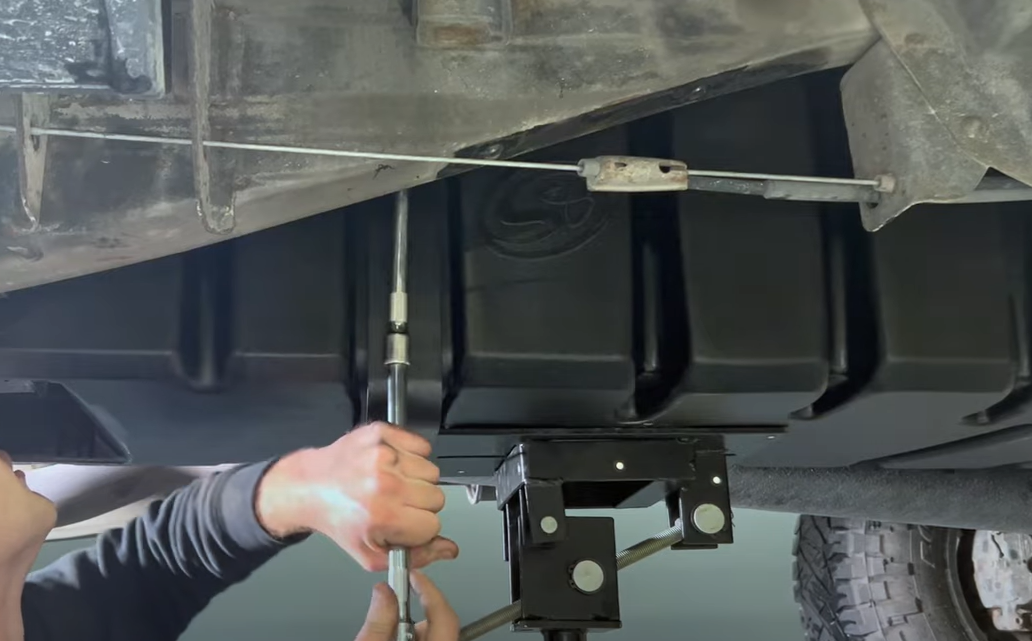
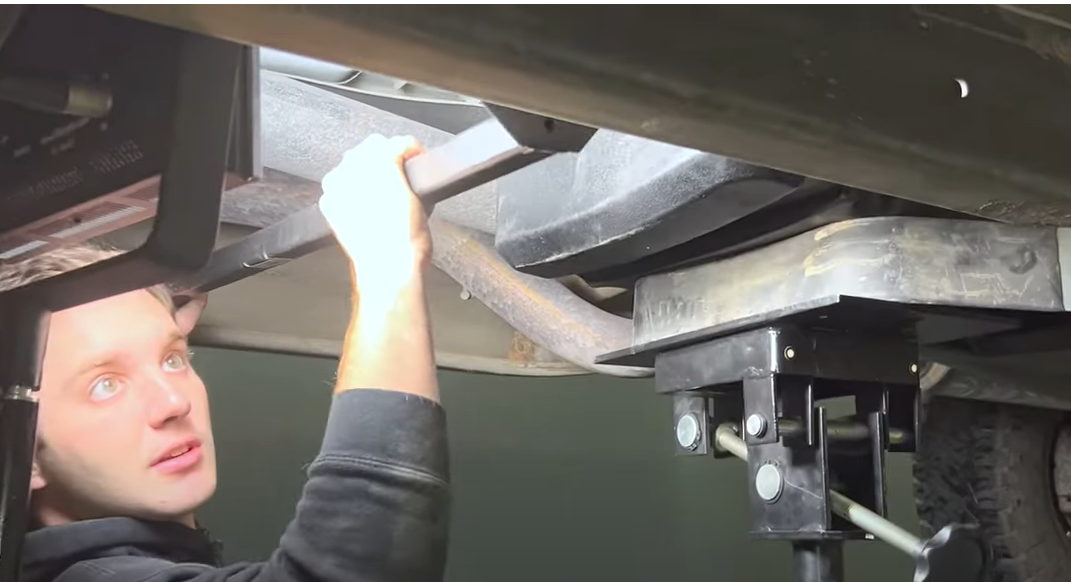
Install the S&B support bar in front of the S&B Tank. The hooks should be over the inside lip of the frame rail. Then by pressing up on the tank and pushing on the bar, slide the bar under the S&B Tank until it is in the groove on the S&B Tank.
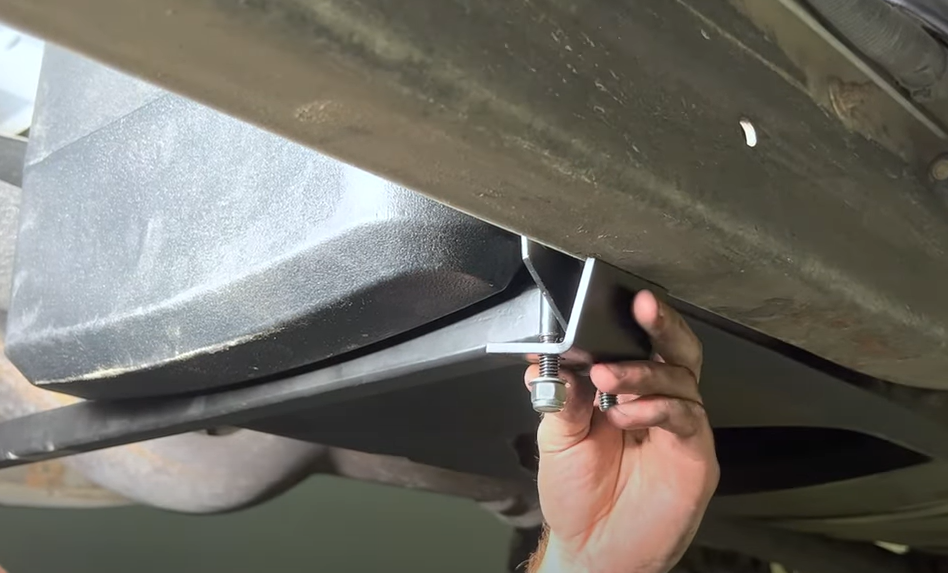
To secure the S&B support bar to the frame. Slide the u-bolts over the bar and slide as close to the frame as possible. Then install the clips, washers and lock nuts onto the u-bolt.
This final checklist is very important.
#1 Make sure all bolts and nuts are safely fastened and torqued.
#2 Ensure there is proper driveshaft clearance.
#3 Double check fuel line connections, the electrical connection as well as the vent and fill lines.
#4 Lastly, fill the tank full and check for any leaks. If you have any questions, call or text us at 909.675.1313