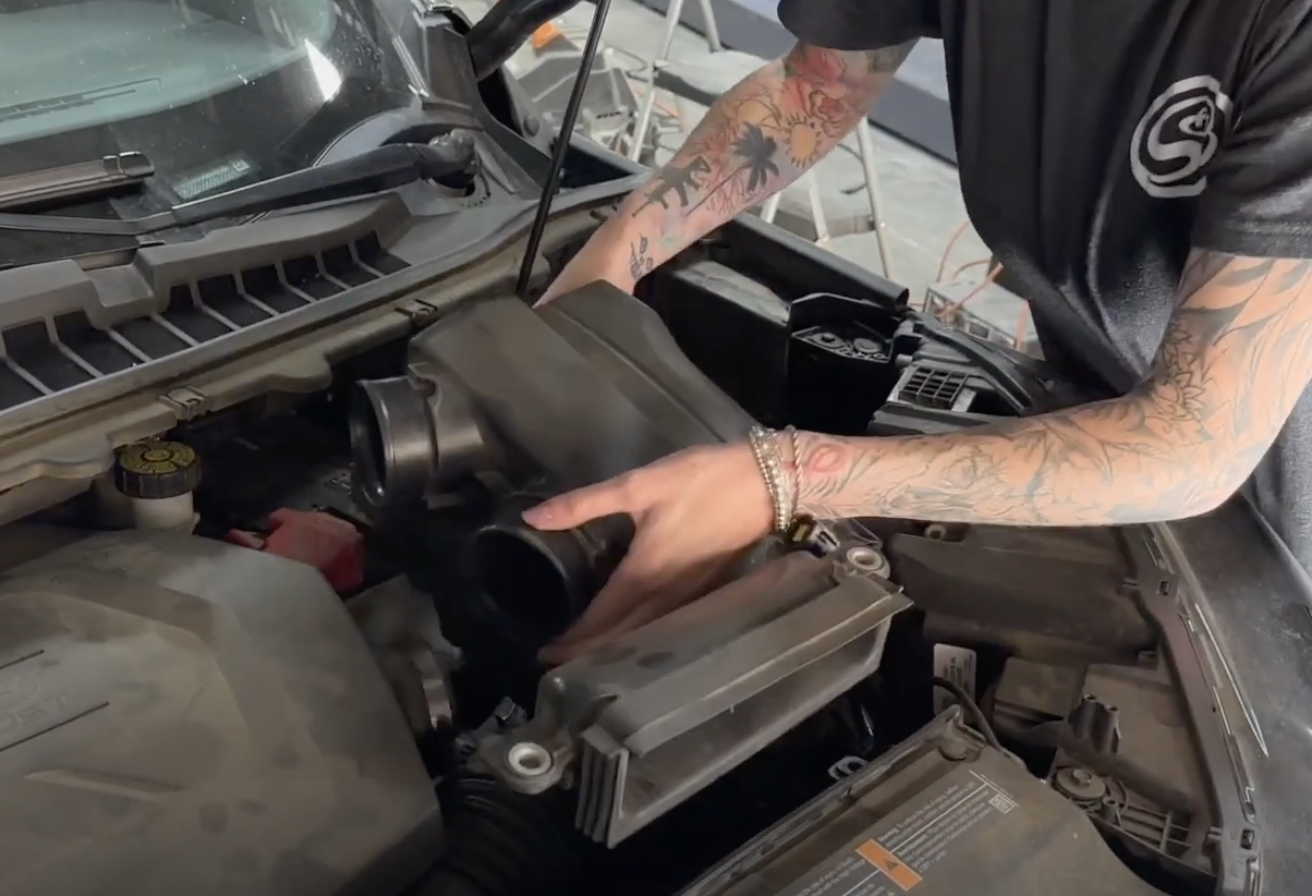
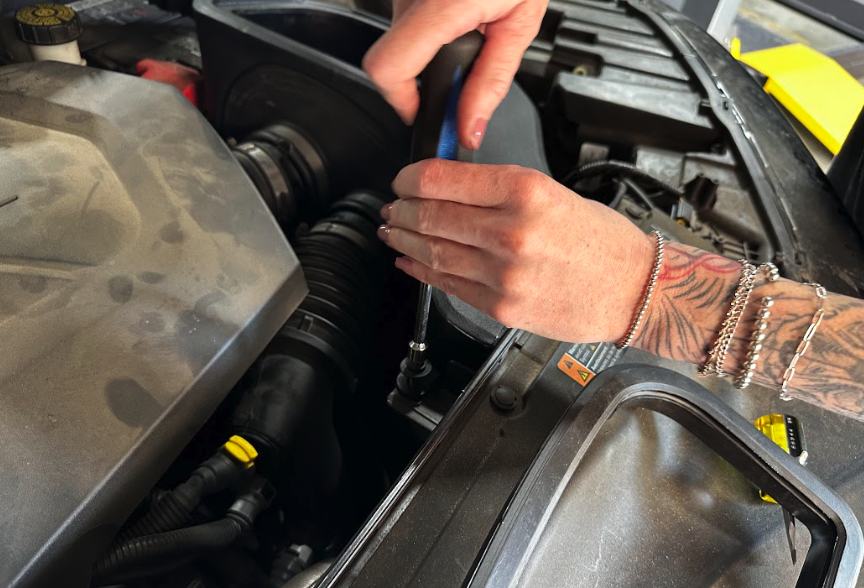
STEP 1
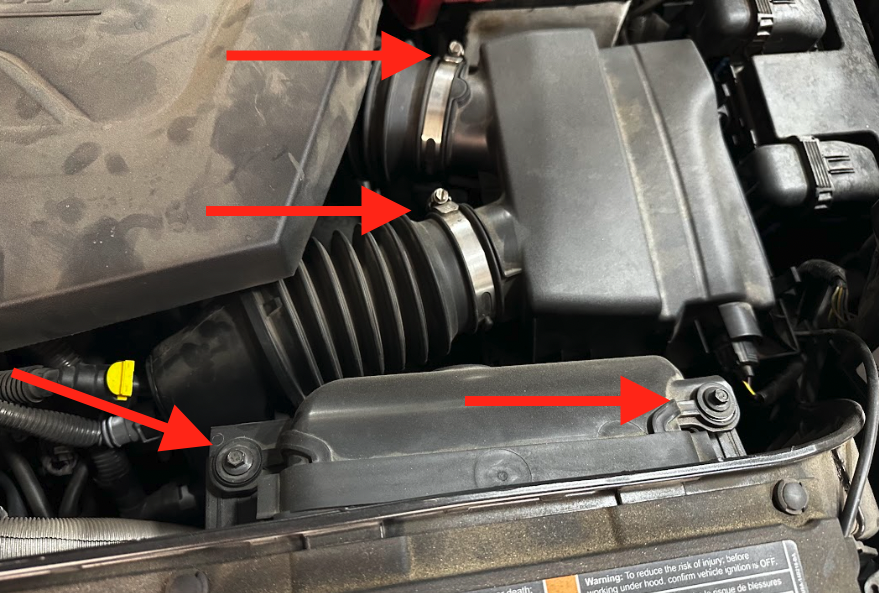
Start by loosening the hose clamps and removing the 2 bolts shown in the picture.
Note:
This intake kit may not fit with the following Aftermarket Parts installed:
Body Lift or Lowering Kit
Custom Hood
Please read the entire product guide before proceeding. Ensure all parts are present. If you are missing any of the components, call our customer support at (909) 947-0015. Do not work on your vehicle while the engine is hot. Make sure the engine is turned off and the vehicle is in Park or the Parking Brake is set.
7mm, 10mm, 13mm Wrench, 5/16” Nut Driver or Flat Blade Screwdriver, Pin Removal Tool or Flat Blade Screwdriver, T15, T20 Torx Bit, Phillips Screwdriver, 5/32” or 4mm Allen Wrench, 1 Pair of Pliers or similar tool, Topside Engine Creeper recommended.
Note: Approximate Install Time: 2 Hr 00 Mins.
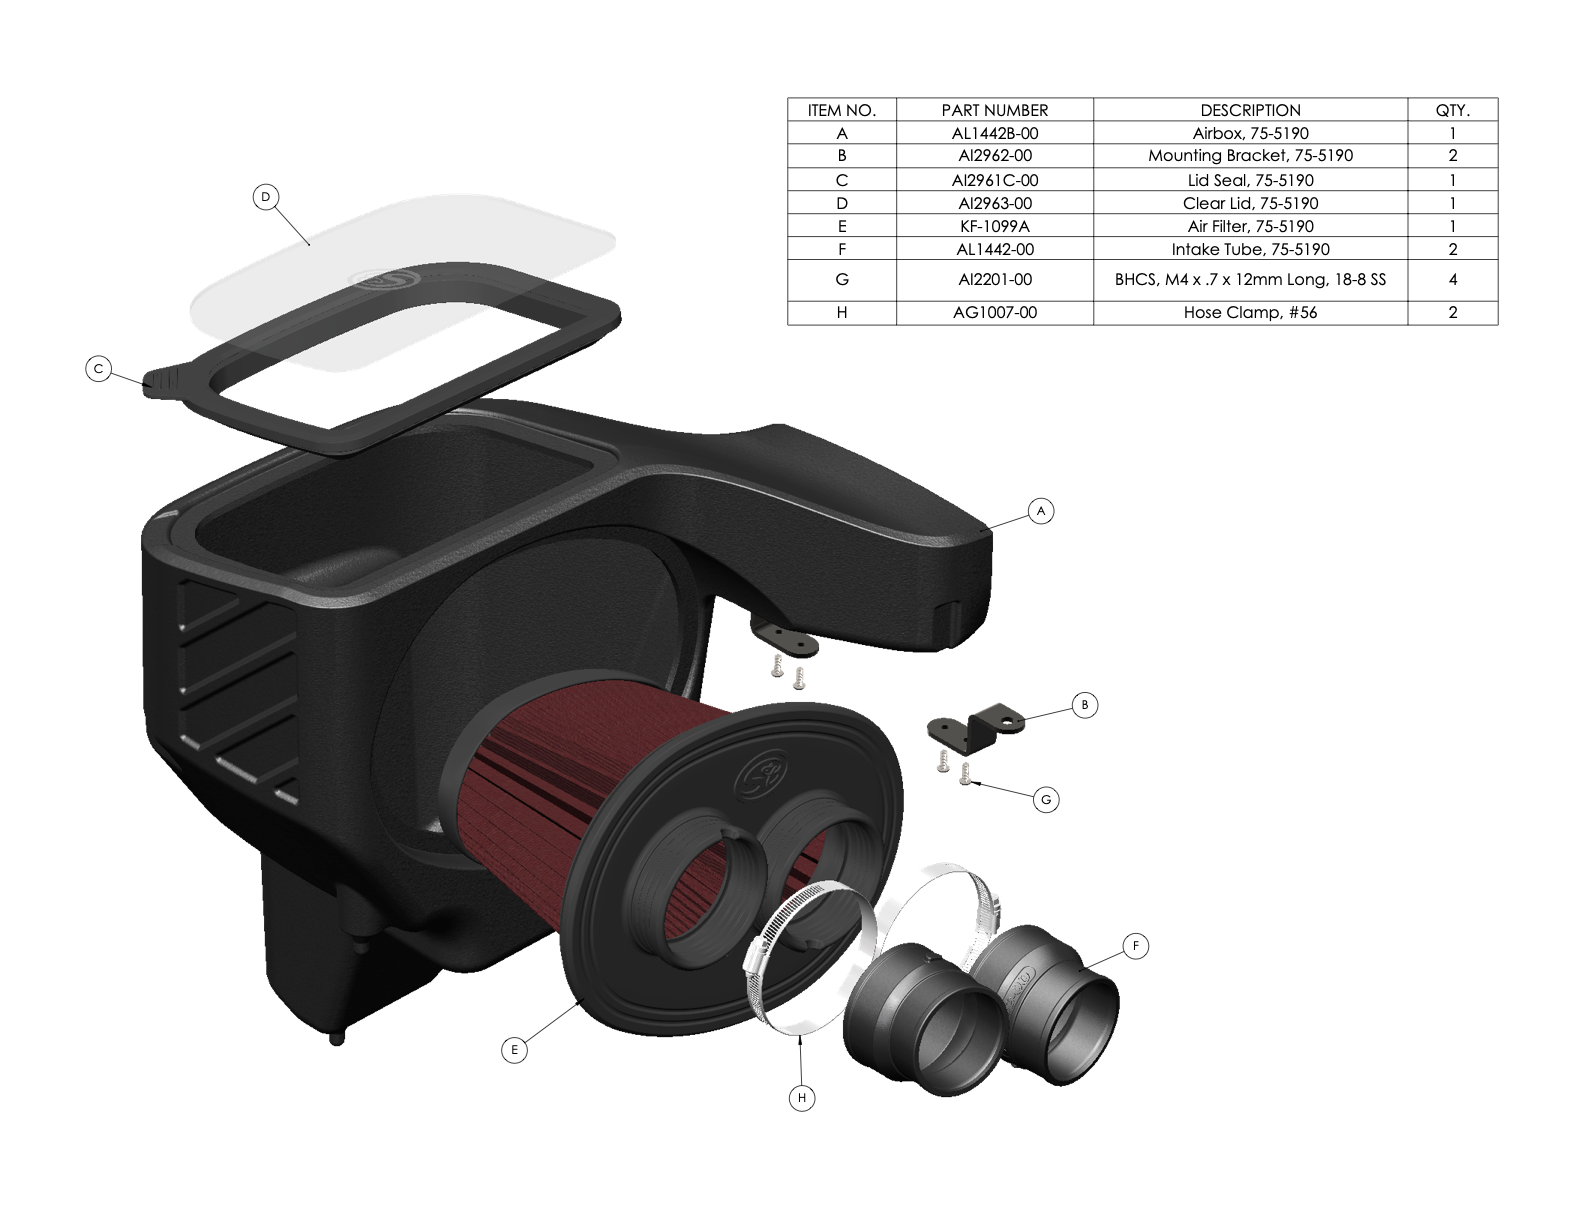
Start by loosening the hose clamps and removing the 2 bolts shown in the picture.
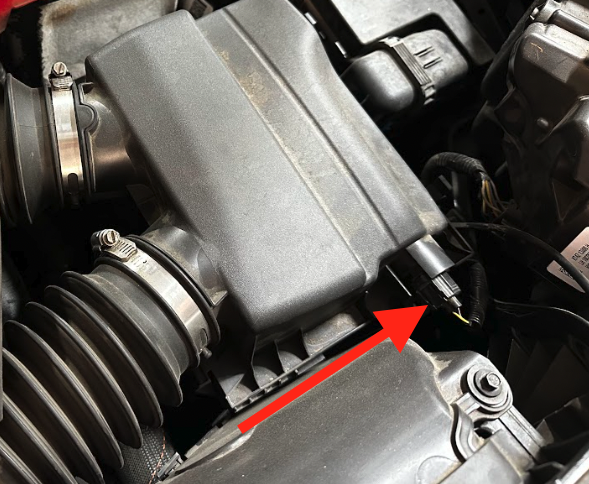
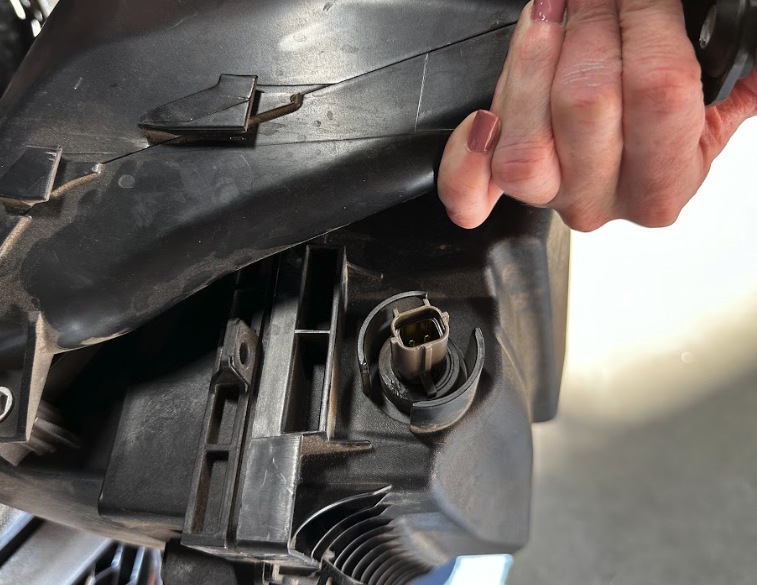
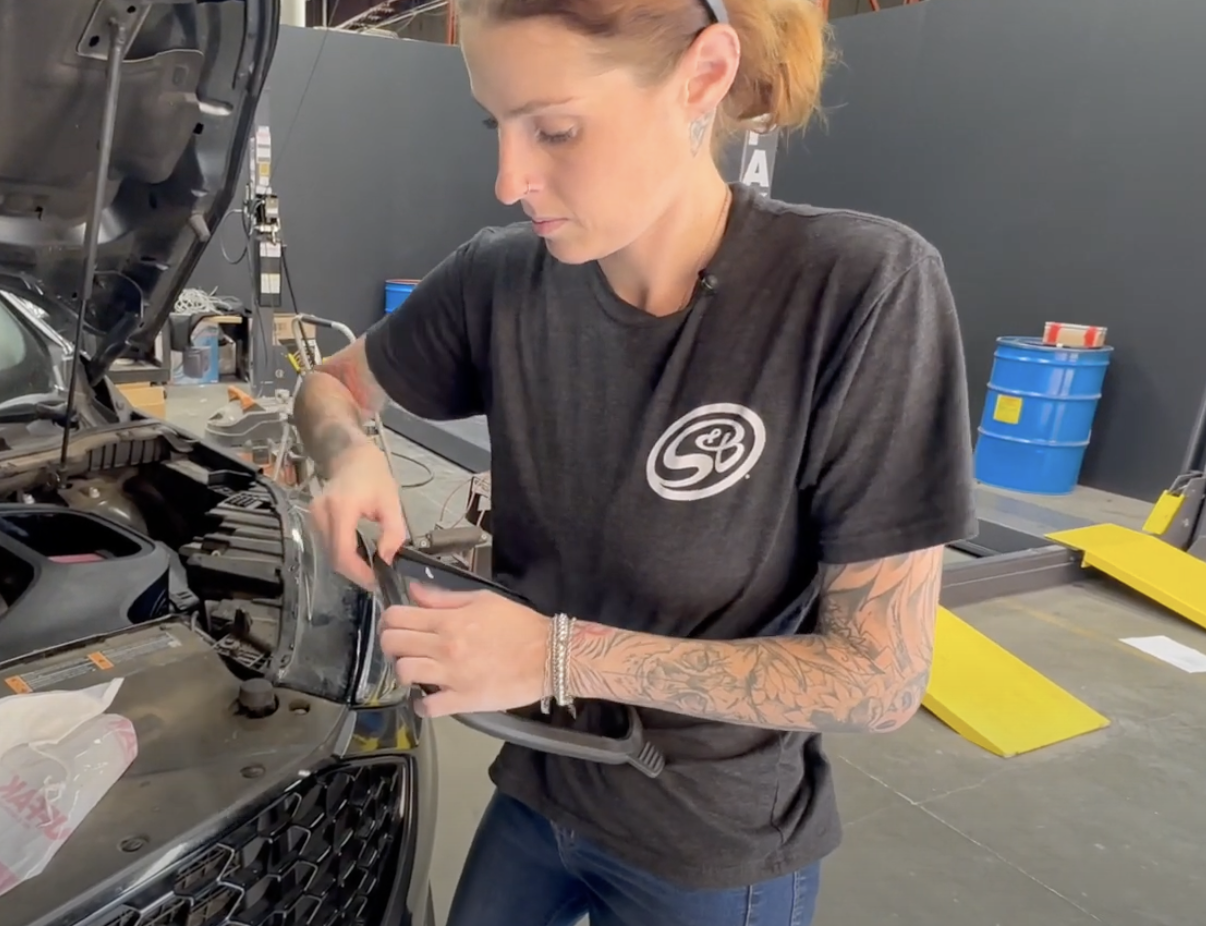
Remove the IAT sensor.
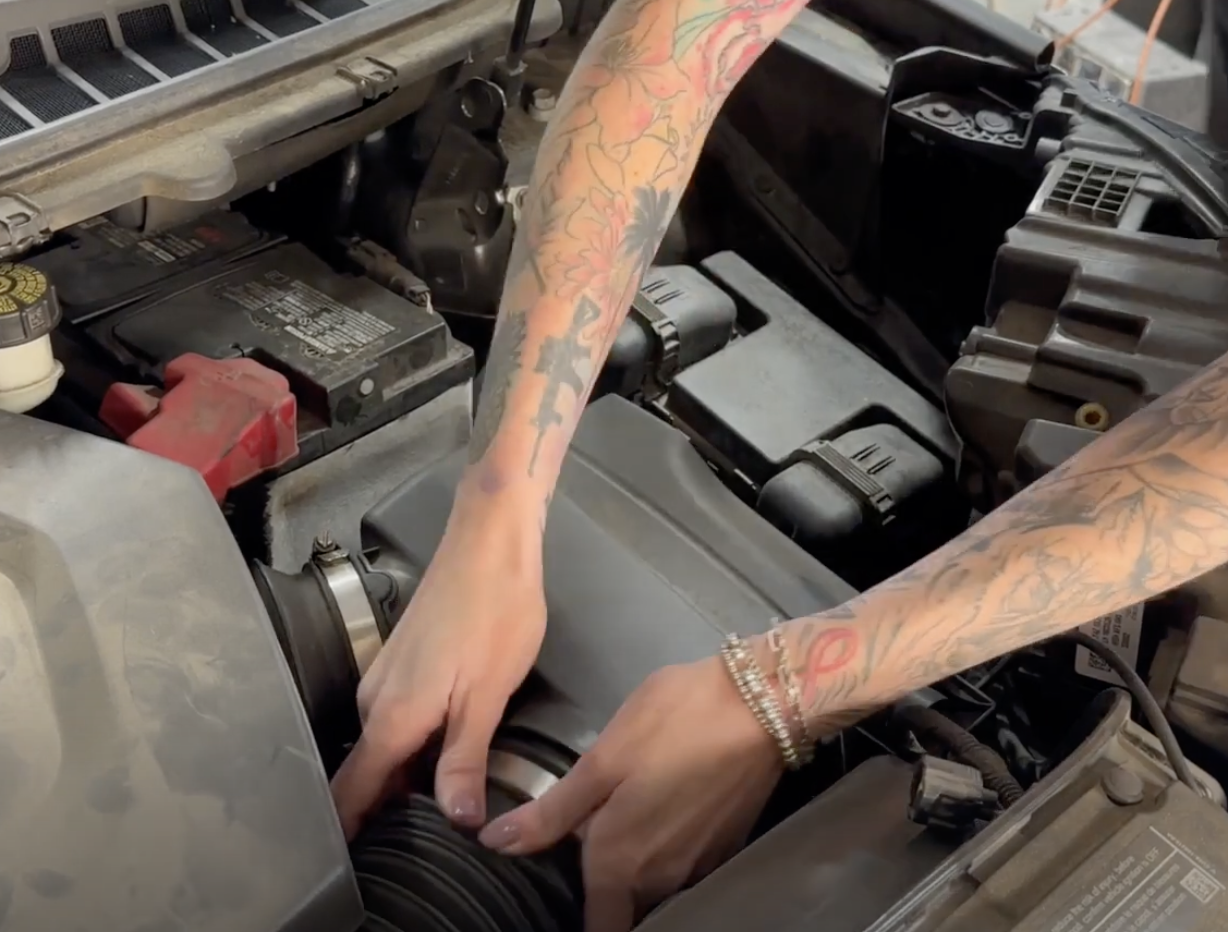
Disconnect the tubes attached to the airbox, then remove the stock airbox.
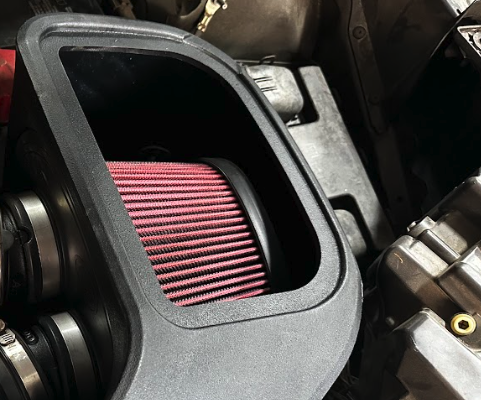
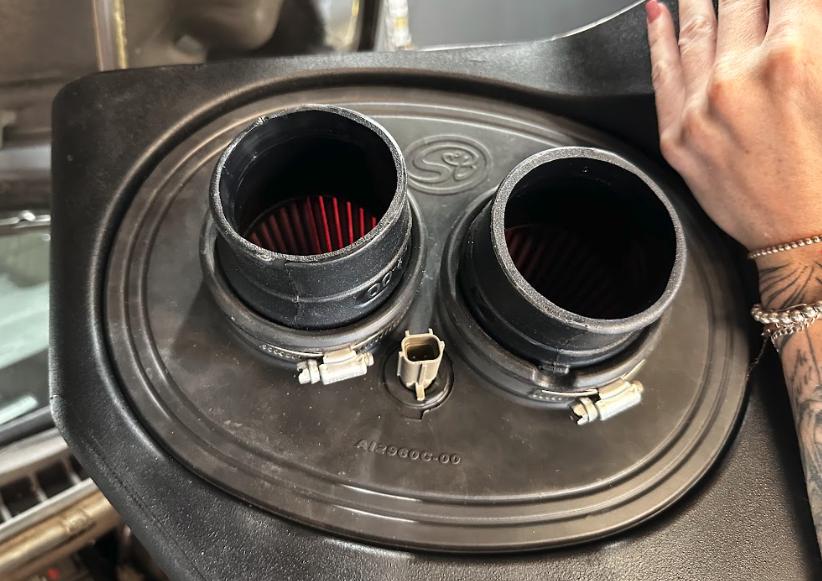
Install the S&B air filter into the S&B airbox. Then attach the hose clamps onto the flanges.
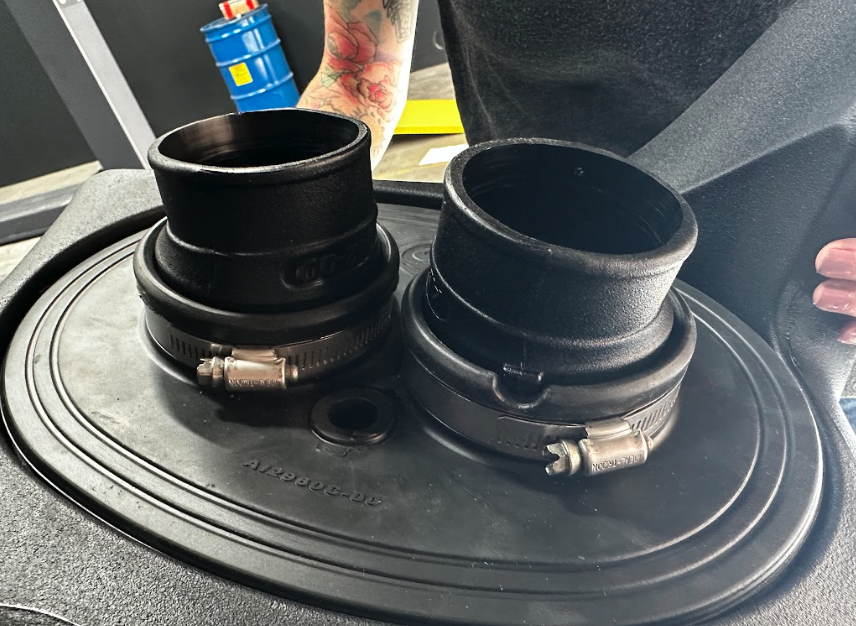
Install the S&B provided tubes into the S&B air filter. Then, tighten down the hose clamps.
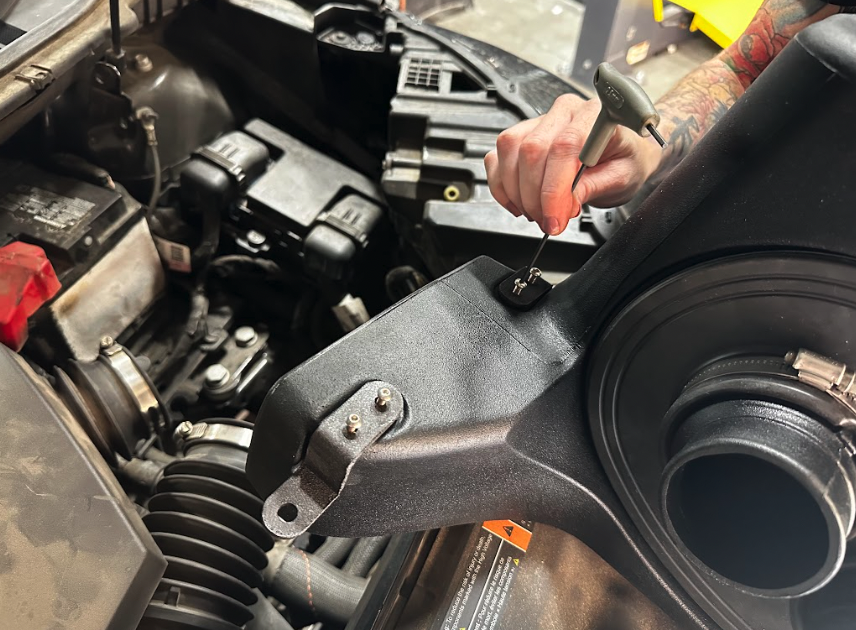
Using the provided hardware, install the two brackets onto the S&B air box.
Remove the IAT sensor from the stock air box.
Install the IAT sensor onto the S&B air box. Make sure the tab is backed up all the way to the ramp as shown in the picture.
Connect the IAT sensor then install the S&B air box into the vehicle.
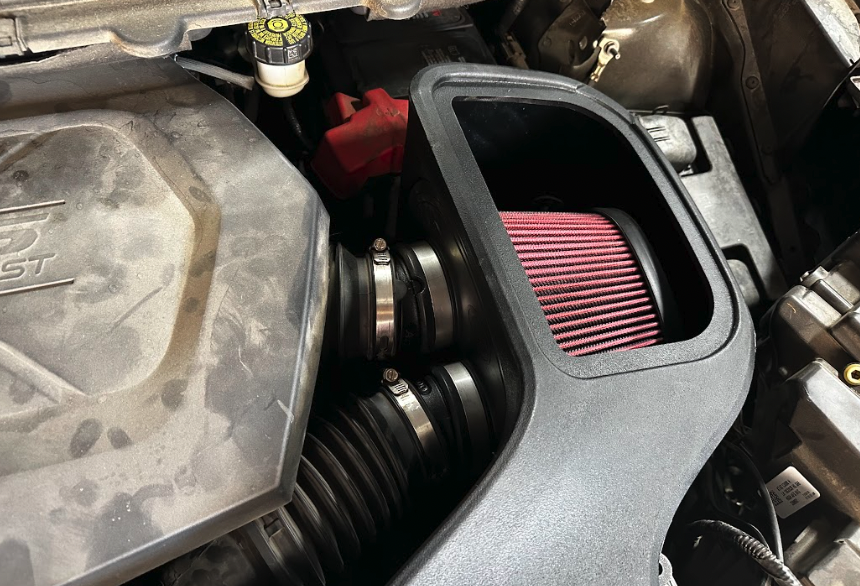
Tighten down both hose clamps on the tubes, then reinstall the two screws you remove earlier.
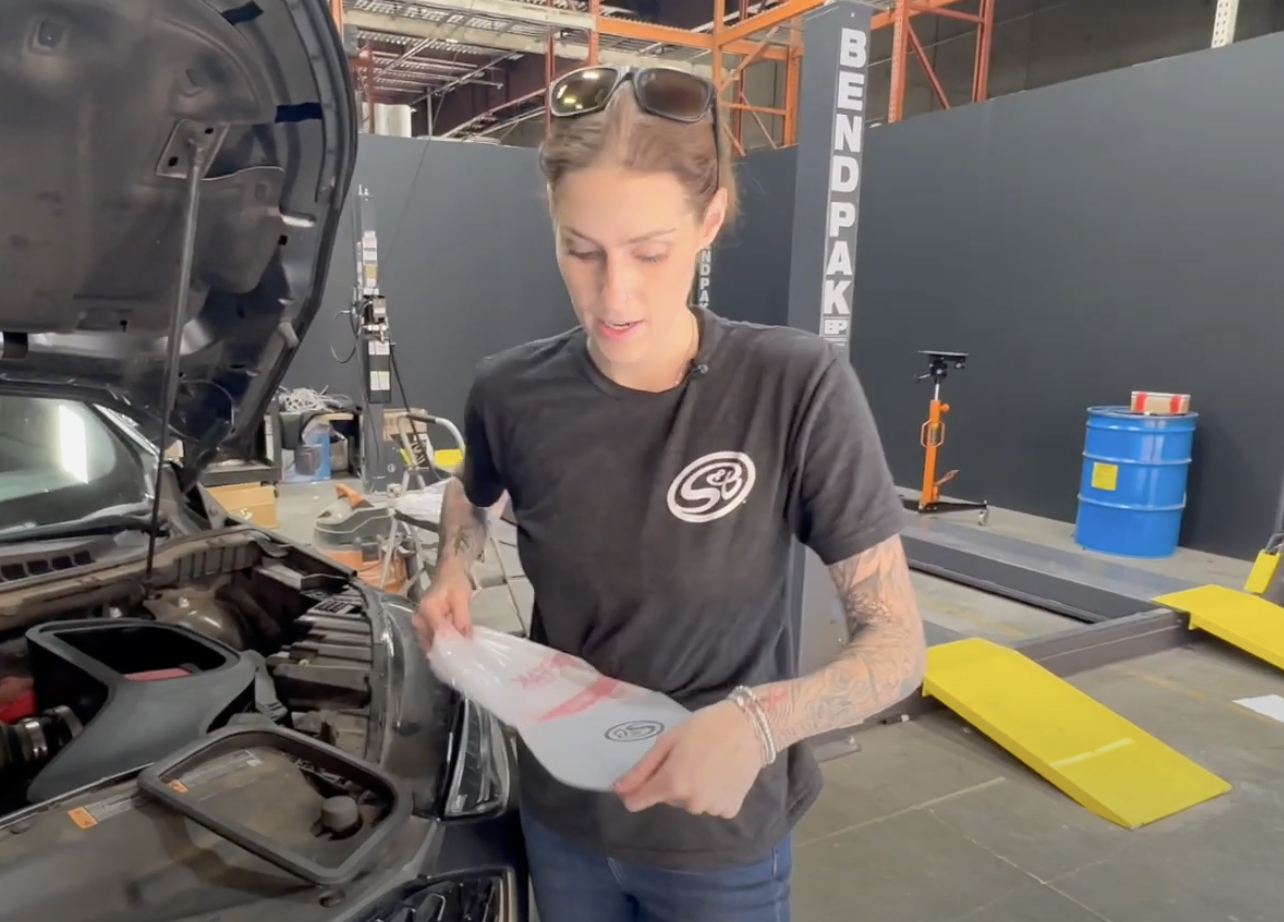
Remove the protective covering from both sides of the S&B clear lid. Then install it into the lid seal.
Install the clear lid onto the S&B air box.
